
In my experience, zinnias are some of the easiest and most rewarding flowers I’ve ever grown in my garden. Their bright colors, fast growth, and butterfly appeal make them a true joy. Want to have these vibrant blooms in your garden all summer? Check the guide. I’ll walk you through everything I do, in the same order I grow my Zinnias!
Contents
- 1 Step 1: Start with Quality Zinnia Seeds
- 2 Step 2: Prepare the Right Soil Mix
- 3 Step 3: Sowing the Seeds
- 4 Step 4: Create the Right Germination Conditions
- 5 Step 5: Nurture Young Seedlings
- 6 Step 6: Transplanting Zinnias into Containers
- 7 Step 7: Adjust Based on Zinnia Variety
- 8 Step 8: Sunlight, Watering, and Early Care
- 9 Step 9: Fertilizing for Healthy Blooms
- 10 Step 10: Enjoy the Beauty of Zinnias
- 11 Step 11: Managing Pests and Diseases
- 12 Step 12: Encourage More Blooms
- 13 In A Nutshell
Step 1: Start with Quality Zinnia Seeds
Starting strong is key, and it always begins with good seeds. I make sure to choose high-quality seeds for the best germination and flowering.
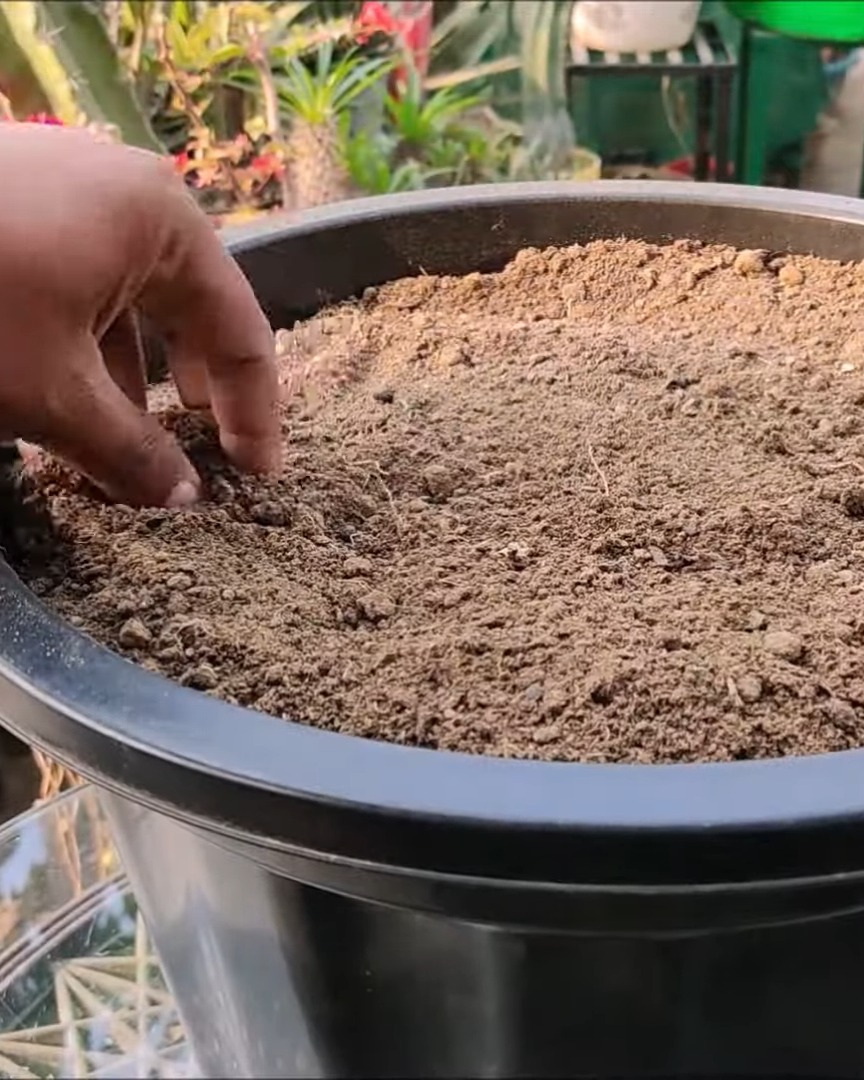
Step 2: Prepare the Right Soil Mix
My seeds are all set, so next comes preparing the ideal soil mix.
For me, I prefer to use small pots with drainage holes. This helps to keep the roots healthy.
My go-to soil mix for zinnia: 50% garden soil, 30% compost, and 20% river sand.
Tip: Before using the mix, always moisten it. Remember to press it down gently to remove air gaps. This way, you can also help the roots settle in better.
Step 3: Sowing the Seeds
It’s time for the fun part: planting the seeds!
I gently set the seeds on top of the soil. Since zinnia seeds are fairly large, they’re simple to work with.
I leave about 1 to 2 inches of space between each one so they have plenty of room to grow without crowding each other.
Zinnias are a great choice for beginners and kids since the seeds are simple to handle. The best part? Zinnias attract butterflies! This makes your garden more stunning.
What’s next? After placing the seeds, I cover them with about a quarter inch of the same soil mix. I gently press them down to make sure they have good contact with the soil.
Then, I give them a gentle shower of water. Not too much—just enough to moisten the top layer.
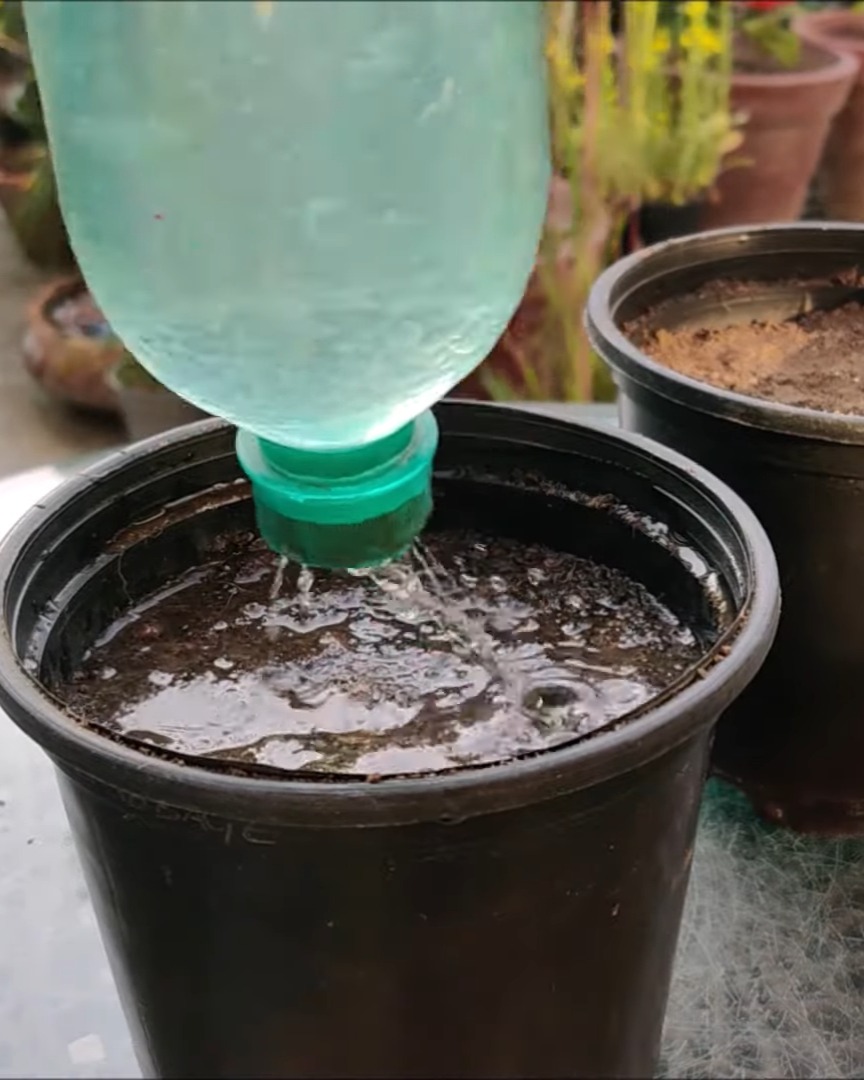
I also label each pot with the variety name.
Step 4: Create the Right Germination Conditions
After planting the seeds, creating the right environment helps them germinate fast.
With a bit of luck, tiny seedlings will pop up in just 4 to 6 days—and that moment always brings me joy!
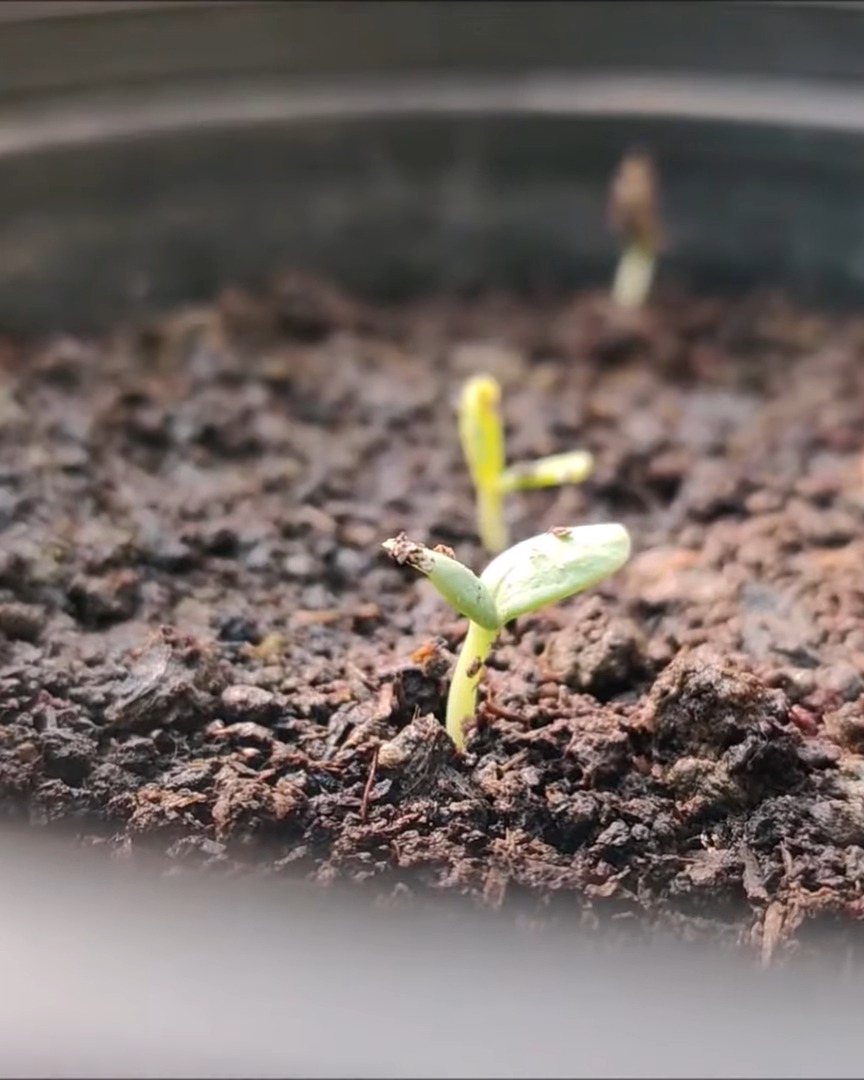
I place the pots in a warm, well-lit area. Zinnias love warmth and light, and I make sure the soil stays moist. I check on them every day or two. This way, I can ensure they don’t dry out.
Step 5: Nurture Young Seedlings
I am excited to see the seedlings emerge. But I realize that the real care begins here.
Day 8:
After that, the true leaves come in, and they’re essential—they power the plant through photosynthesis and absorb nutrients.
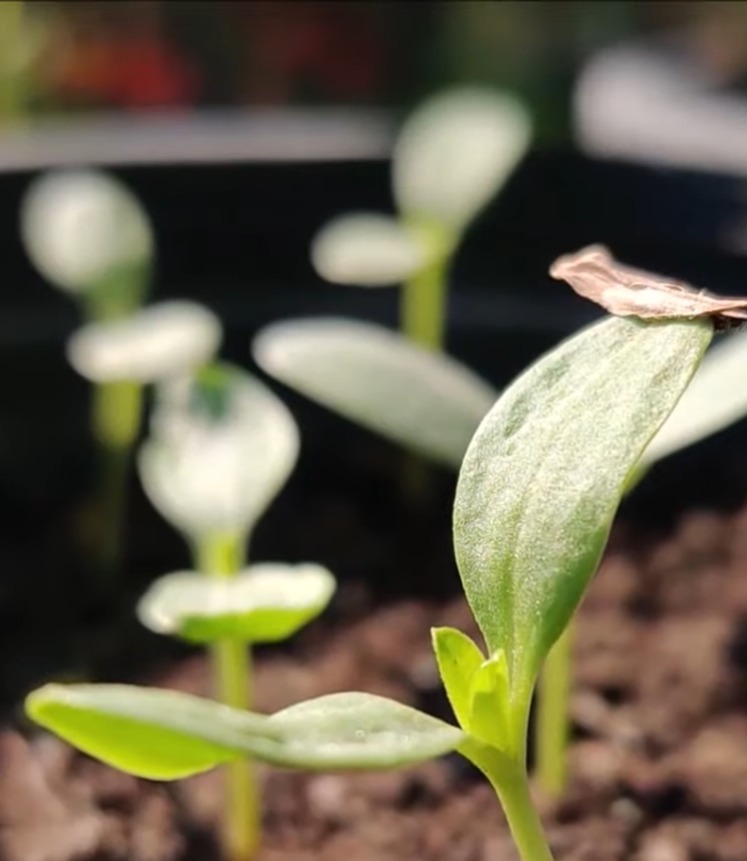
Day 15:
I always keep the soil a little damp, not too dry, not too damp. I recommend using a small watering can. Don’t water the whole plant. Just near the base.
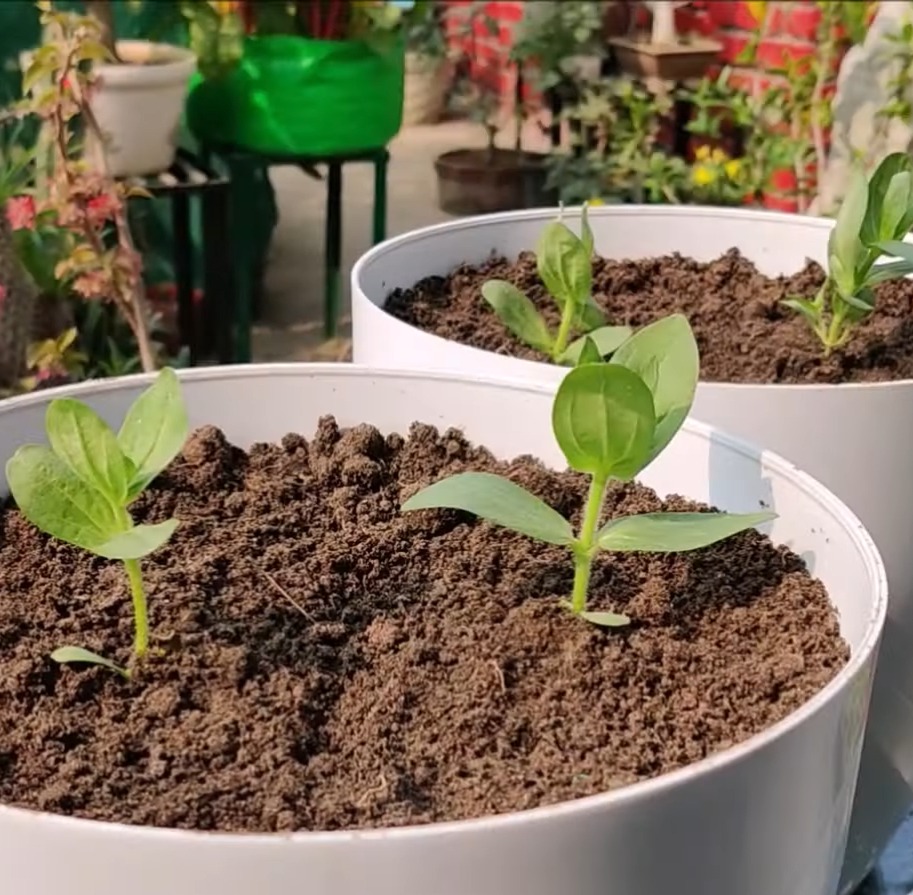
Step 6: Transplanting Zinnias into Containers
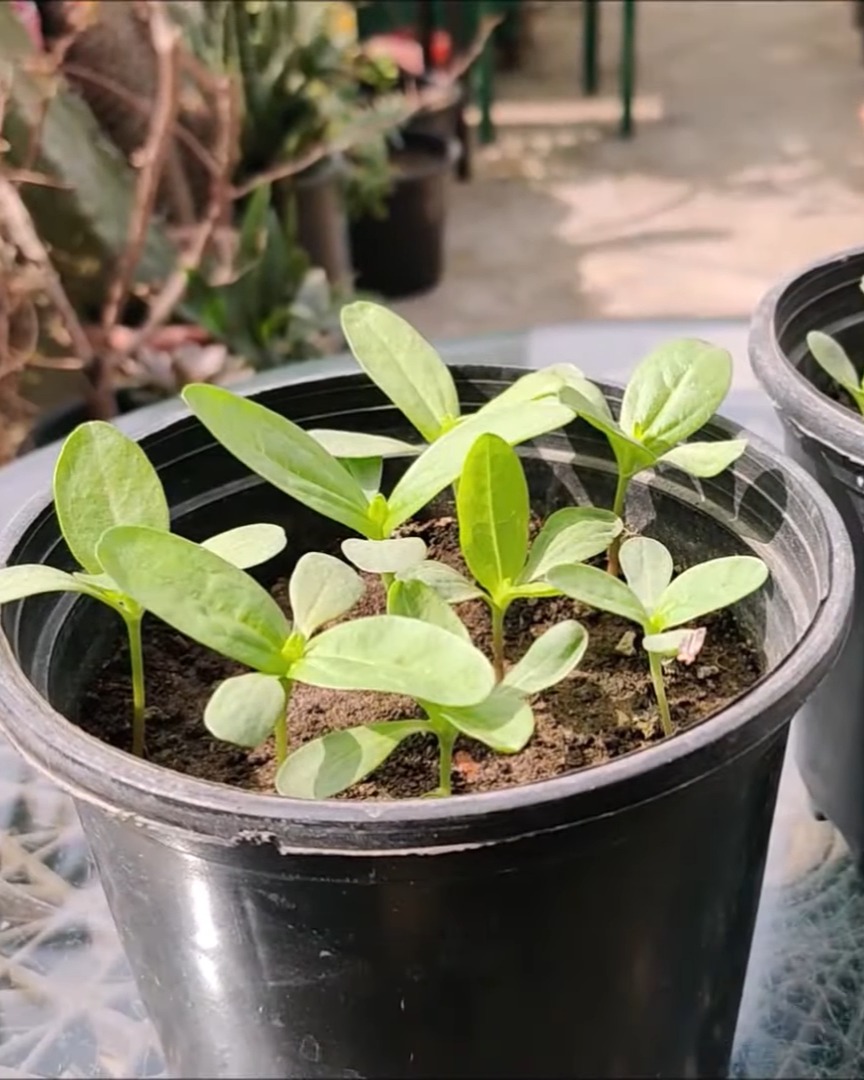
The seedlings are around 3 to 5 inches tall, or have 3 to 5 true leaves. I know it’s time to move them.
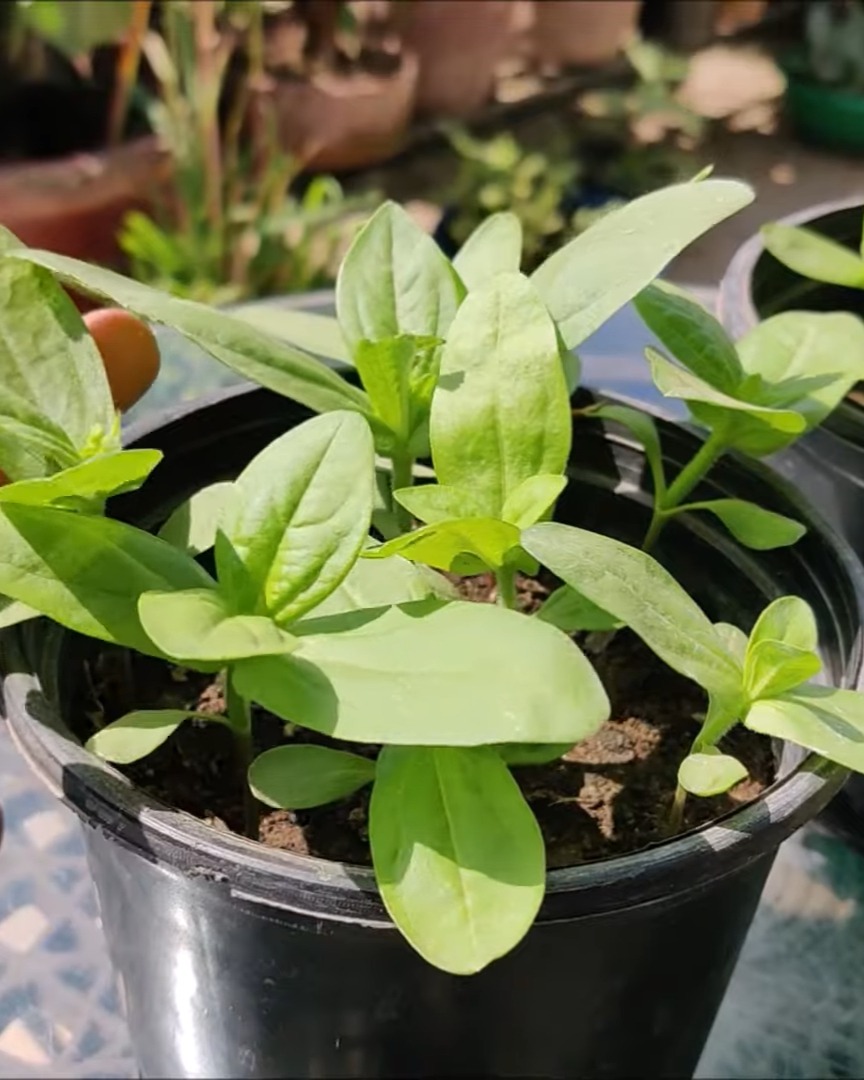
I gently transplant them into bigger pots so they have more space to grow strong.
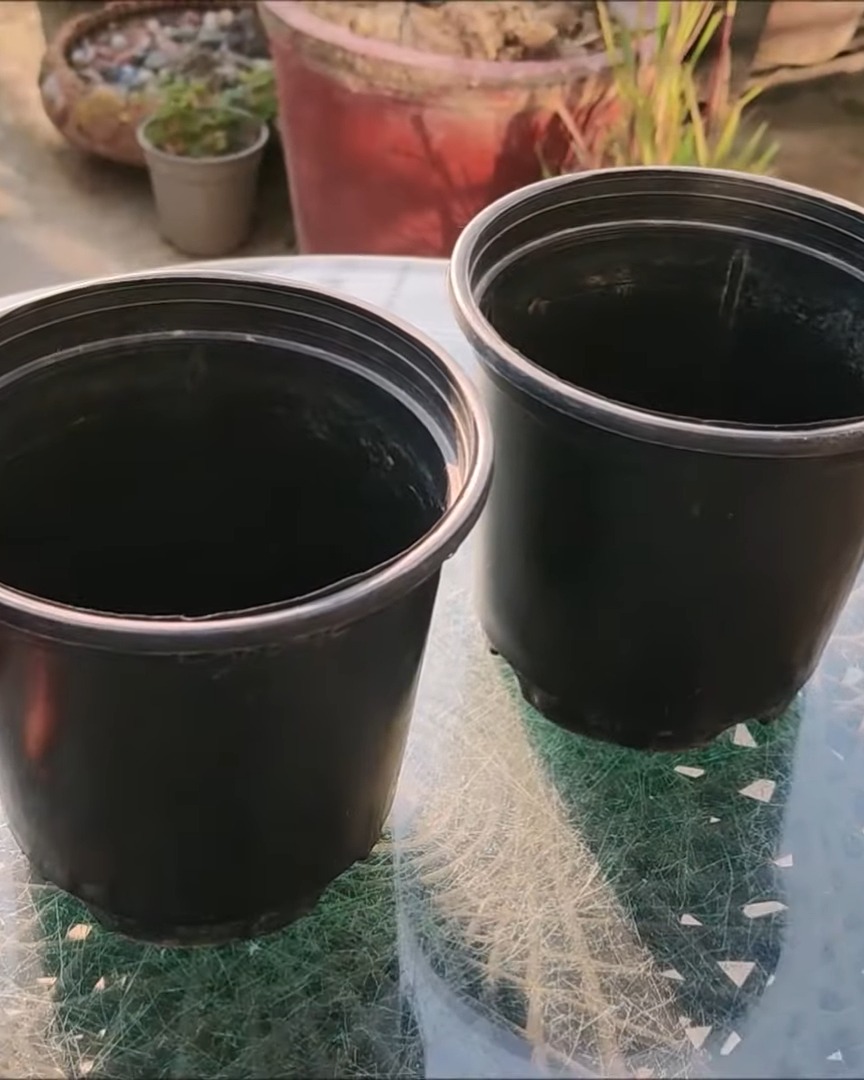
I use big pots, at least 12 inches wide and deep, so they have plenty of space to grow. Drainage is still key, so I ensure the pots have holes at the bottom.
I often place small stones over the holes to keep the soil in while allowing water to drain.
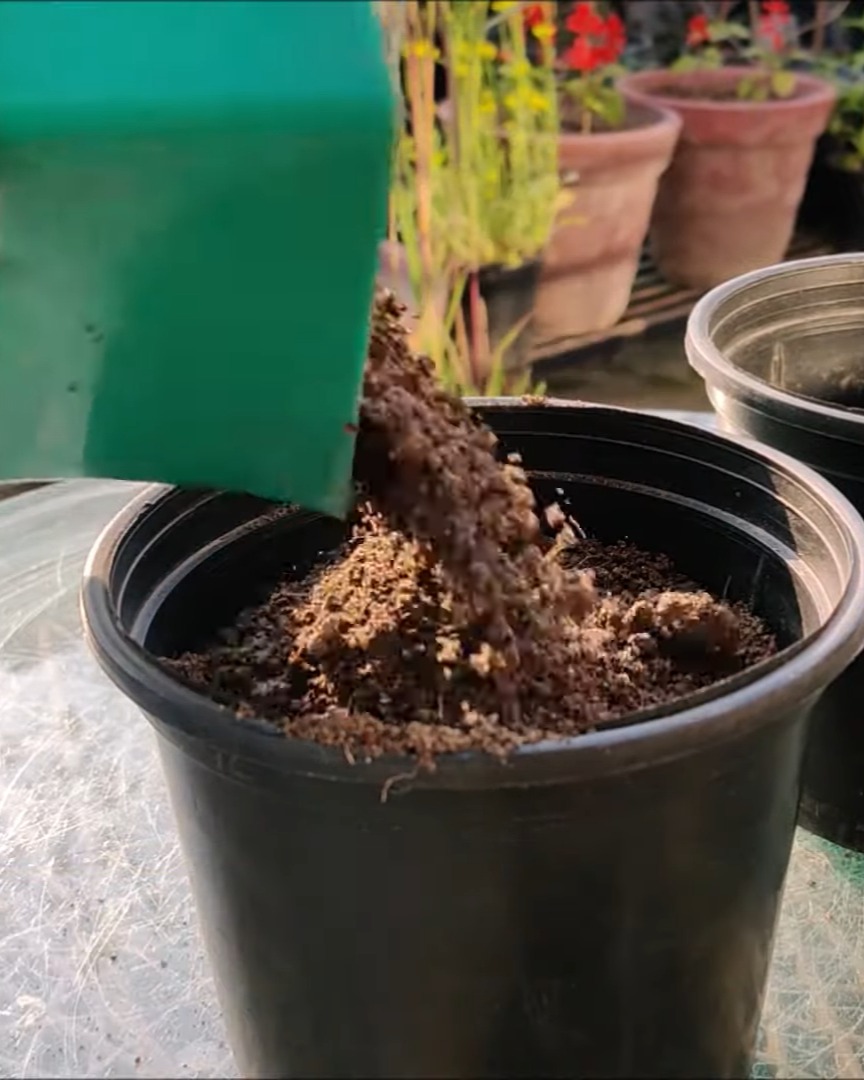
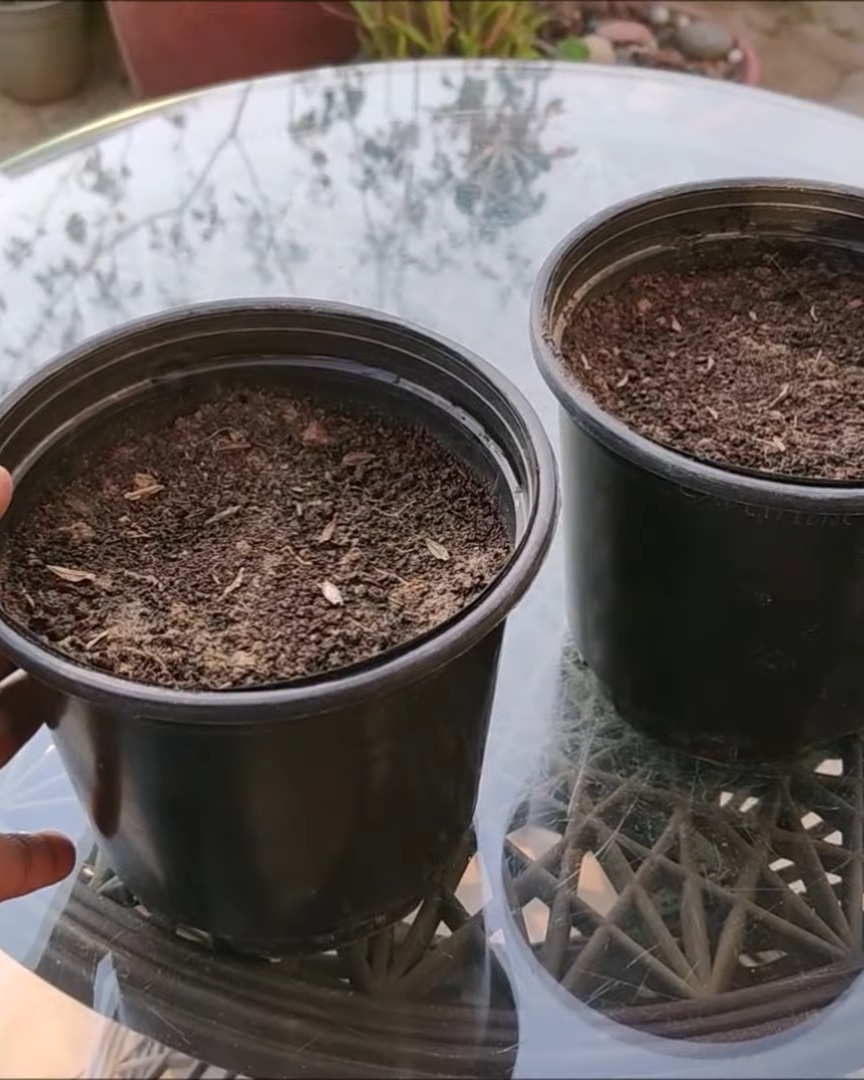
I reuse the same soil mix I made earlier.
To remove the seedlings, I gently squeeze the pot and turn it upside down.
Gravity does most of the work. I try not to disturb the roots. Keeping the starter soil around the roots helps the plant adjust more easily.
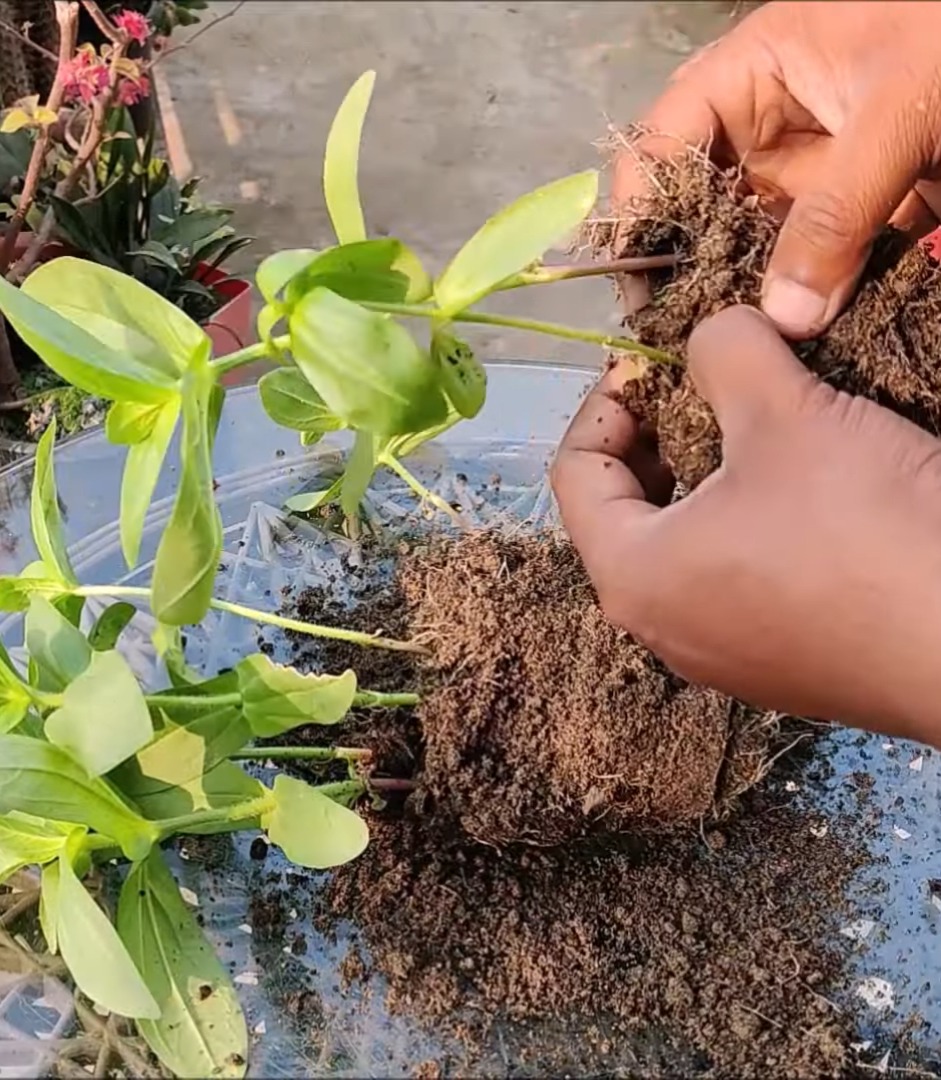
I dig a hole in the new pot that’s big enough to fit the root ball and place it so the top of the root ball is level with the soil surface.
Spacing is essential too—5 to 8 inches apart, depending on the variety. That way, air can circulate, and pests are less of a problem.
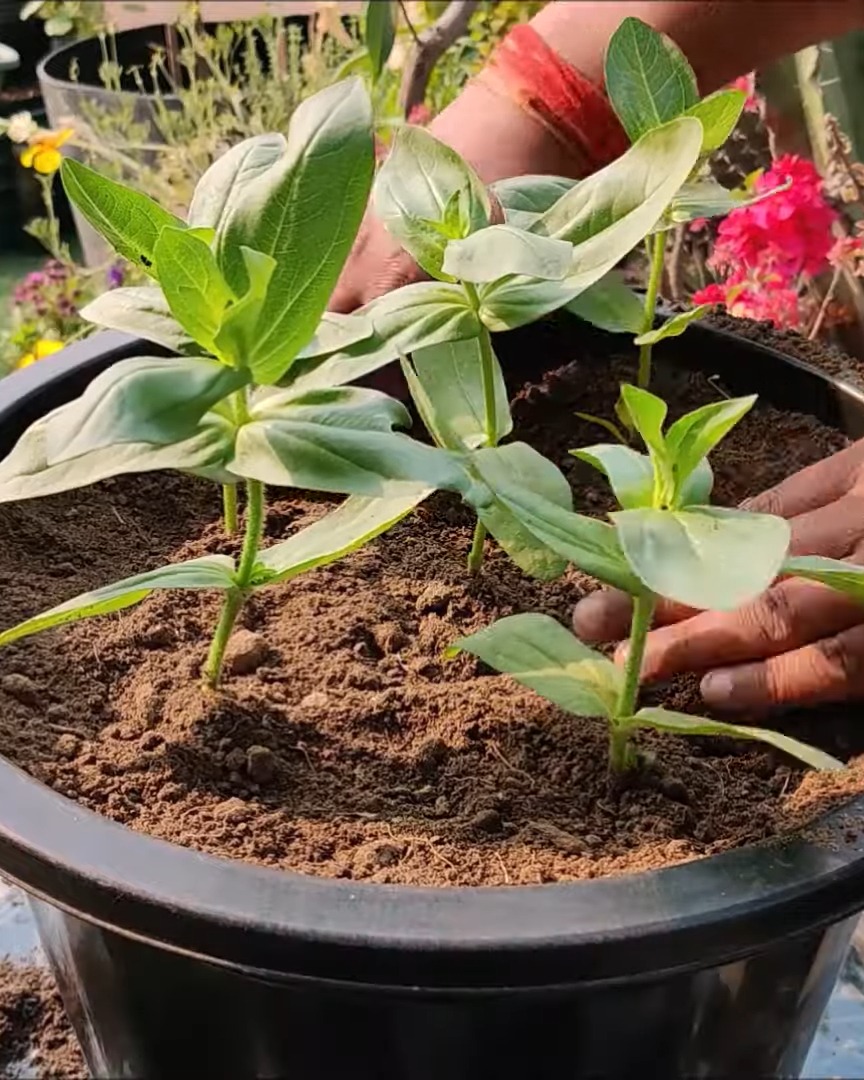
Then, I fill in the gaps, press the soil gently, and water thoroughly.
Step 7: Adjust Based on Zinnia Variety
Zinnia varieties vary greatly, so I adjust pot size and spacing accordingly. For the Zahara variety, I plant two seedlings in a 12-inch pot.
For just one plant, a 7–8-inch pot is enough. Larger or taller varieties may need even bigger containers.
The key is to match the pot size with the expected plant size. And don’t forget drainage holes!
Step 8: Sunlight, Watering, and Early Care
Transplant shock can happen, so I keep the pots in partial sun for 2–3 days after transplanting.
After that, I shift them into full sun. Zinnias love sunlight and need a lot of it to grow well.
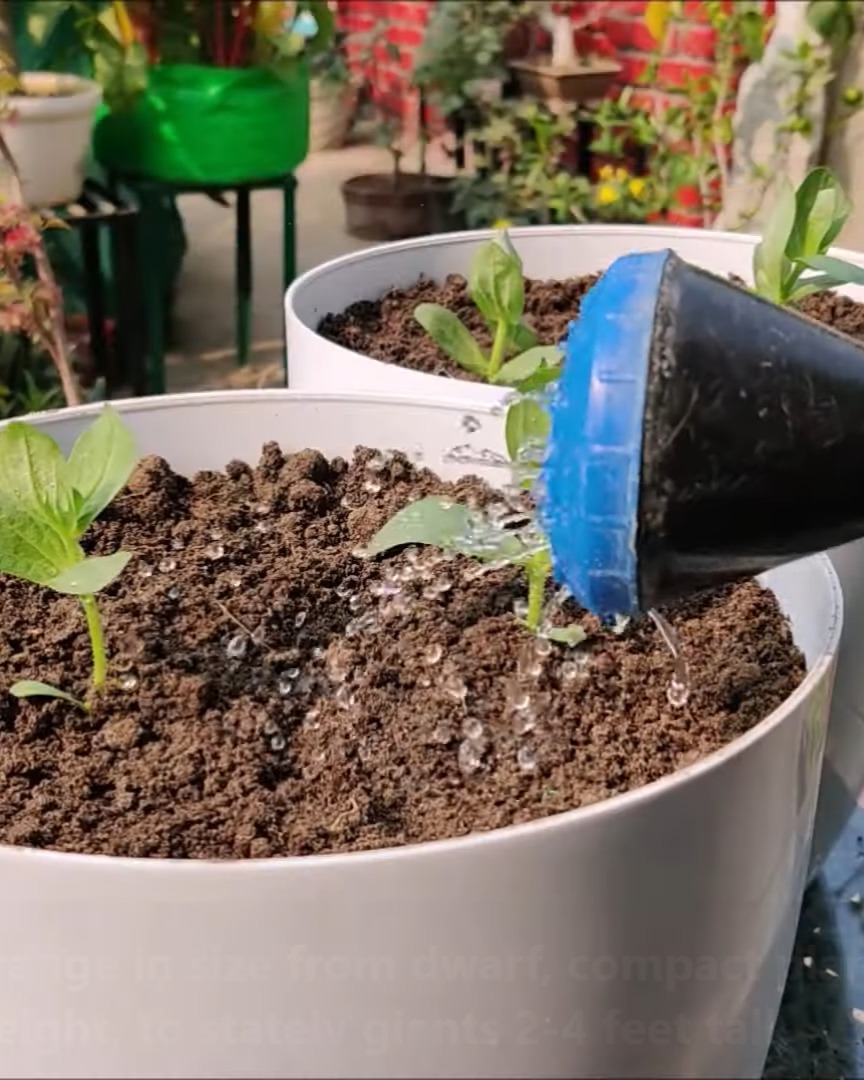
I water gently using a watering can. The soft spray prevents soil from splashing out and doesn’t disturb the roots.
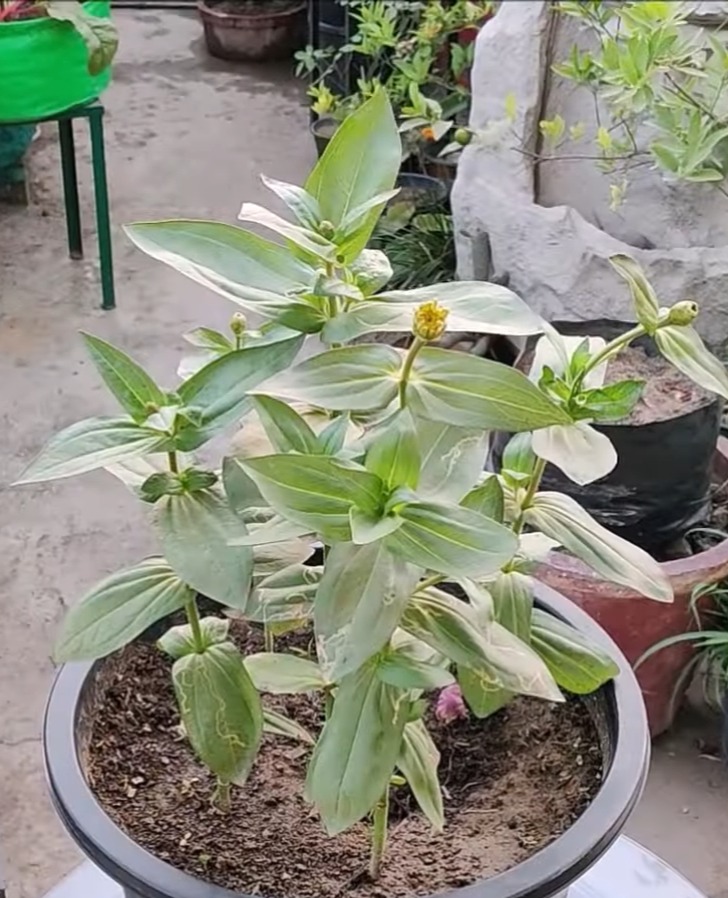
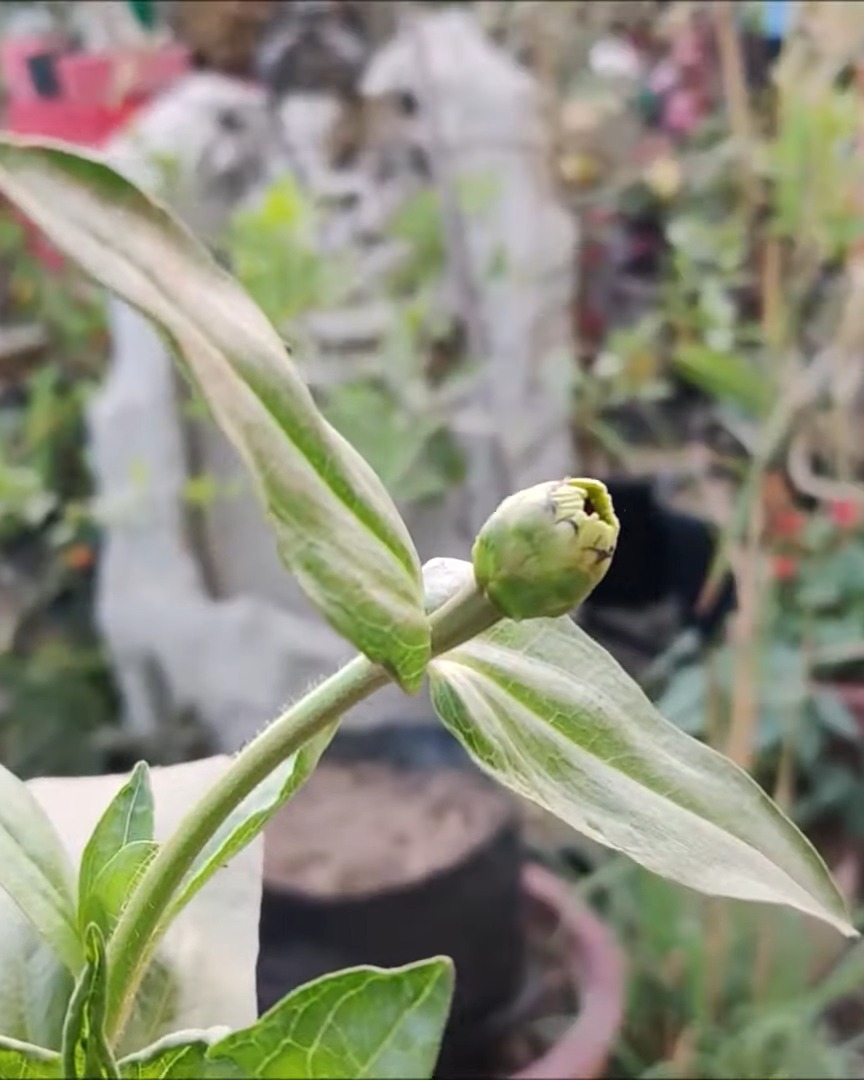
You’ll see buds start to form around 35–45 days after seeding—so rewarding!
Day 40:
Step 9: Fertilizing for Healthy Blooms
When the flower buds show, I give them a little boost.
I add 5–8 granules of DAP (Diammonium Phosphate) per plant. Just dig a small hole away from the main stem and add the granules. Don’t forget to cover it with soil.
I also water well to activate the fertilizer. This step really helps the flowers grow bigger and better!
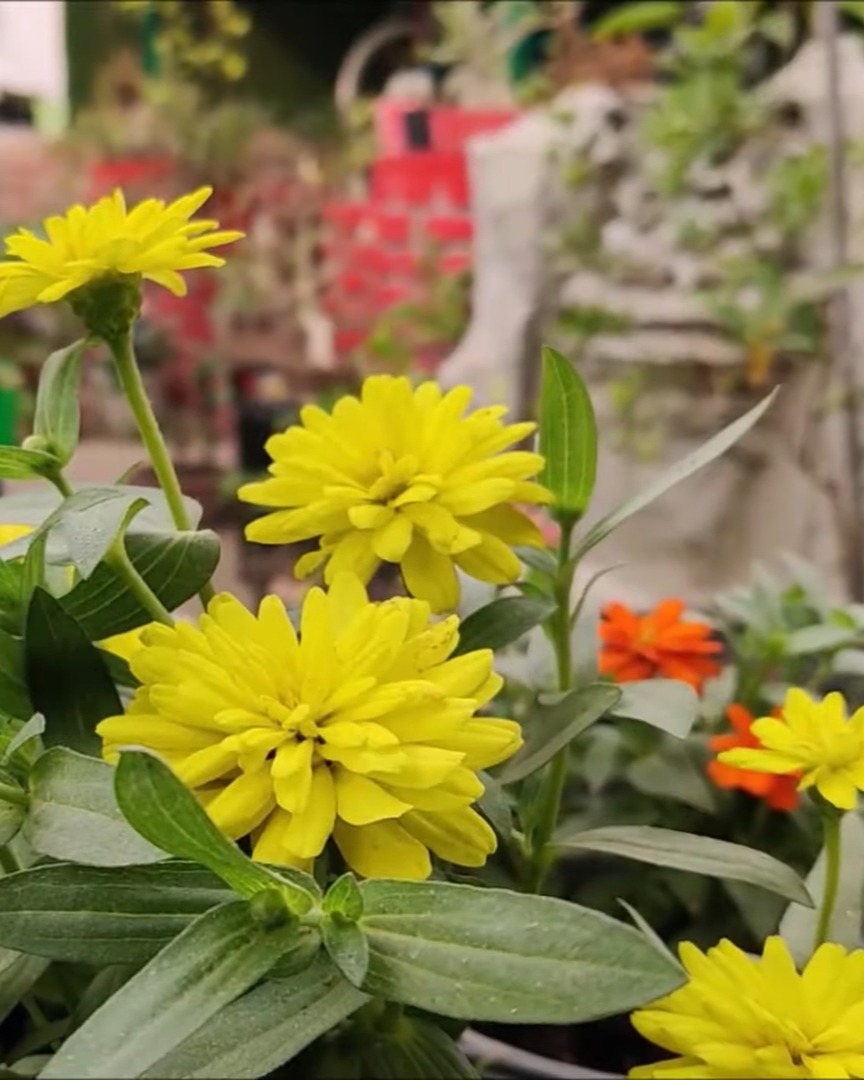
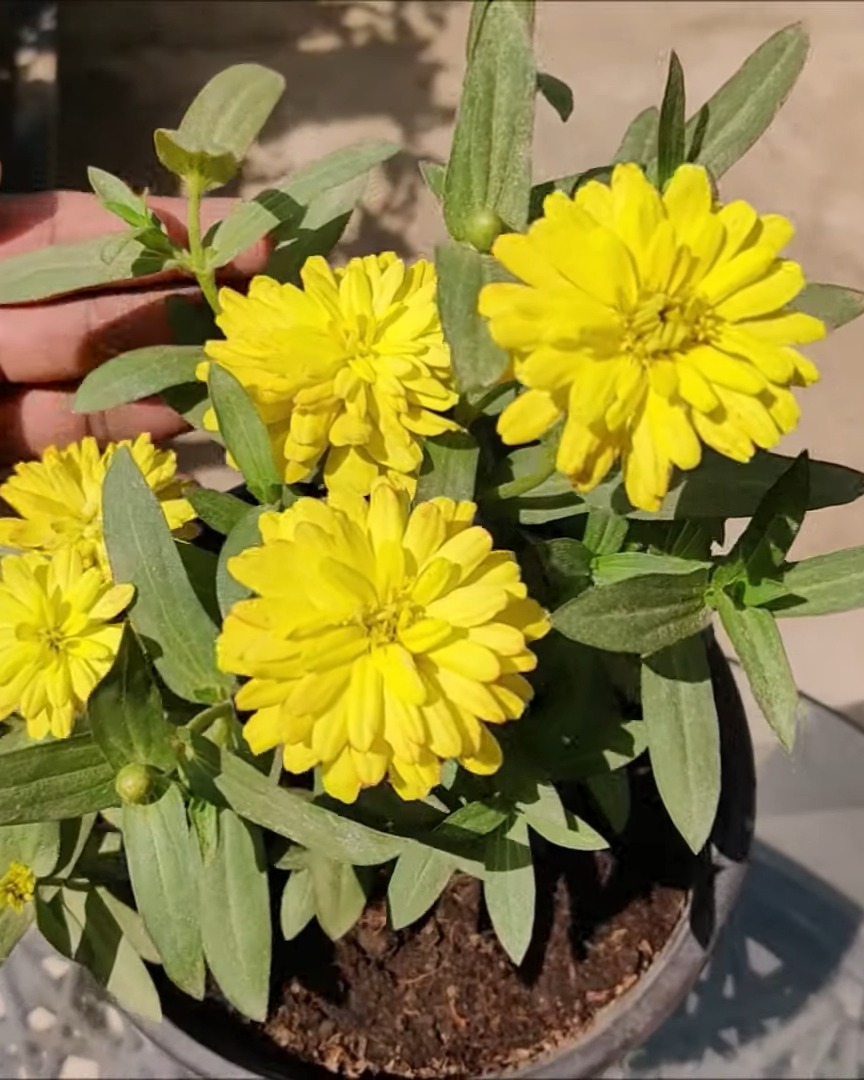
Step 10: Enjoy the Beauty of Zinnias
This is the best part—watching the Zinnias bloom.
Day 48:
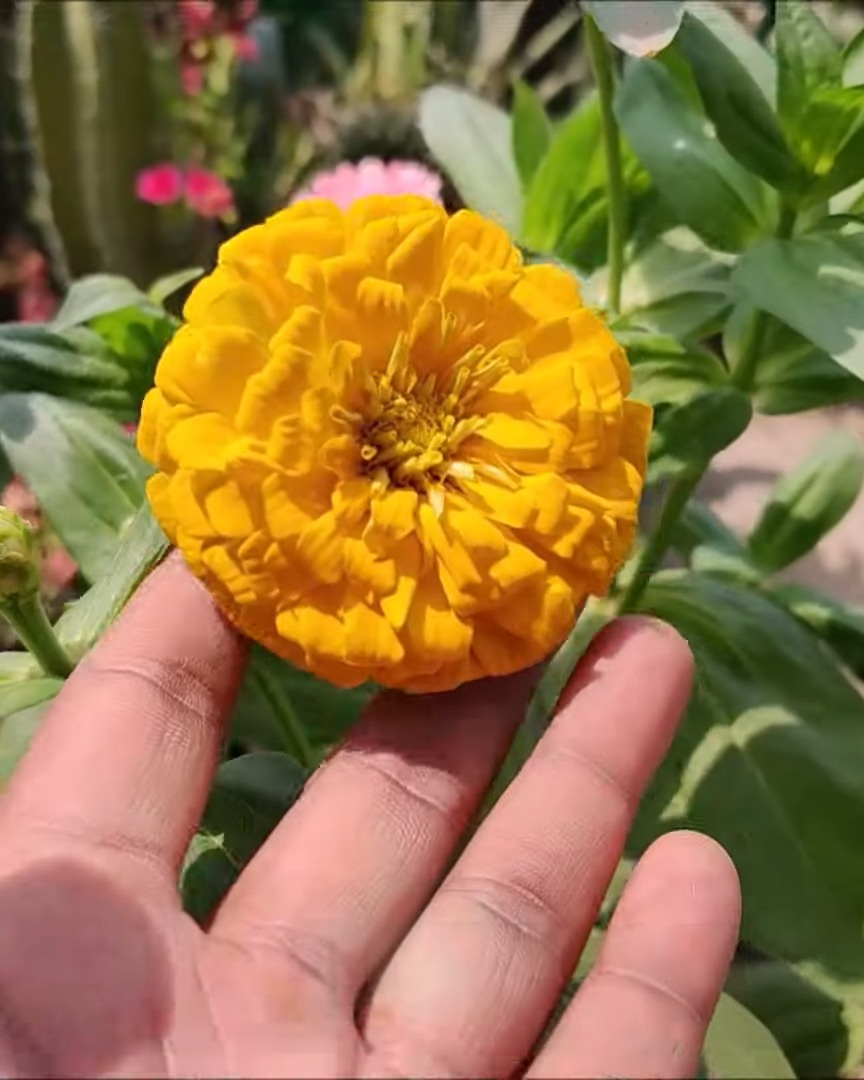
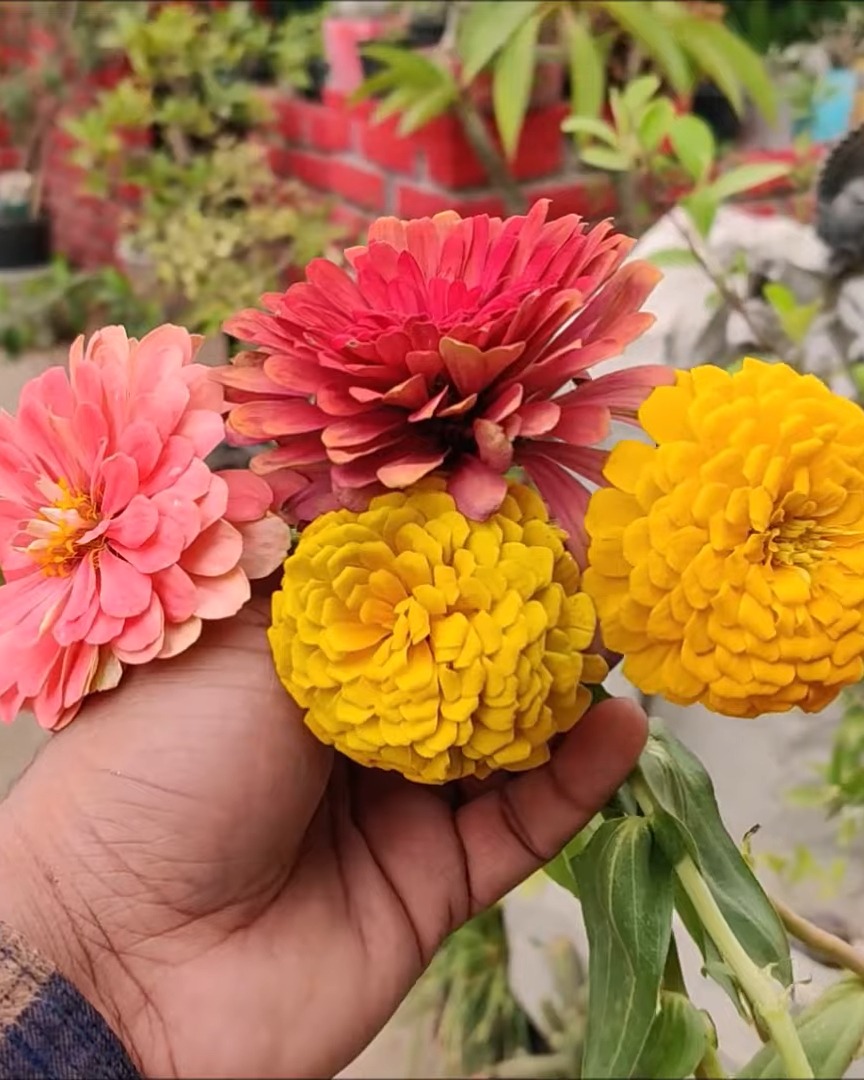
Most Zinnias have bold, bright colors like pink, red, orange, and yellow. Some even come in white!
Their large flowers really stand out and attract bees, butterflies, and even hummingbirds.
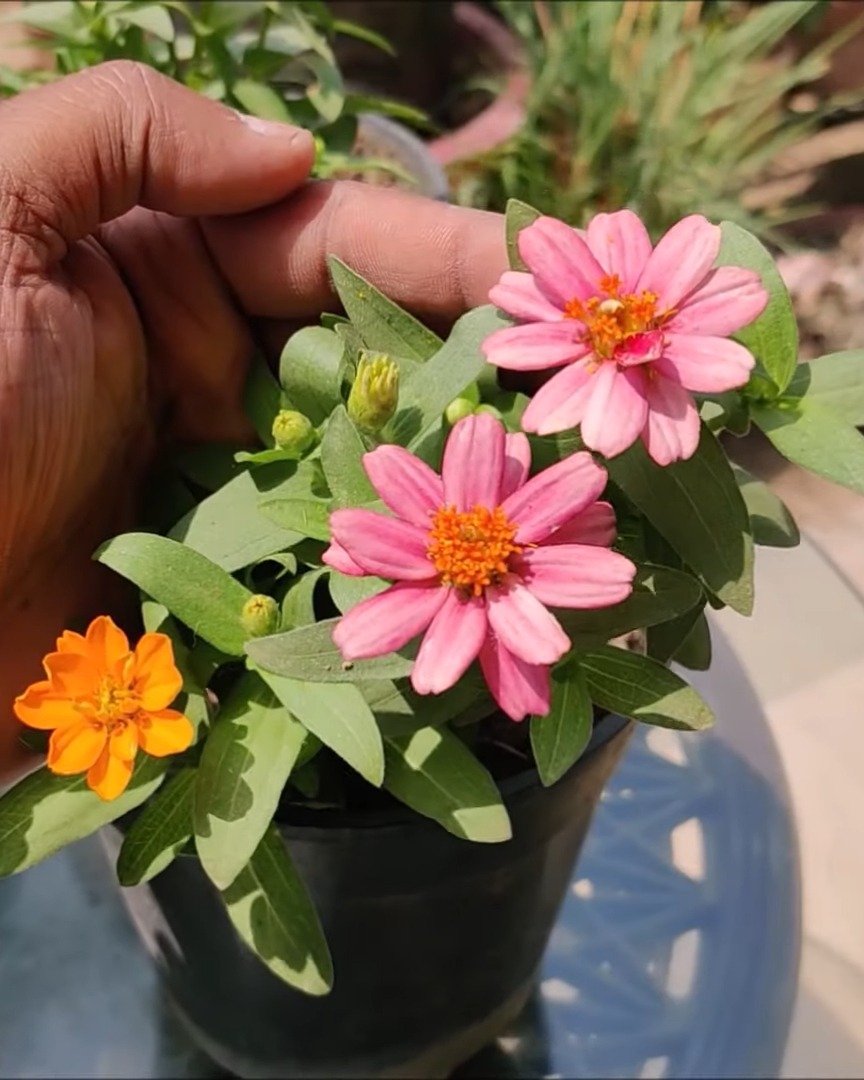
The flower forms vary too. You’ll find everything from neat double blooms to open, daisy-like singles.
I love how low-maintenance they are—you can enjoy them all season long while focusing on other parts of your garden.
Step 11: Managing Pests and Diseases
Day 54:
Zinnias are pretty tough, but they do get occasional problems.
The most common are:
- Spidermites
- Powdery mildew
- Bacterial wilt
If you see curled or discolored leaves, act fast. I mix 2–3 ml of liquid insecticide and ¼ gram of powder insecticide in 1 liter of water.
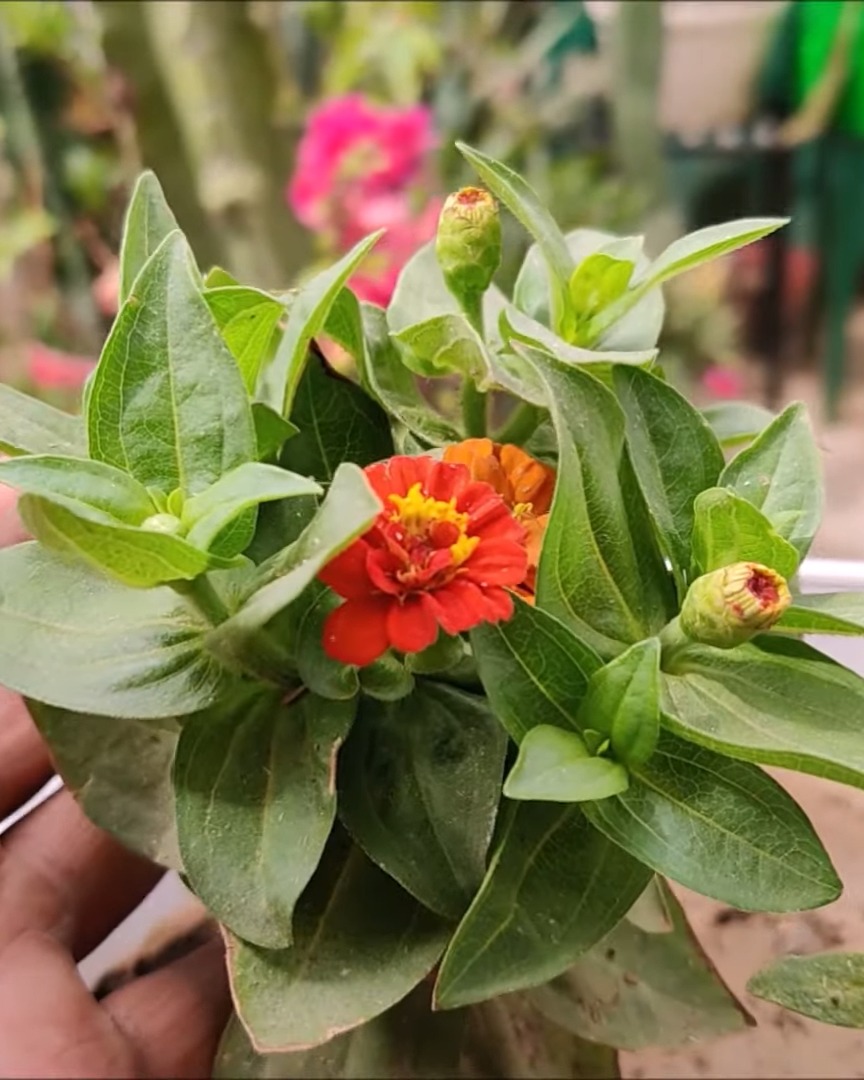
Then I spray it carefully—especially under the leaves—to target the pests directly.
Step 12: Encourage More Blooms
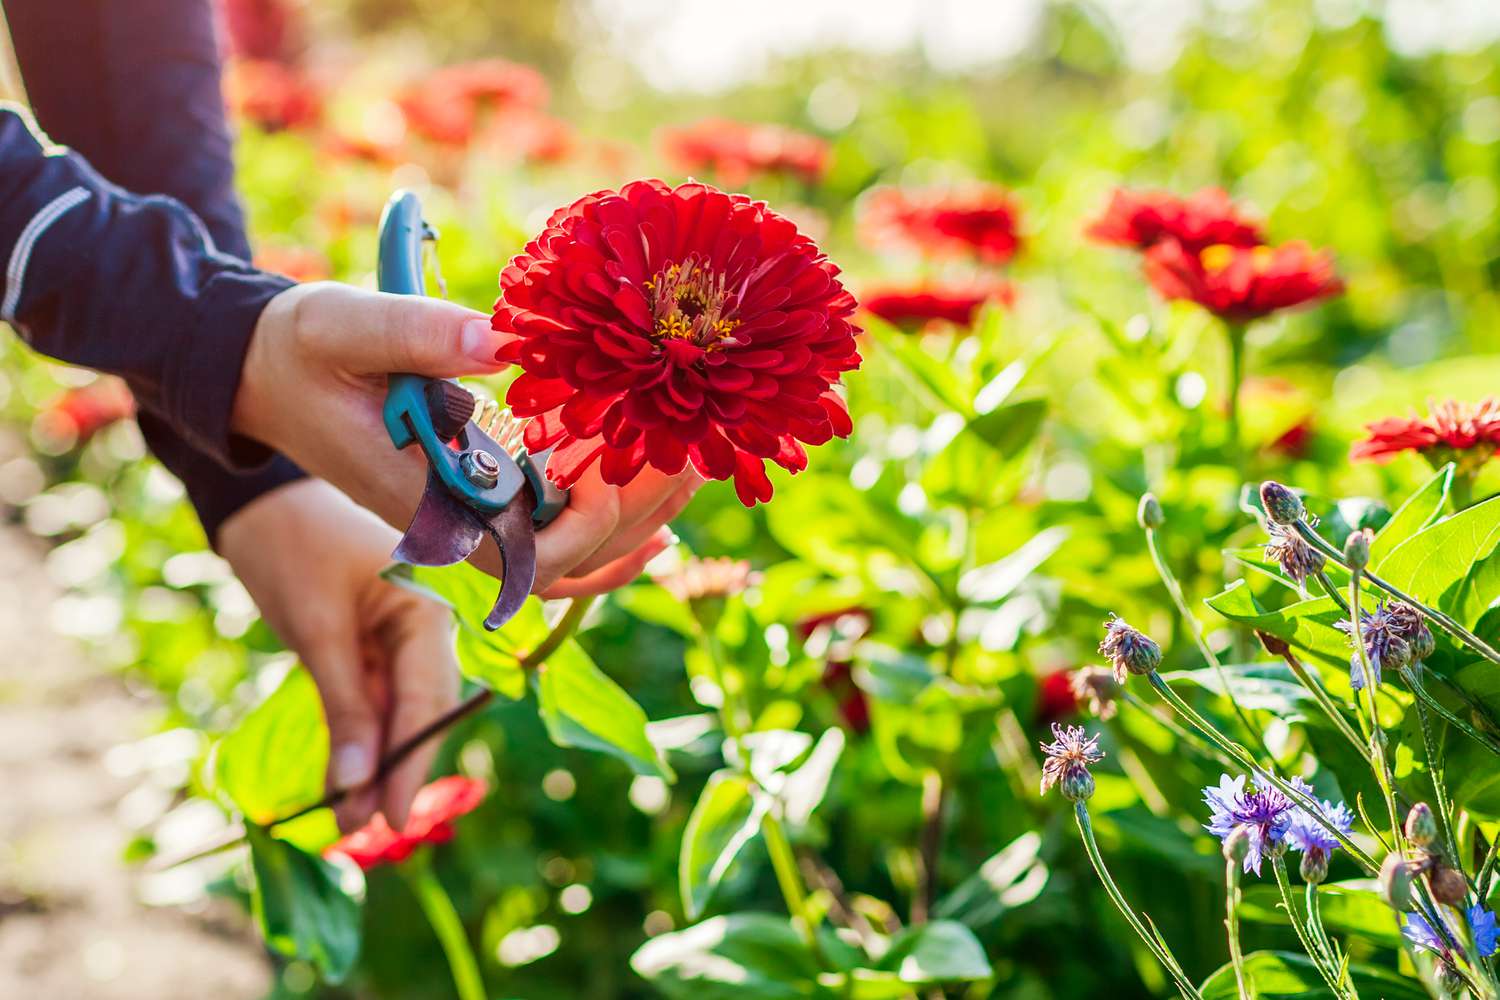
Want more blooms to keep coming? I make sure to deadhead often! I snip off any faded flowers right at the stem. It helps the plant stay full and keeps new flowers popping up.
Day 65:
Spray insecticide mix after every 9 to 12 days to avoid pests and disease.
I also avoid getting water on the leaves and keep the soil moderately moist. That way, the plants stay healthy. The flowers are also happy and grow strong.
In A Nutshell
Personally, growing Zinnias is so much fun and rewarding! They brighten up the garden with bold, happy colors. I just give them a little care, but they still grow fast and look amazing.
So, why not give them a place in your garden this season? Follow my tips, and you’ll have a yard full of cheerful summer blooms!