
Growing garlic doesn’t need a big garden or fancy equipment. I grow mine right at home using water and pots! It’s one of the most straightforward and satisfying gardening projects I’ve done. If you’re new to gardening or want to try something fun, follow my full guide. From choosing garlic bulbs to harvesting, I walk you through each step.
Contents
- 1 Why I Love Growing Kashmiri Garlic
- 2 Step 1: Choose the Right Time and Garlic Cloves for Planting
- 3 Step 2: Start Garlic in Water
- 4 Step 3: Move Garlic Sprouts to Soil
- 5 Step 4: Prepare the Right Pot and Soil Mix
- 6 Step 5: Plant Garlic Cloves in the Pot
- 7 Step 6: Try the Traditional Planting Method (Optional)
- 8 Step 7: Care for Garlic Plants During the Growing Season
- 9 Step 8: Watch for Signs Your Garlic Is Ready to Harvest
- 10 Step 9: Harvest Garlic Without Damaging It
- 11 Step 10: Dry and Store Garlic Properly
- 12 Wrapping Up
Why I Love Growing Kashmiri Garlic
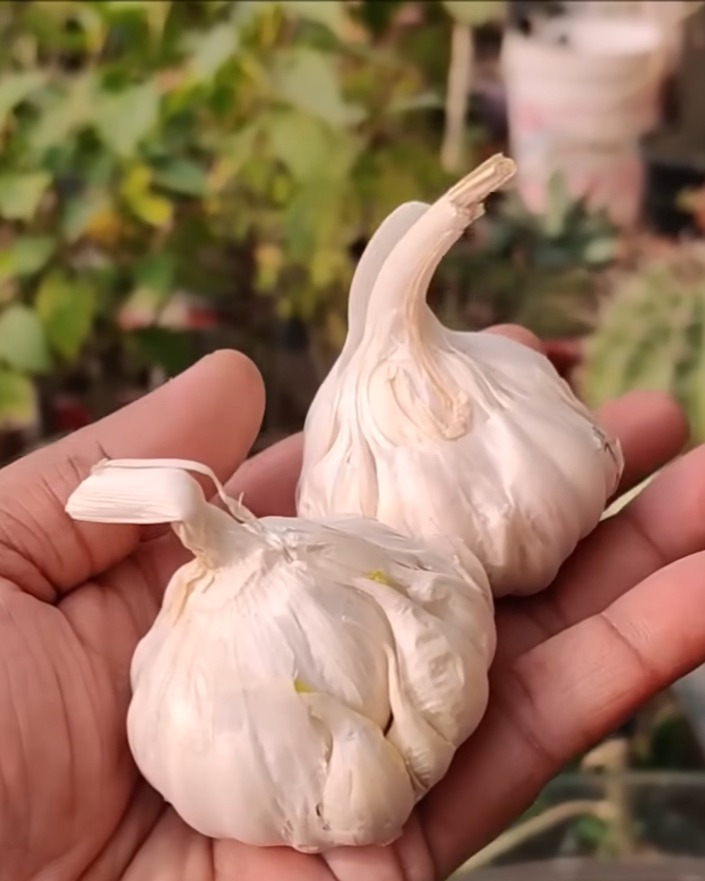
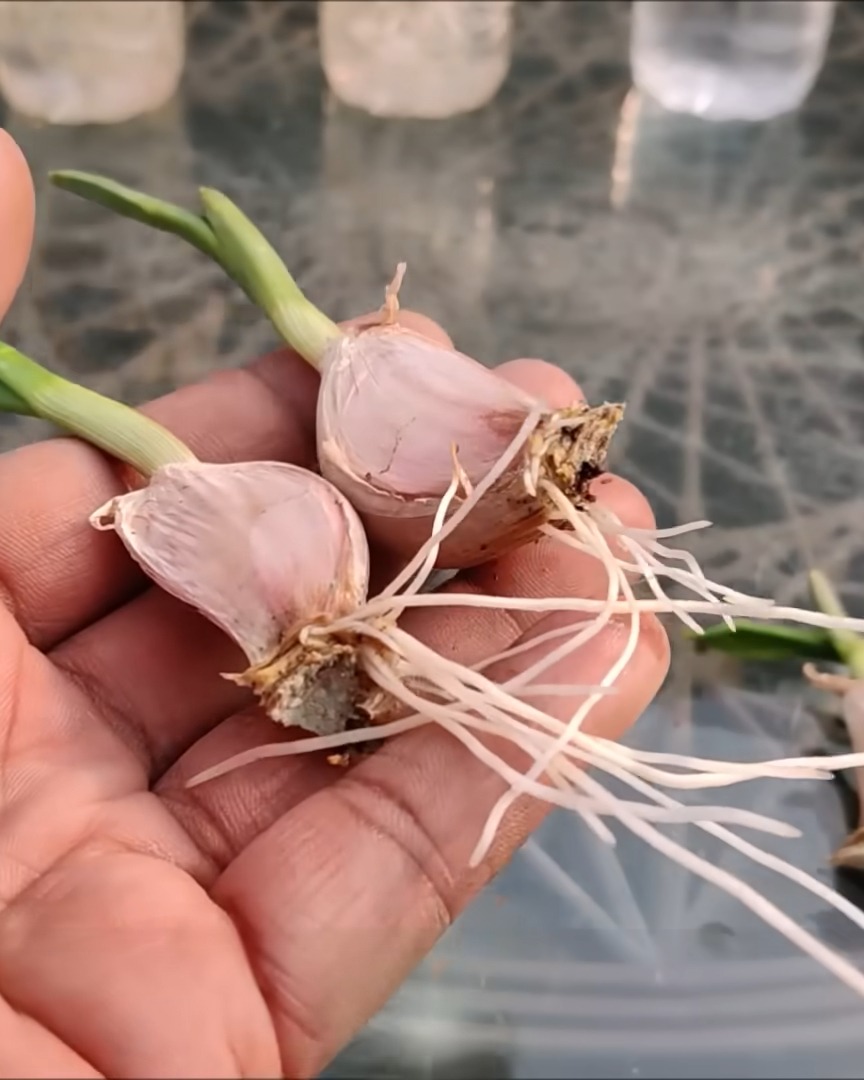
Let me tell you about something special I grow—Kashmiri garlic! Also called Himalayan or Jammu garlic, it’s a rare single-clove variety of garlic.
It’s said to be 7 times more powerful than regular garlic when it comes to health benefits. That’s pretty impressive!

Step 1: Choose the Right Time and Garlic Cloves for Planting
Let’s begin by picking the perfect time and the best garlic to plant. Timing is essential, but so is the type of garlic you choose.
When Is the Right Time to Grow Garlic?
In most places, I plant garlic between September and December. This gives the bulbs enough time to grow strong and healthy. Garlic usually takes about 6 to 8 months from planting to harvest, so patience is needed!
Which Garlic Bulbs Should You Use?
I always buy fresh garlic bulbs with large cloves. The larger the clove, the better it will grow.
I keep the biggest cloves for planting and use the smaller ones in my kitchen. Trust me, it makes a difference!
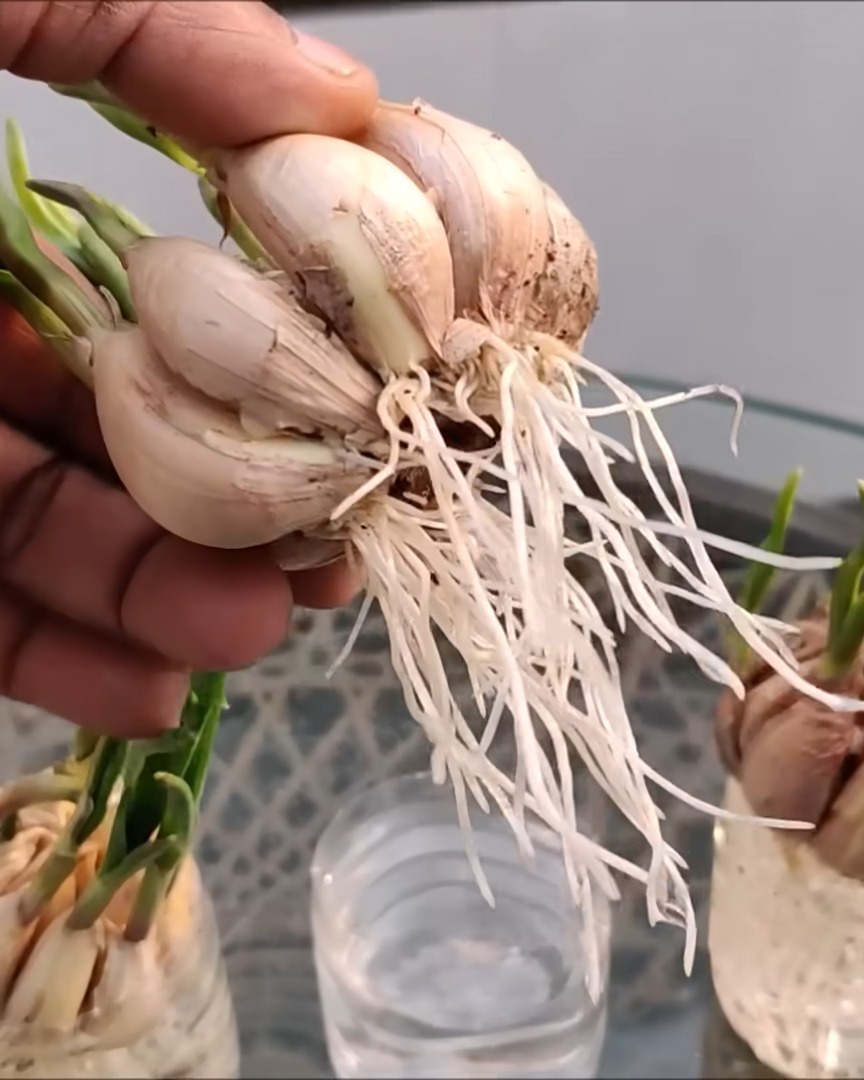
Step 2: Start Garlic in Water
Starting garlic in water is a fun way to watch it grow right before your eyes. This step gets the roots going fast!
How to Set Up Garlic in Water
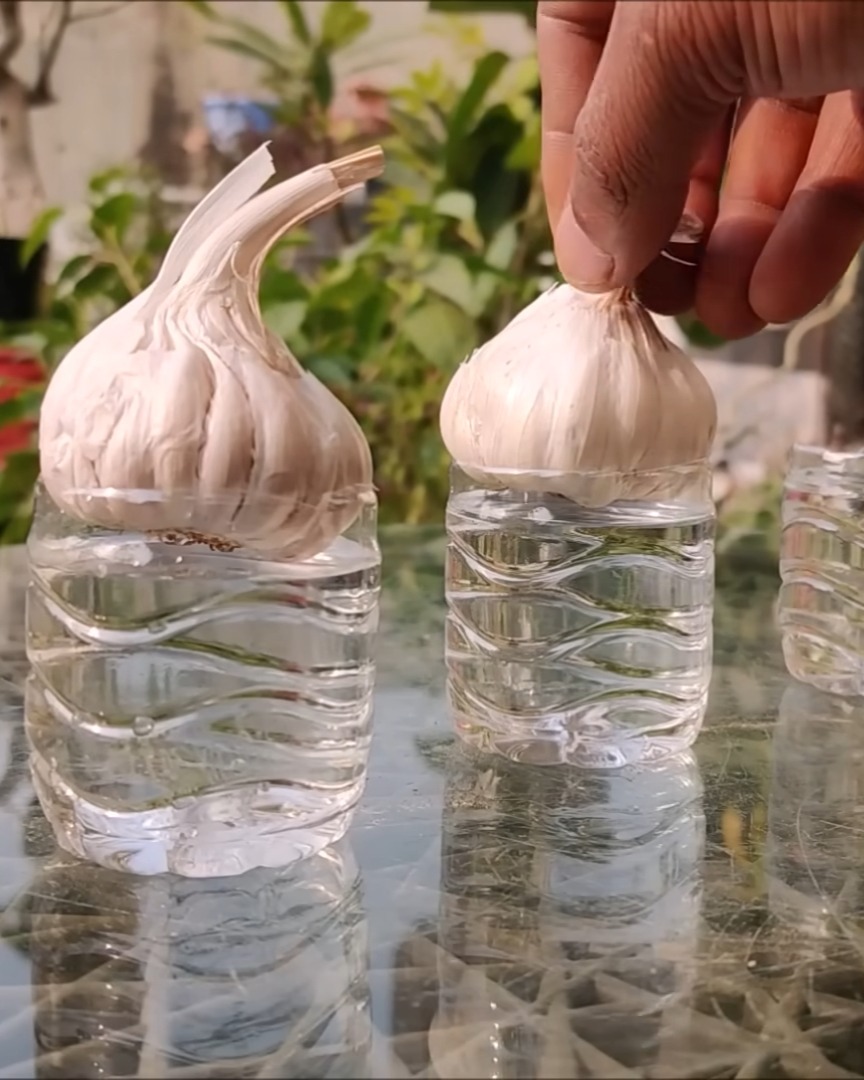
I fill a transparent glass or bottle with clean water. I can see when the roots begin to grow!
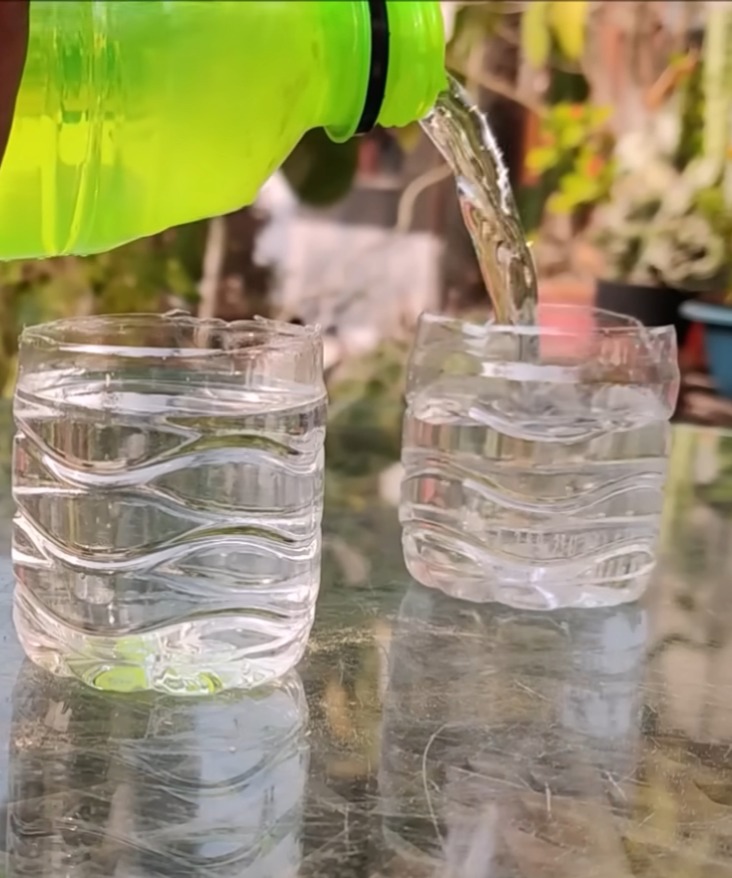
It’s best to place the flat side (root end) of the clove facing down and the pointy end up.
Where to Put the Garlic Glass
I place my container in a sunny spot where it gets 5 to 7 hours of direct sunlight daily.
After just 2 days, I start seeing little roots! By day 5 or 6, tiny green sprouts appear. It’s so exciting!
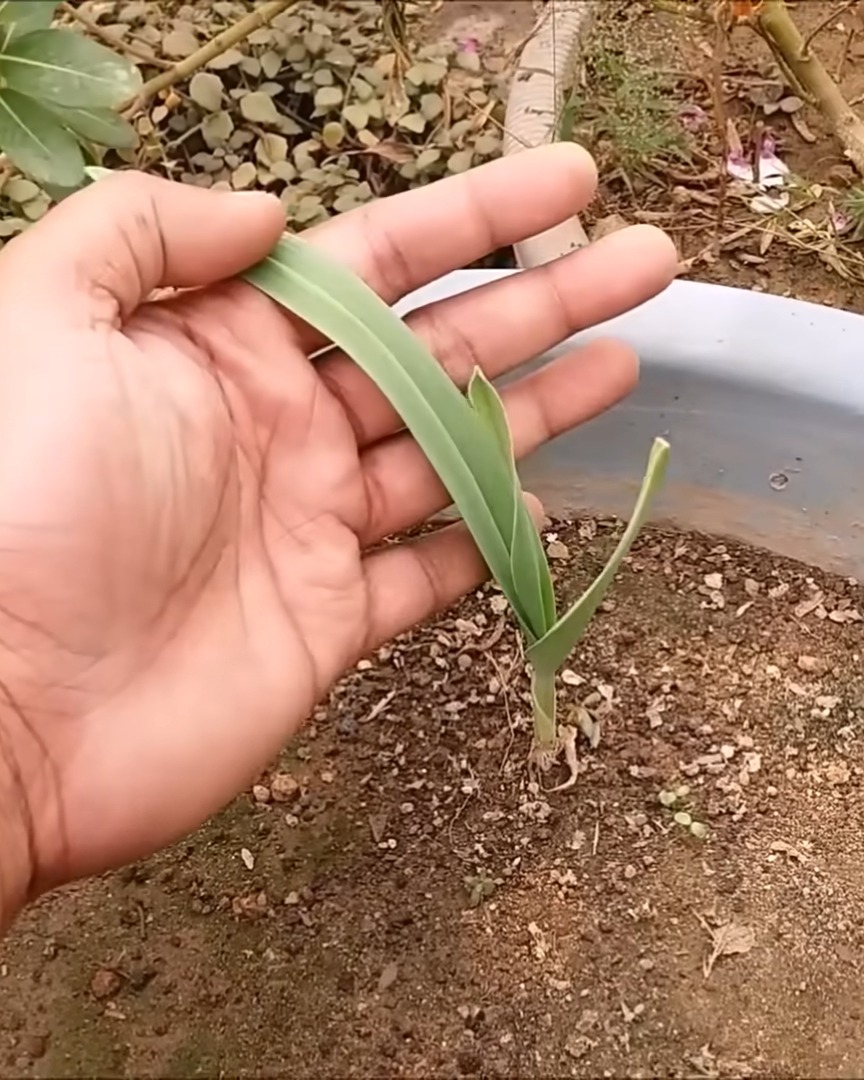
Step 3: Move Garlic Sprouts to Soil
Once the garlic has sprouted in water, it’s time to move it into the soil. This is where the real growth begins.
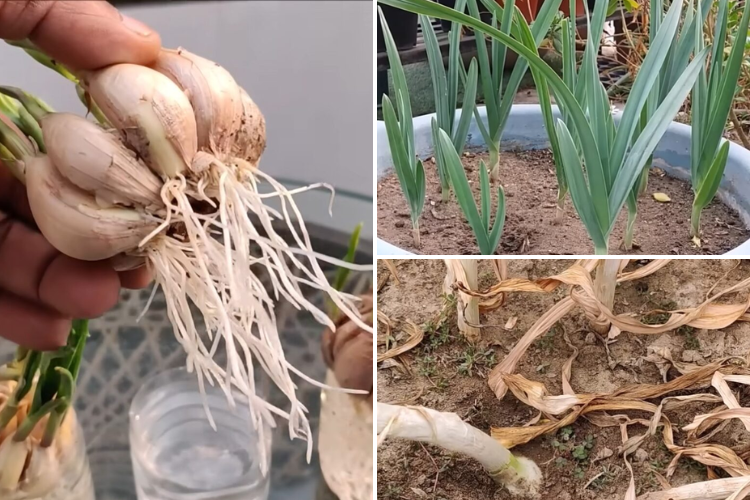
After 5 to 6 days, when the green tips appear, I gently pull apart the garlic bulb. I make sure not to damage the base of the cloves. If the base gets hurt, the garlic won’t grow properly.
Step 4: Prepare the Right Pot and Soil Mix
Good soil and the right container help garlic grow into big, strong bulbs. Here’s how I prepare mine.
What Size Pot Should You Use?
Your container should be at least 8 to 15 inches deep. I use a pot that’s 22 inches wide, which lets me plant 10 to 12 cloves. A larger container means less frequent watering and more room for roots.
Make sure your pot has holes at the bottom. Garlic doesn’t like sitting in soggy soil—it might rot.
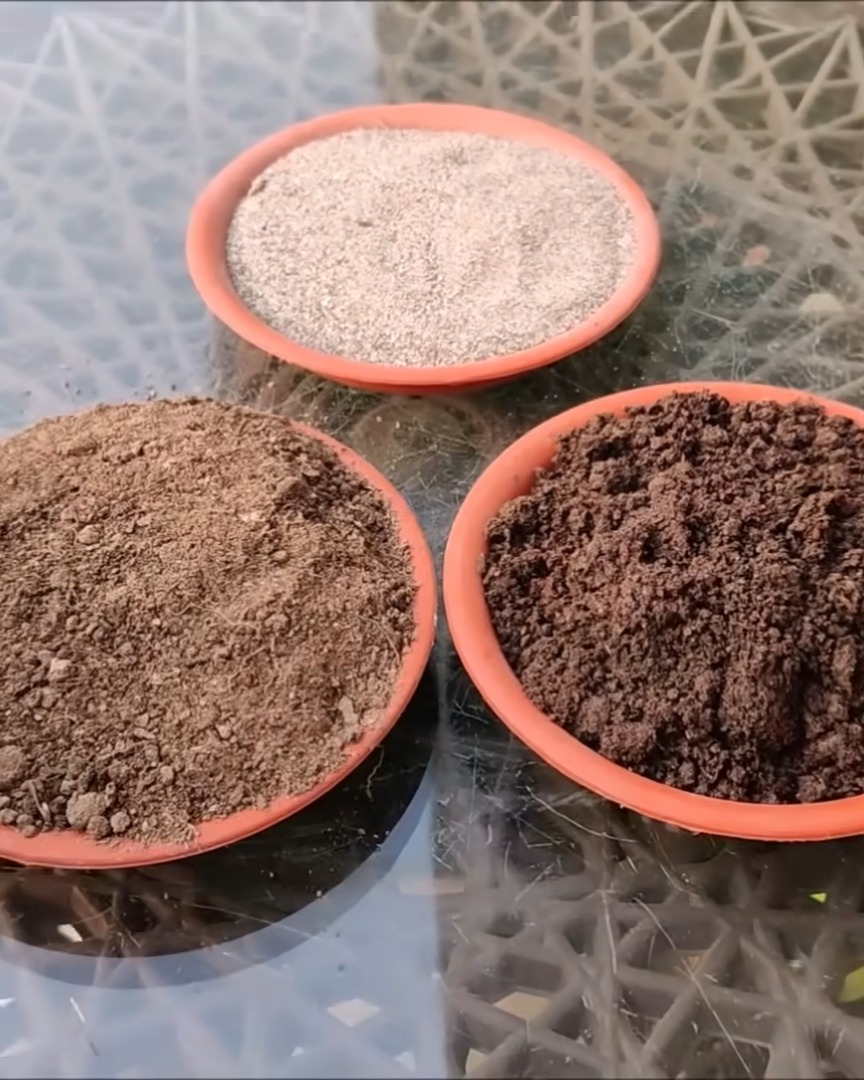
My Favorite Soil Mix for Garlic
I mix:
- 50% garden soil
- 30% compost
- 20% river sand
This mix drains well and gives garlic what it needs. I stir it all together before using it.
Step 5: Plant Garlic Cloves in the Pot
Now it’s time to plant! Here’s exactly how I do it.
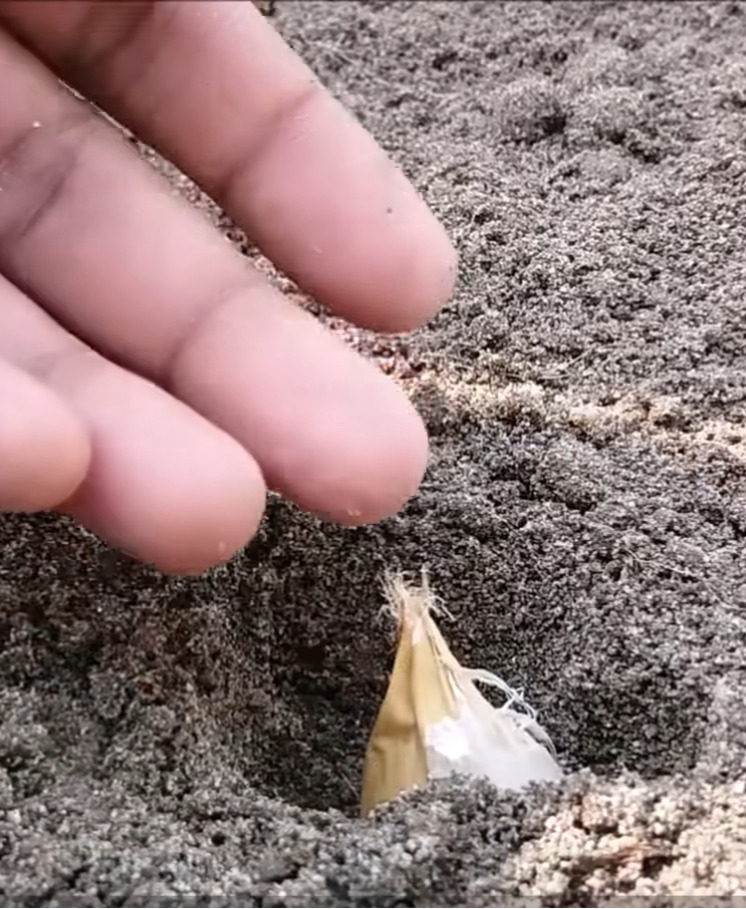
I dig 2 to 3-inch deep holes. I plant one clove per hole, keeping them 2 inches away from the pot rim. I space each clove 4 to 6 inches apart in all directions.
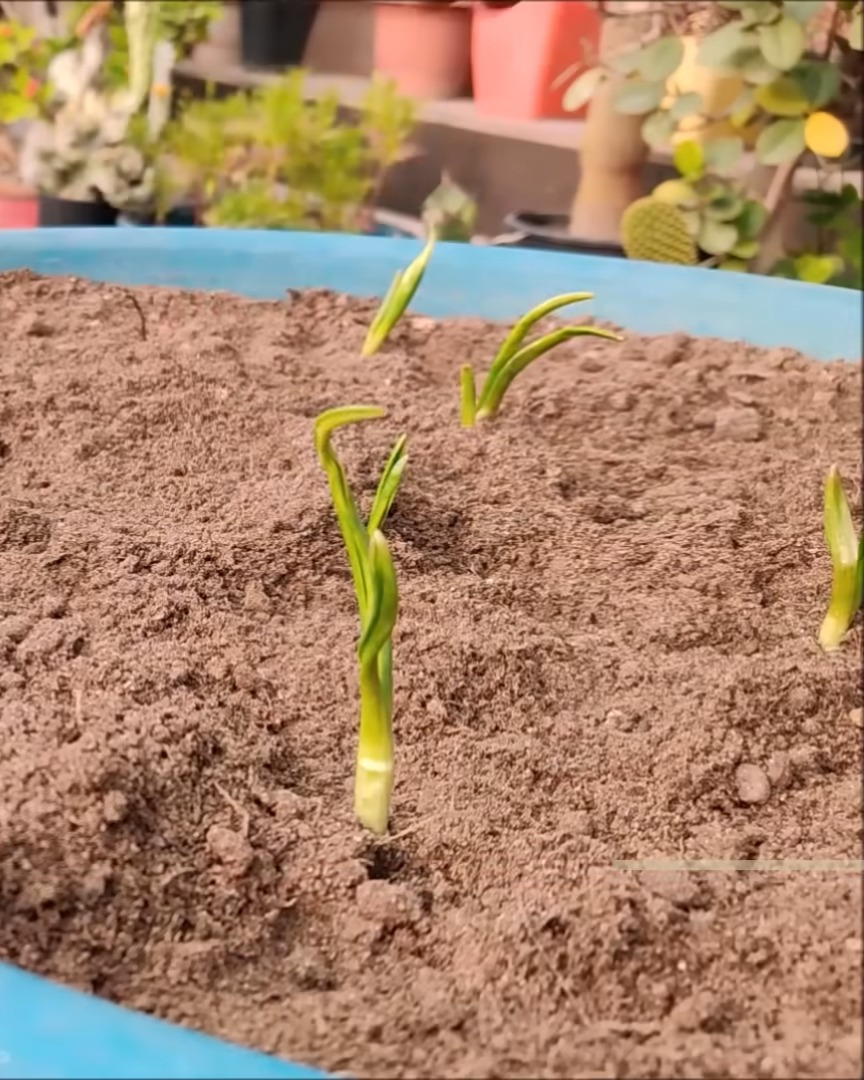
Place the pointy side up and the wide root end down. The base of the clove should sit about 2 to 3 inches below the soil surface, and the green tip must stay above the soil.
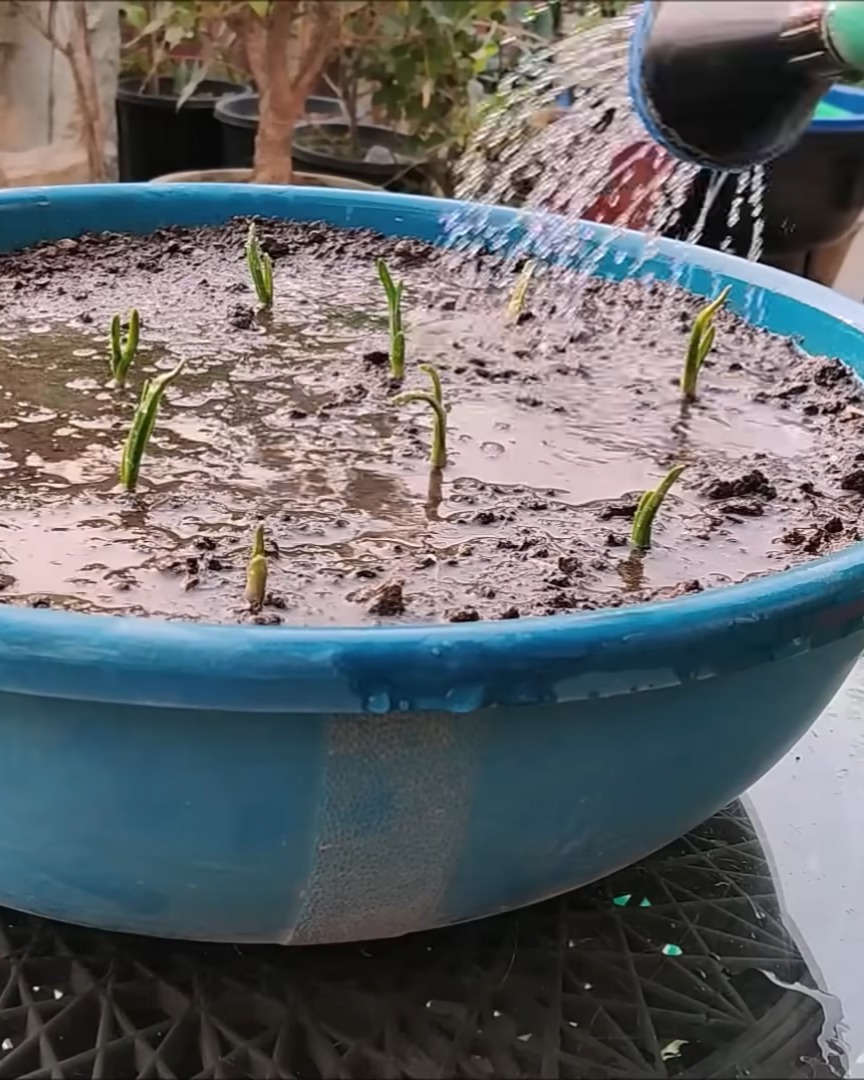
I water the soil lightly. Then, I keep an eye on it throughout winter to make sure it stays moist but not soggy.
Step 6: Try the Traditional Planting Method (Optional)
If you’d rather skip the water step, you can go the traditional route. I’ve done this, too, and it works well!
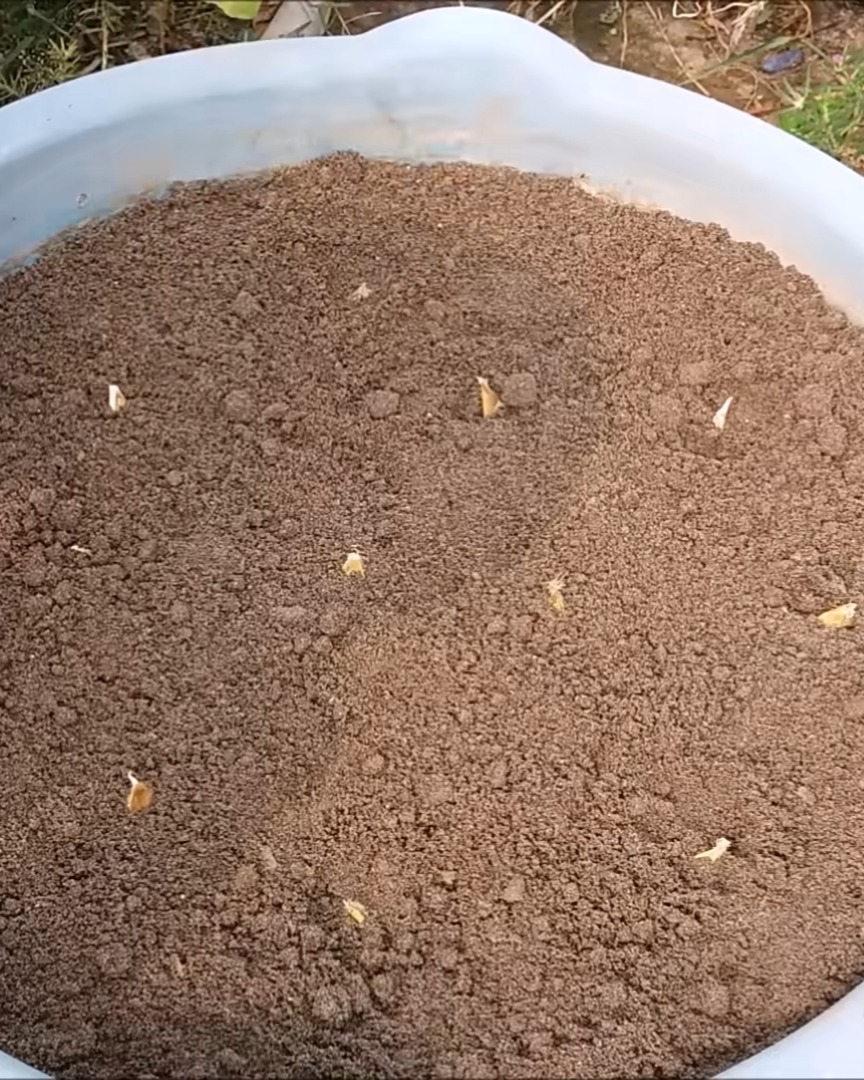
I break apart a large garlic head and select the biggest cloves. Then, I plant them directly in the soil.
I hold the clove pointy side up and push it into the soil about 2 inches deep. I still make sure the green tip is above the soil.
Cloves need 4 to 6 inches of space so they can grow big. I never cram them together. I place the pot somewhere that gets at least 6 hours of full sun daily.
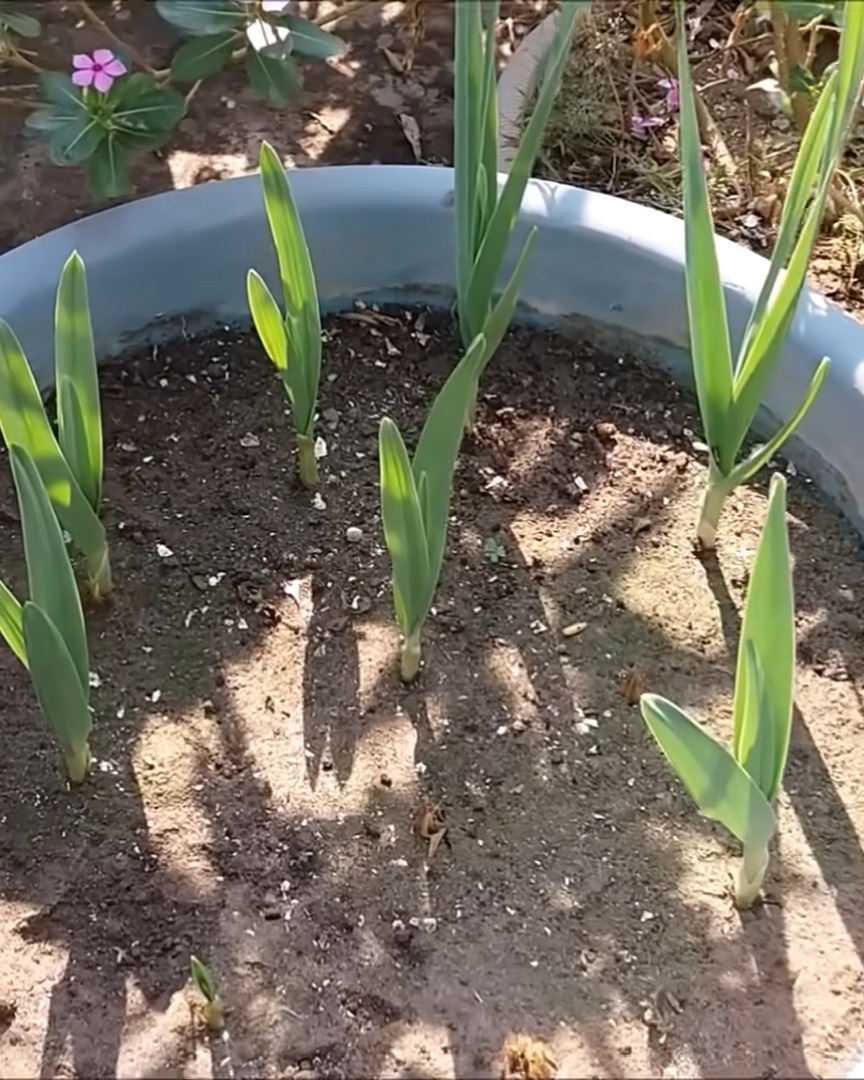
Step 7: Care for Garlic Plants During the Growing Season
Now that your garlic is planted, it’s time to care for it properly so it can grow strong and healthy.
Day 6:
Can You Harvest Garlic Greens?
Day 18:
Day 32:
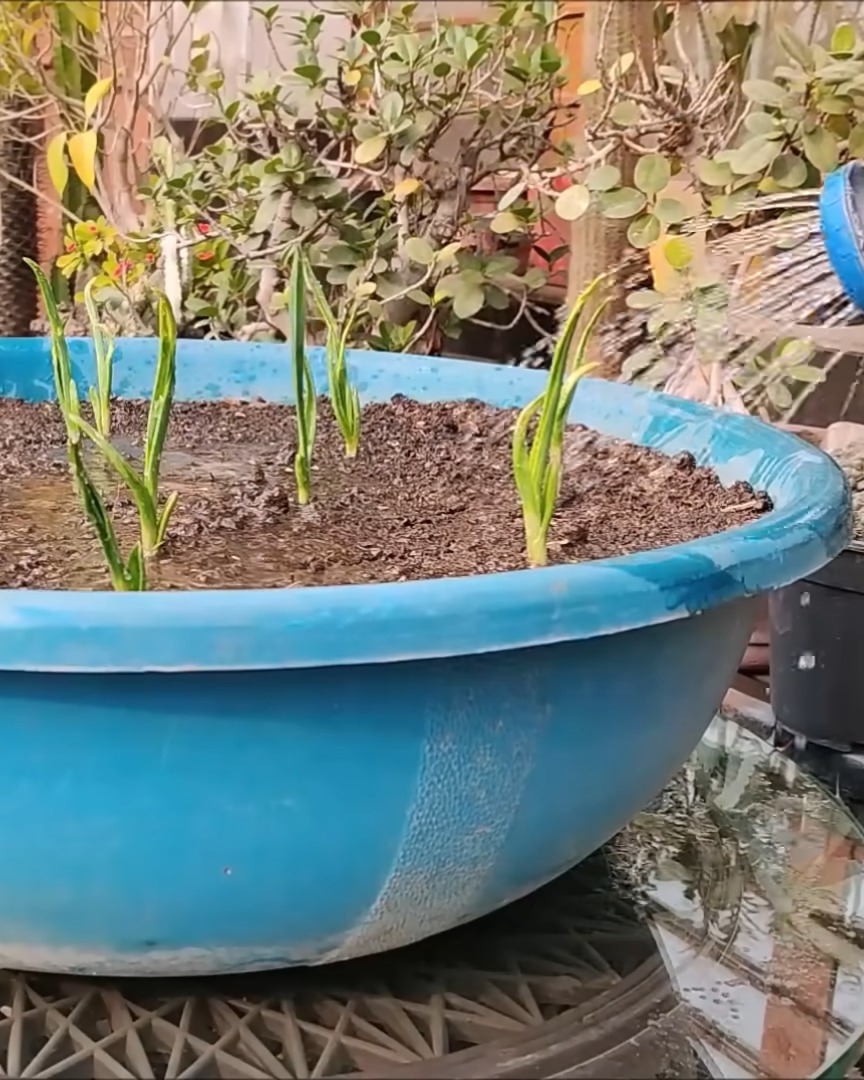
Day 55:
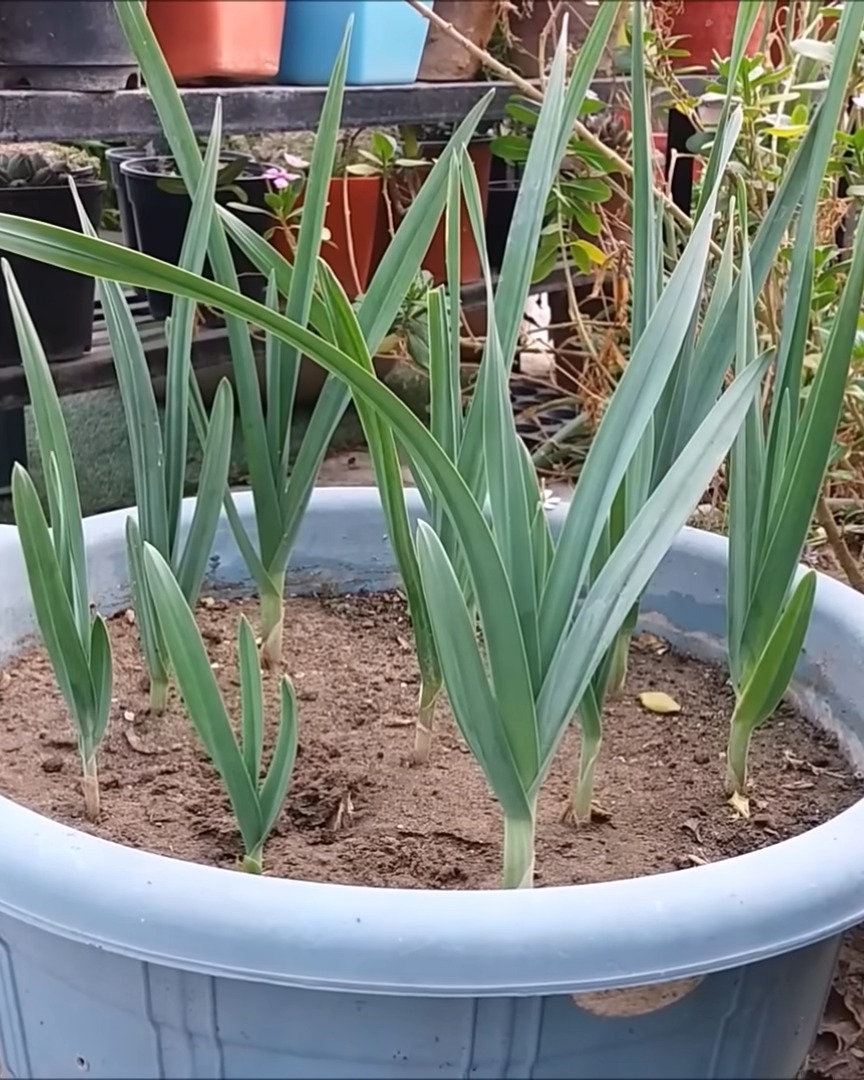
I start picking the green shoots when they’re 5 to 7 inches tall. But I always leave about 1 inch so the plant keeps growing.
How to Fertilize Garlic Plants
If your potting mix is rich, you might not need fertilizer. But I still fertilize no more than twice a month with a general-purpose fertilizer.
I spread it evenly and mix it into the top layer of soil.

How to Help Bulbs Grow Bigger
Day 100:
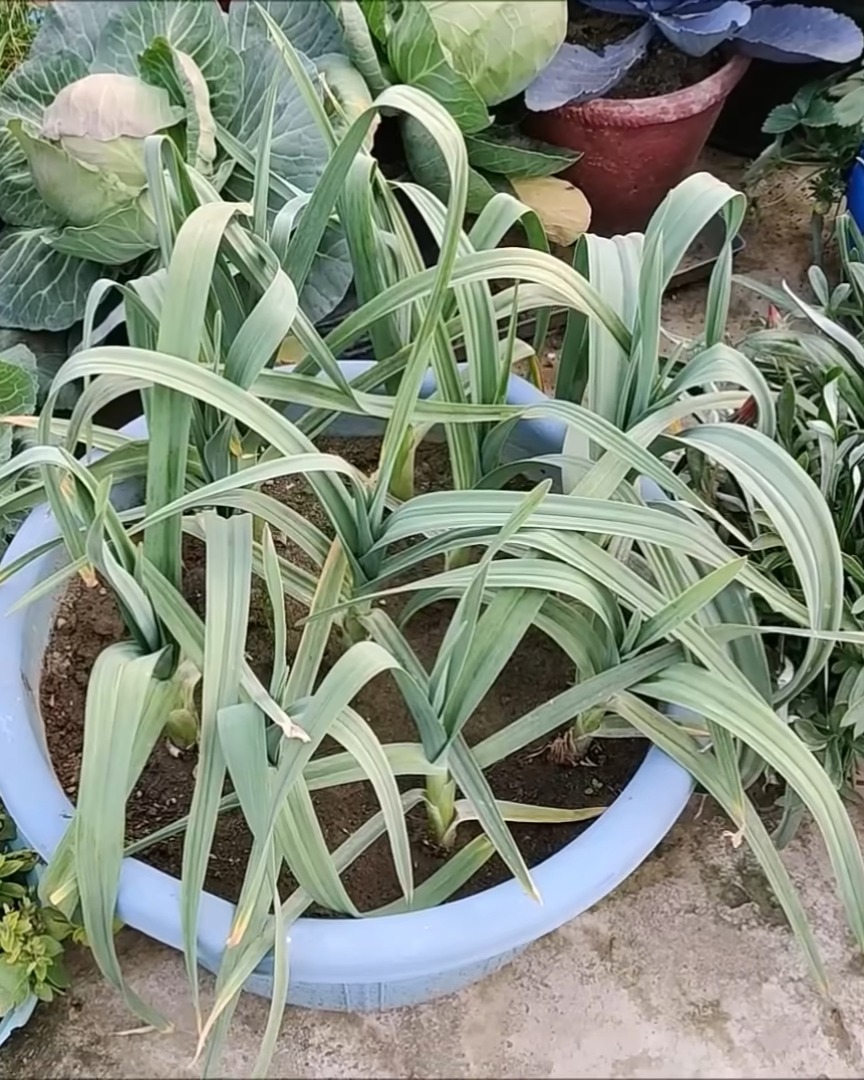
Every 20 to 25 days, I loosen the topsoil. This makes it easier for the garlic bulbs to grow and expand.
Step 8: Watch for Signs Your Garlic Is Ready to Harvest
It’s fantastic to see your garlic mature! Here’s how I know when to harvest.
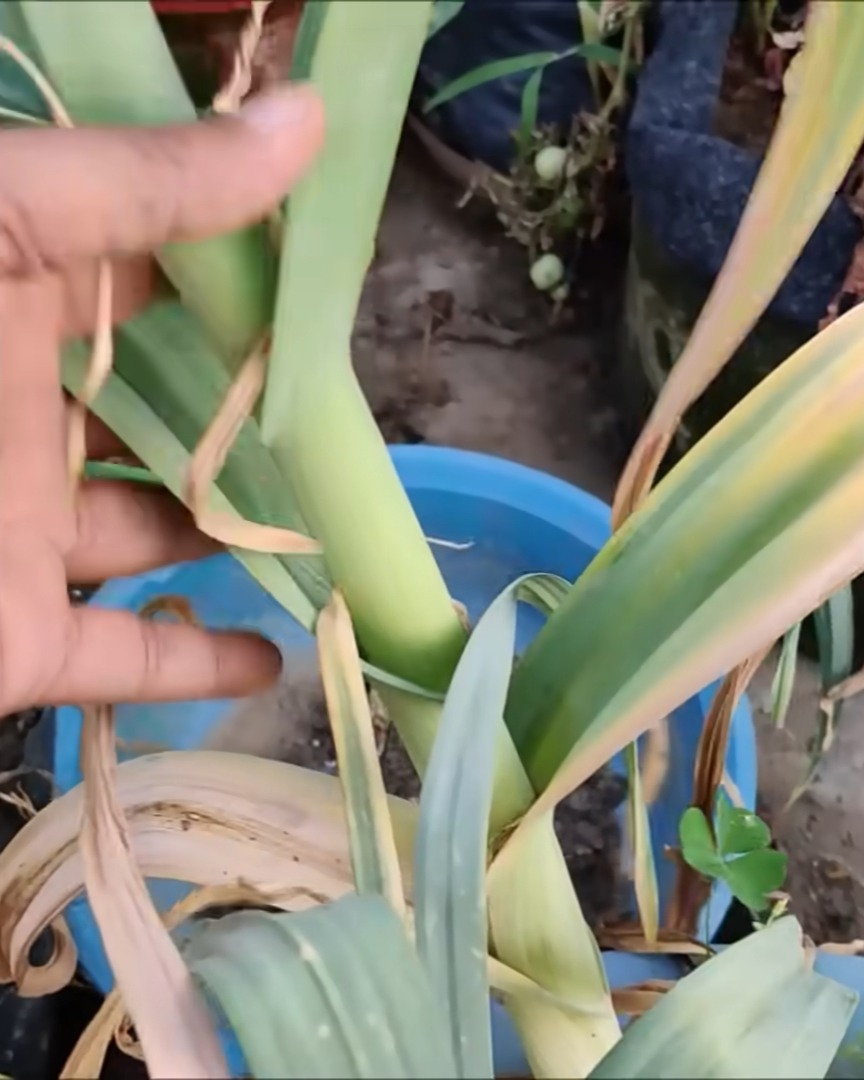
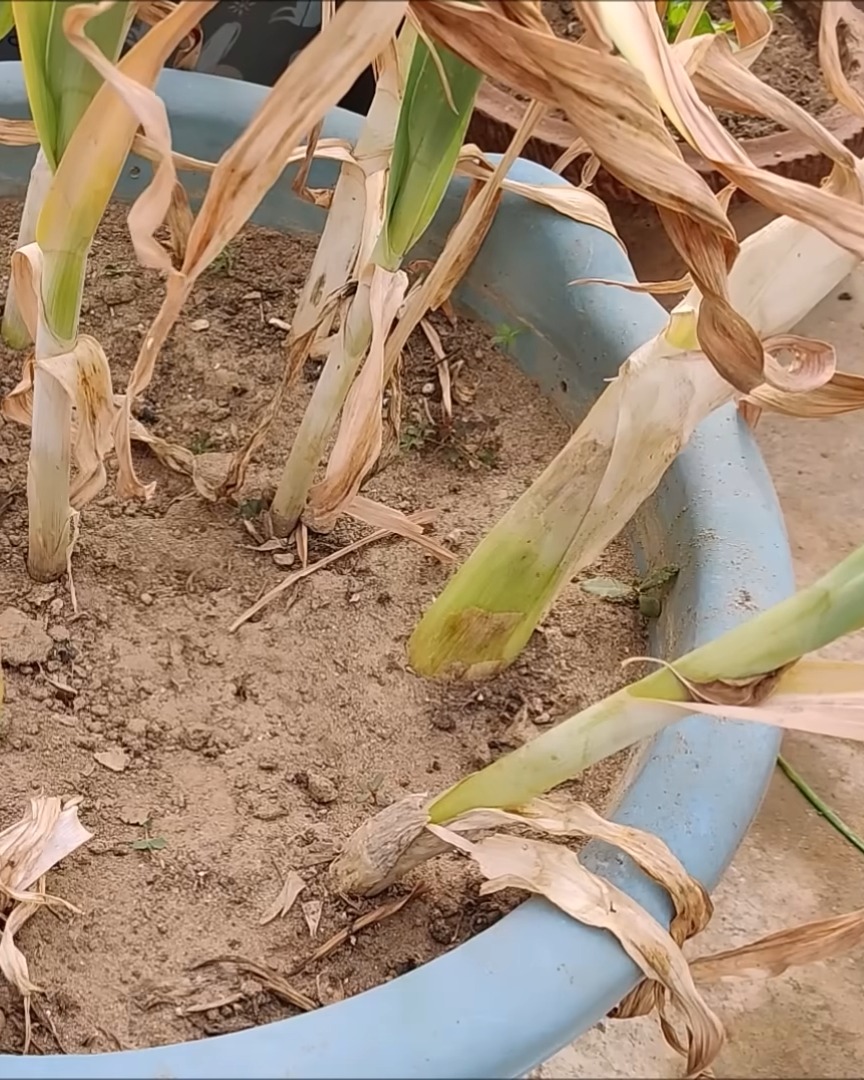
How to Tell Garlic Is Mature
Day 150: The lower leaves turn brown and dry. Once I see that, I stop watering and let the garlic soak up the summer heat. A hot, dry summer helps the bulbs mature.
Day 175:
Day 215:
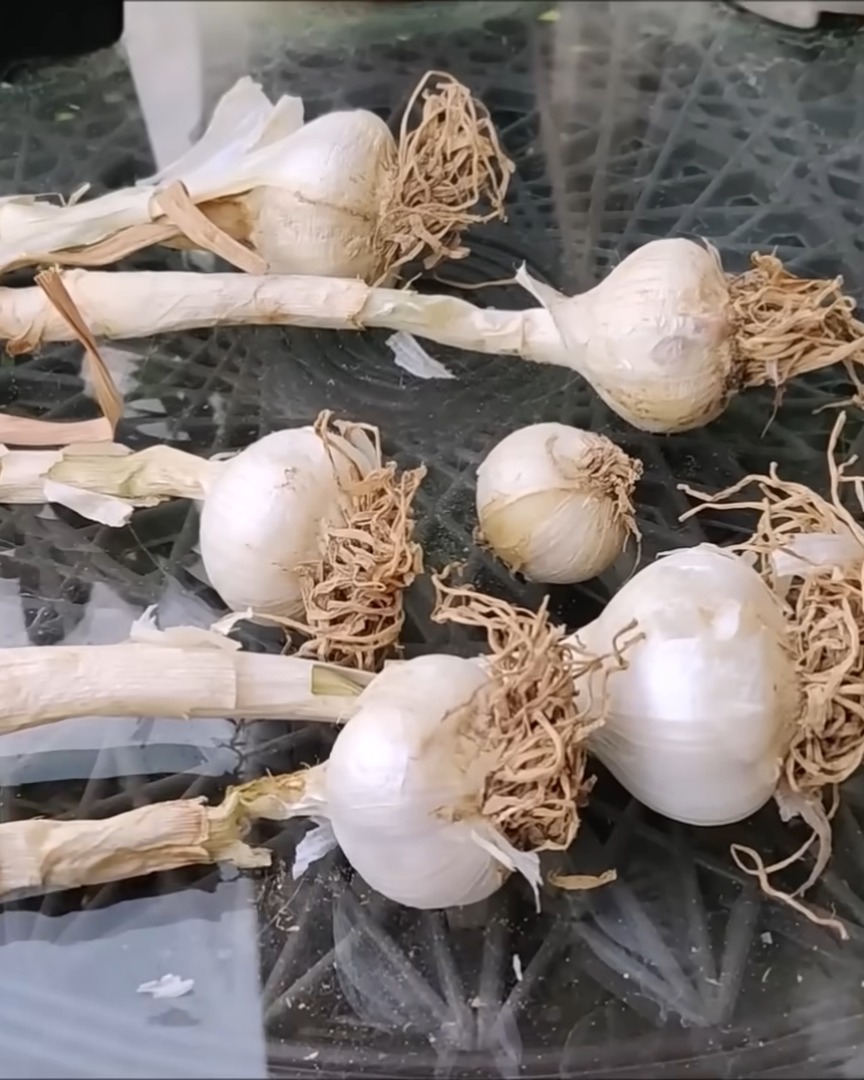
Step 9: Harvest Garlic Without Damaging It
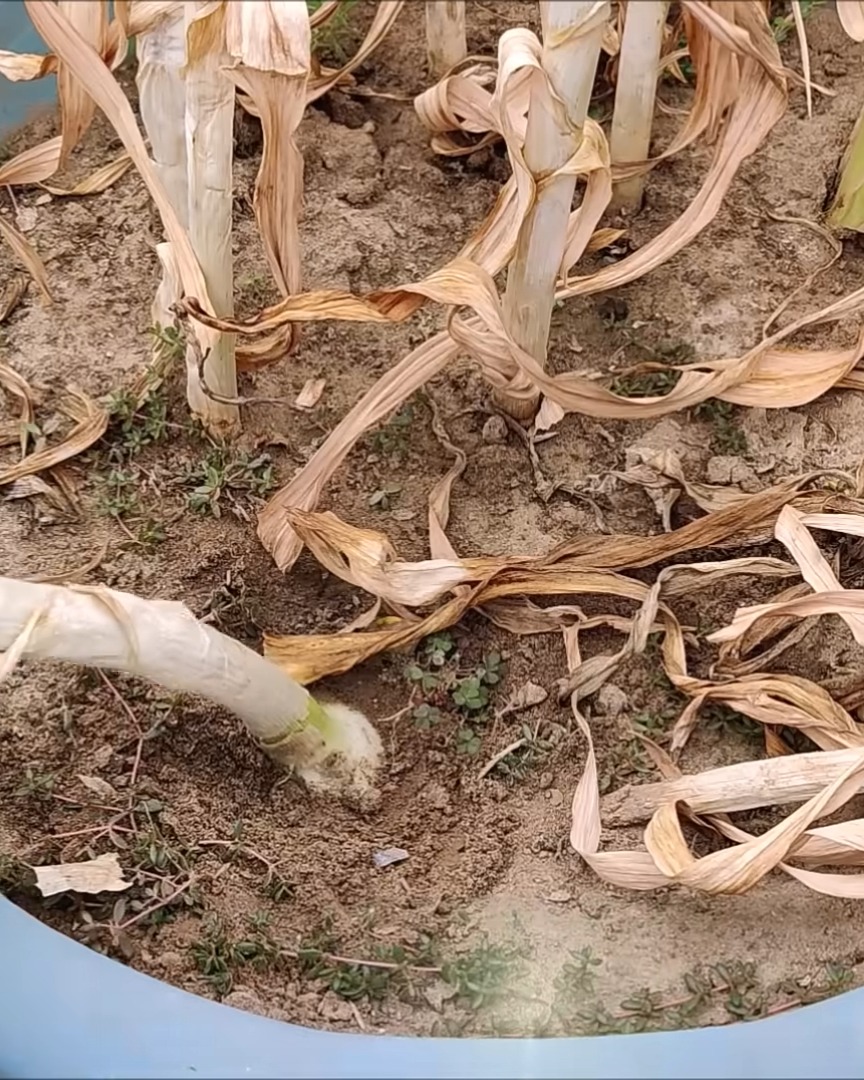
It’s finally time! Be gentle when pulling your garlic from the pot.
I dig from the sides to avoid hurting the root plate. I lift the plant and gently brush off any extra soil.
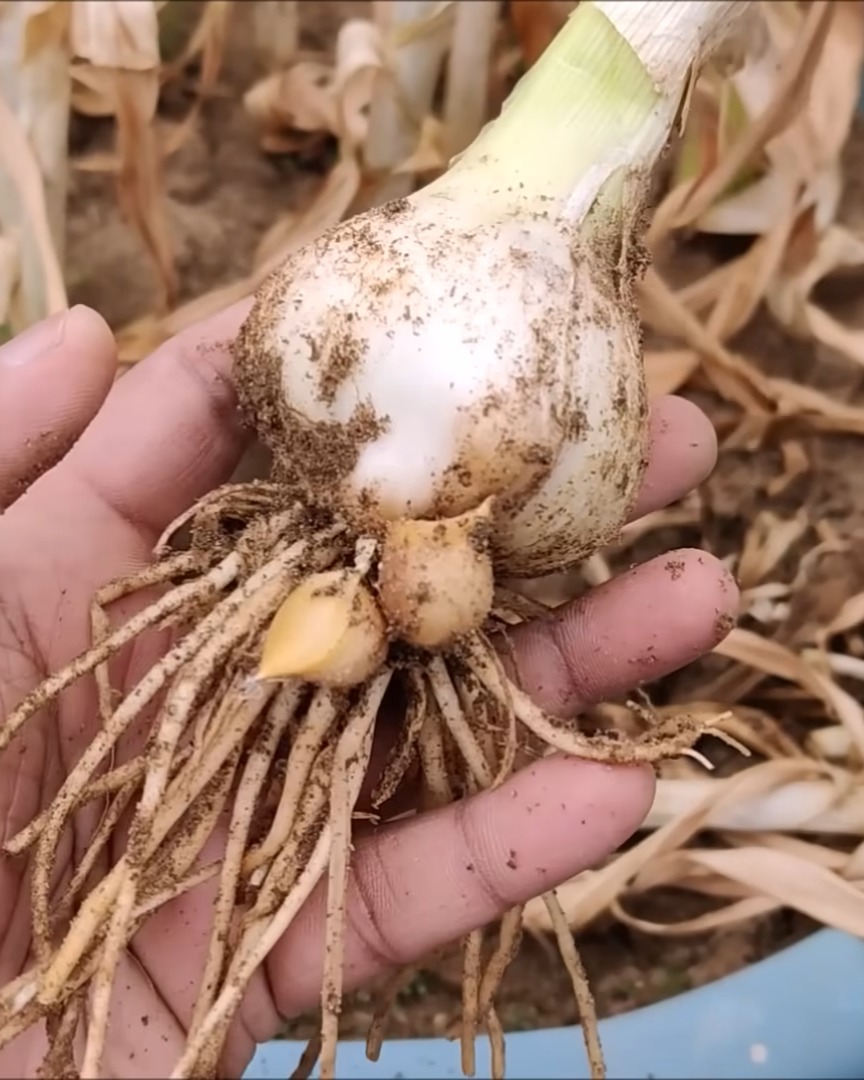
I never remove the foliage or roots just yet.
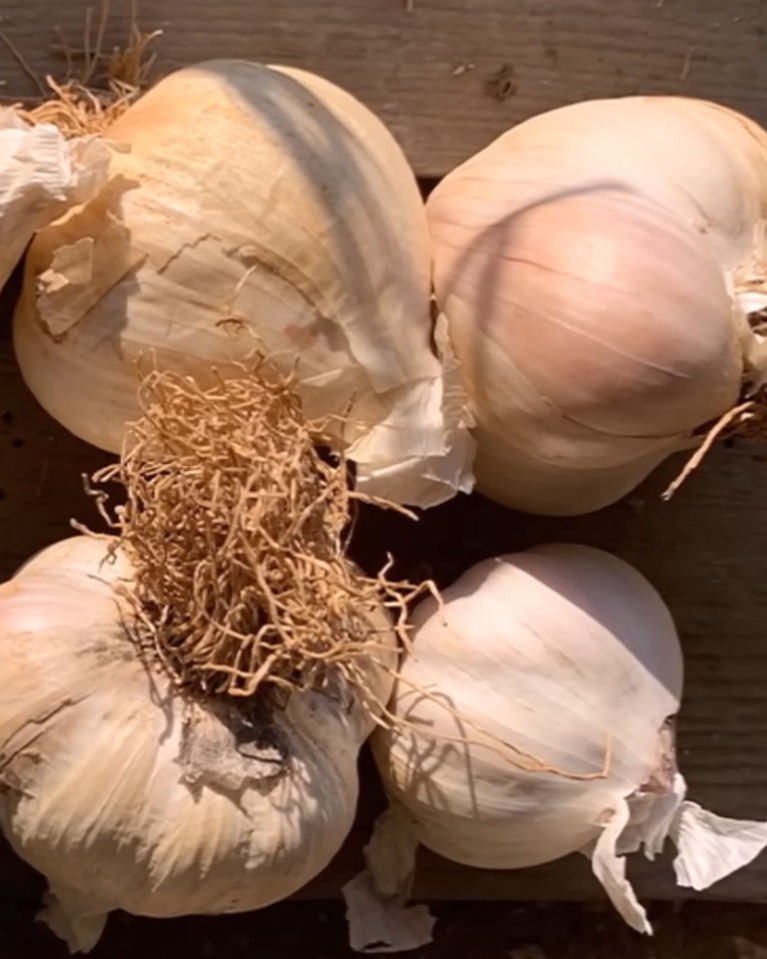
Step 10: Dry and Store Garlic Properly
Drying is the final step before you can use or store your garlic.
How Long Should You Dry Garlic?
I let the garlic bulbs dry for 8 to 15 days. I keep them in a dry, shady area with good airflow. Once they feel flaky, they’re ready.
How to Store Garlic After Drying
When dry, I cut off the stems and roots and store the garlic in a cool, dry place. Simple and satisfying!
Wrapping Up
That’s my full step-by-step method for growing garlic in water and soil! It’s easy, rewarding, and totally doable at home. Why not try it out for yourself? Let me know how it goes — I’d love to hear about your garlic-growing journey!