
If you’ve ever added a splash of autumn charm to your garden with chrysanthemums, only to be met with bare soil come spring, you’re not alone. Despite being labeled as perennials, most fall mums don’t return the next year. But the good news? With just a few tweaks, you can enjoy their vibrant blooms again and again.
Let’s unravel the mystery behind short-lived mums and learn how to keep them blooming beautifully year after year.
Contents
- 1 Are Mums Annuals or Perennials? The Surprising Truth
- 2 Want Perennial Mums? It Starts With When You Plant
- 3 Smart Shopping: What to Look for in Store-Bought Mums
- 4 Planting Mums in Pots? Here’s How to Do It Right
- 5 Ground Planting Tips: Keep Roots Happy All Year
- 6 The Secret to Bushy, Bloom-Filled Mums: Pinching
- 7 Winter Protection: How to Help Mums Survive the Cold
- 8 Take Your Fall Display to the Next Level
- 9 Final Thoughts: Make Your Mums a Yearly Showstopper
Are Mums Annuals or Perennials? The Surprising Truth
The answer is… both.
There are hardy garden mums that thrive in USDA zones 4 to 9 — these are true perennials. However, the colorful potted mums that flood stores in late September are usually bred for instant impact, not long-term success. Their energy is focused on blooming, leaving little for root development.
Want Perennial Mums? It Starts With When You Plant
Timing is everything when it comes to chrysanthemums.
If you’re picking them up from a big box store in October, it may already be too late. Mums need at least 6–8 weeks in the ground before the first frost to establish strong roots.
Your best options:
-
Spring planting gives the plant a full season to settle in.
-
Early fall planting (not late!) is still possible if done before temperatures drop.
Smart Shopping: What to Look for in Store-Bought Mums
Before you buy, keep these in mind:
-
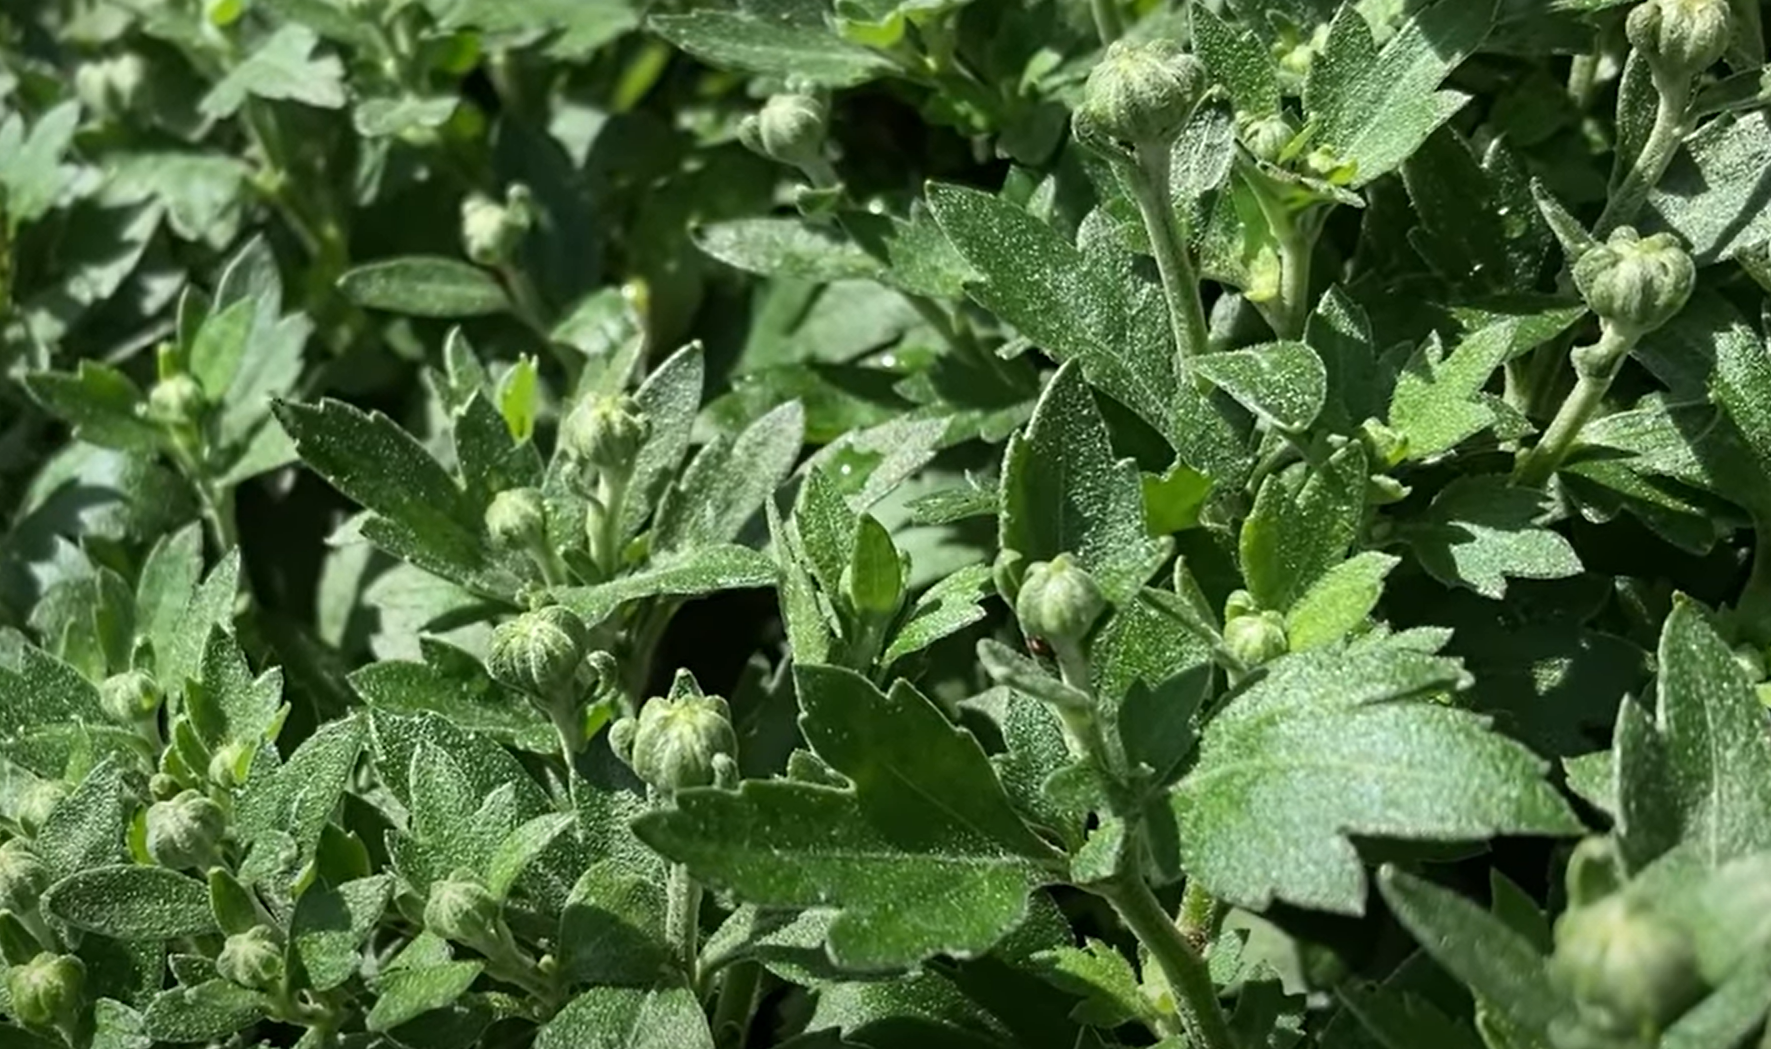
Look for tight buds, not fully bloomed plants — they’ll last longer.
-
Avoid mums with dry or cracked soil.
-
Wilting or drooping plants are a red flag for poor watering.
If you’re using mums in containers, repot them as soon as you get home. Those nursery pots dry out fast!
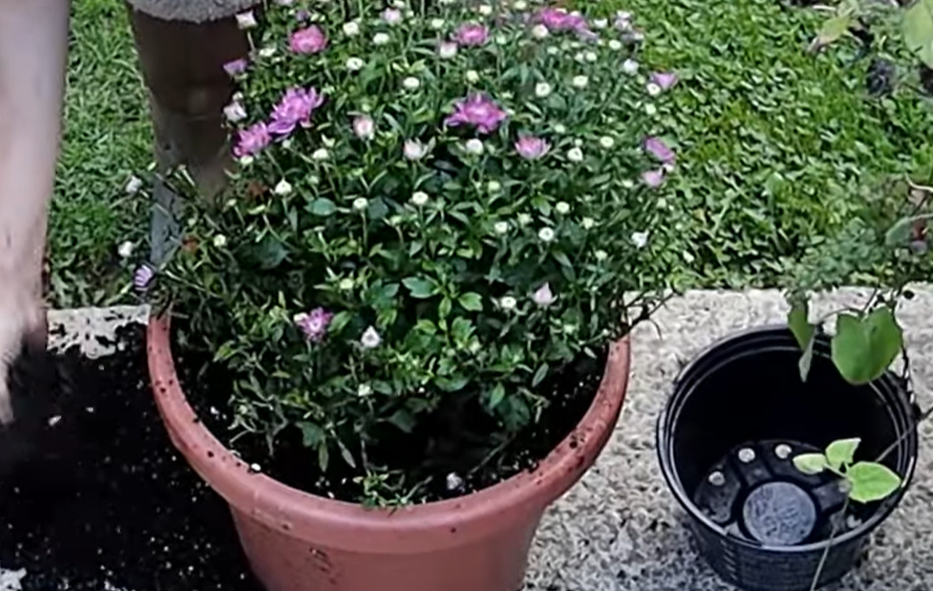
Planting Mums in Pots? Here’s How to Do It Right
Container mums can make a big statement — but only if planted properly.
-
Choose a larger pot with drainage holes.
-
Gently loosen the root ball before planting.
-
Use nutrient-rich potting soil.
-
Water thoroughly and place in full sun.
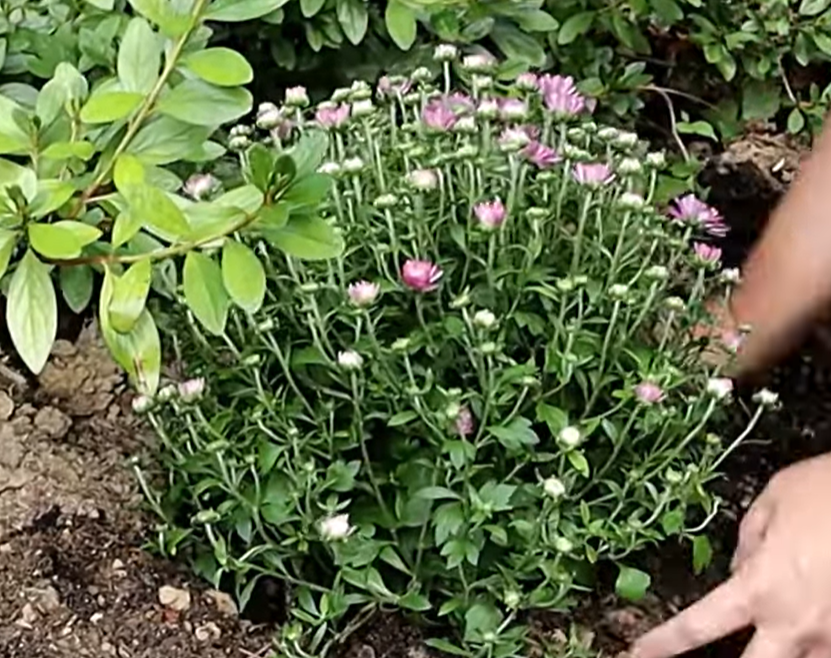
Ground Planting Tips: Keep Roots Happy All Year
If you’re planting in your landscape:
-
Pick a sunny, well-drained spot.
-
Avoid areas where water collects — mums hate soggy soil.
-
Plant in a spot shielded from harsh winter winds.
Planting steps:
-
Dig a hole twice as wide as the root ball.
-
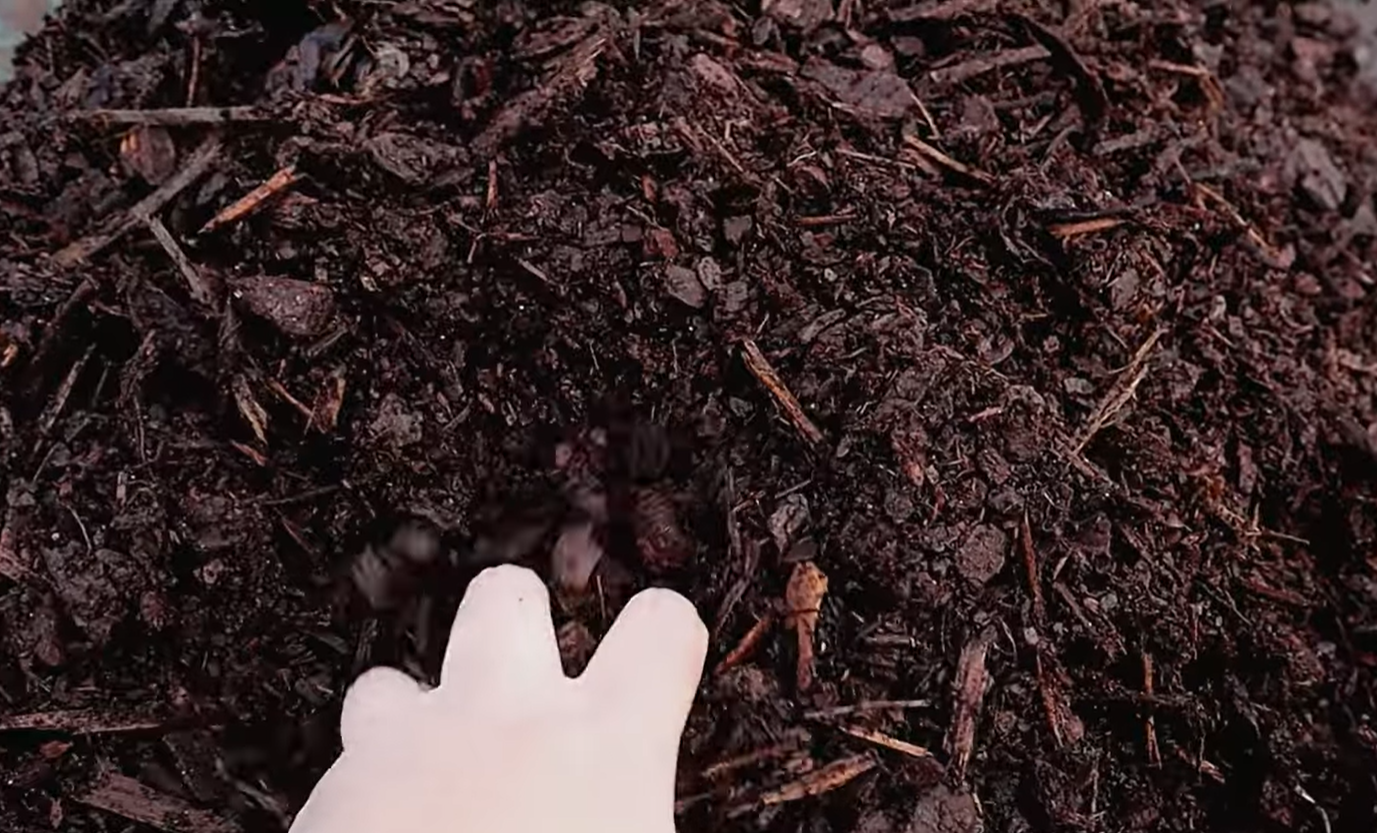
Mix compost into native soil (1:1 ratio).
-
Add starter fertilizer (only in spring or summer).
-
Plant slightly above ground level.
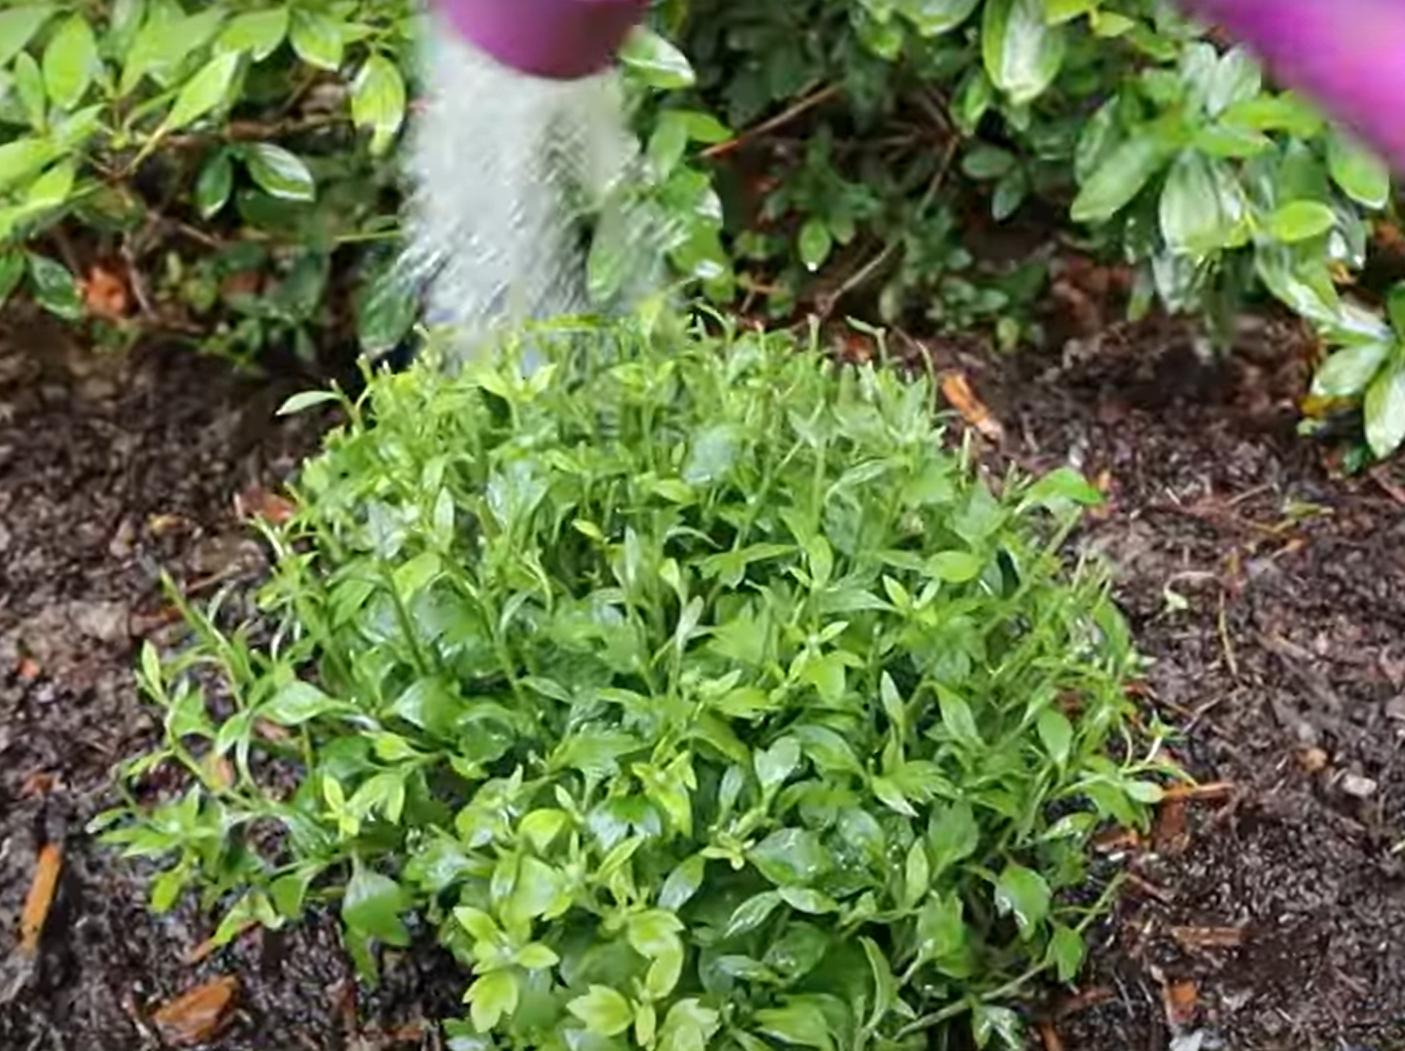
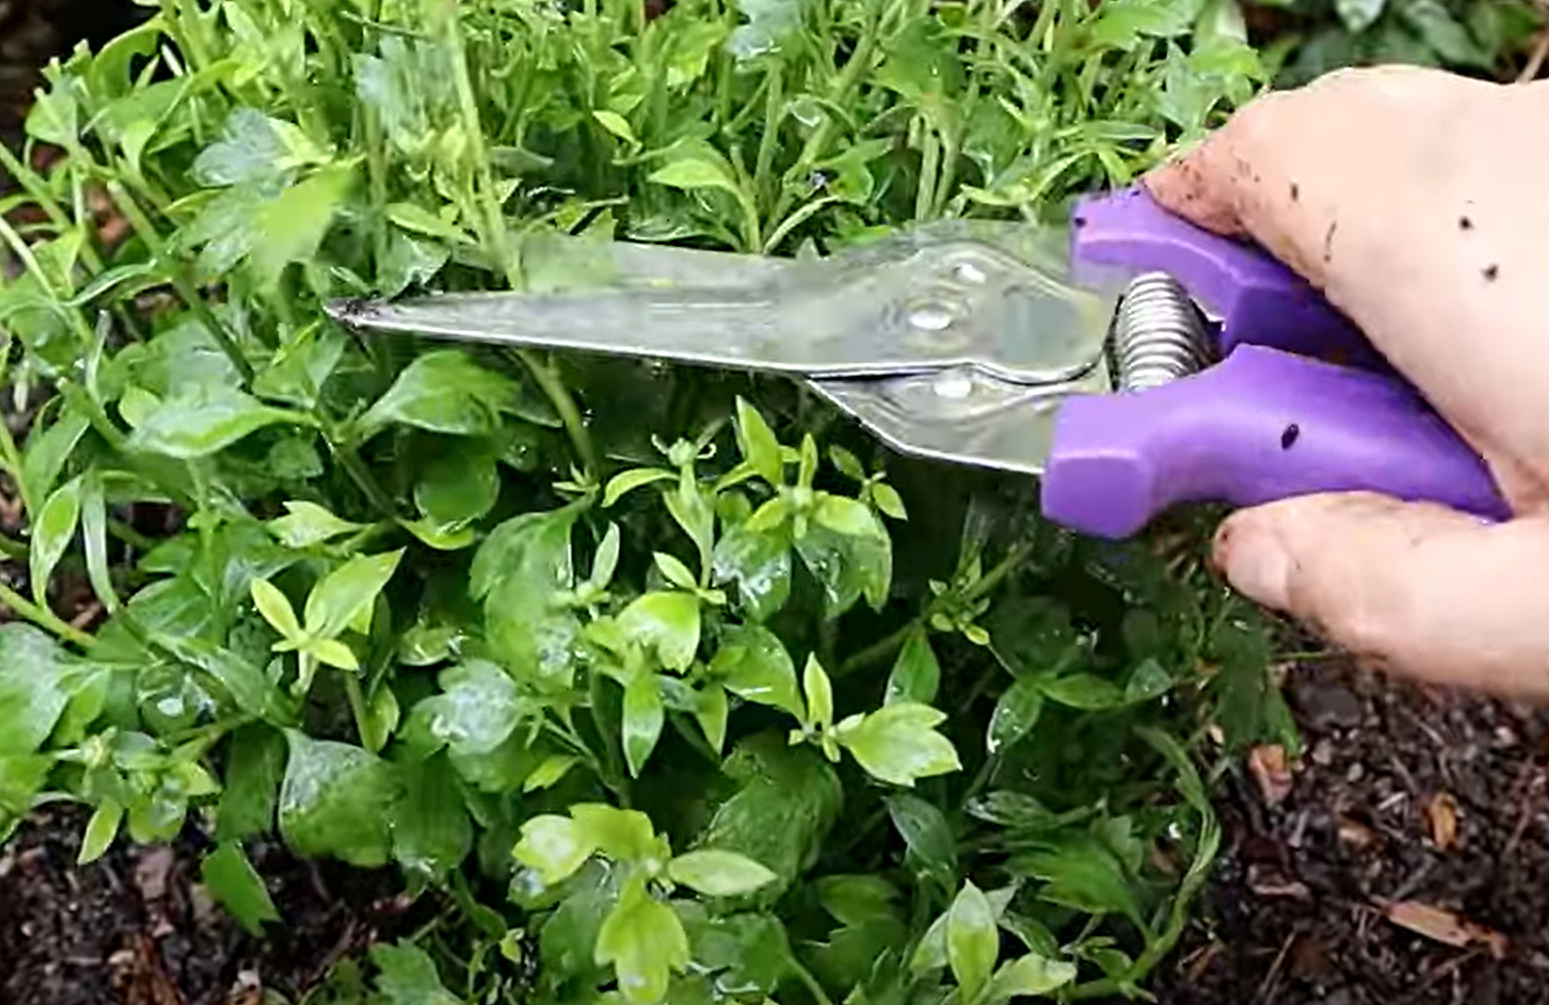
The Secret to Bushy, Bloom-Filled Mums: Pinching
Want mums that look full, not floppy? It’s all about pinching.
Once your plant reaches about 6 inches tall, pinch or snip the top half-inch of each shoot every 2–3 weeks. Stop by mid-July to allow buds to form.
Winter Protection: How to Help Mums Survive the Cold
Even hardy mums need a little TLC in winter.
-
Don’t cut them back in fall. Leave the dead foliage to trap leaves and insulate the crown.
-
After a hard frost, apply a thick layer of mulch (straw, pine, leaves, etc.).
-
In spring, remove the mulch when you see new growth at the base.
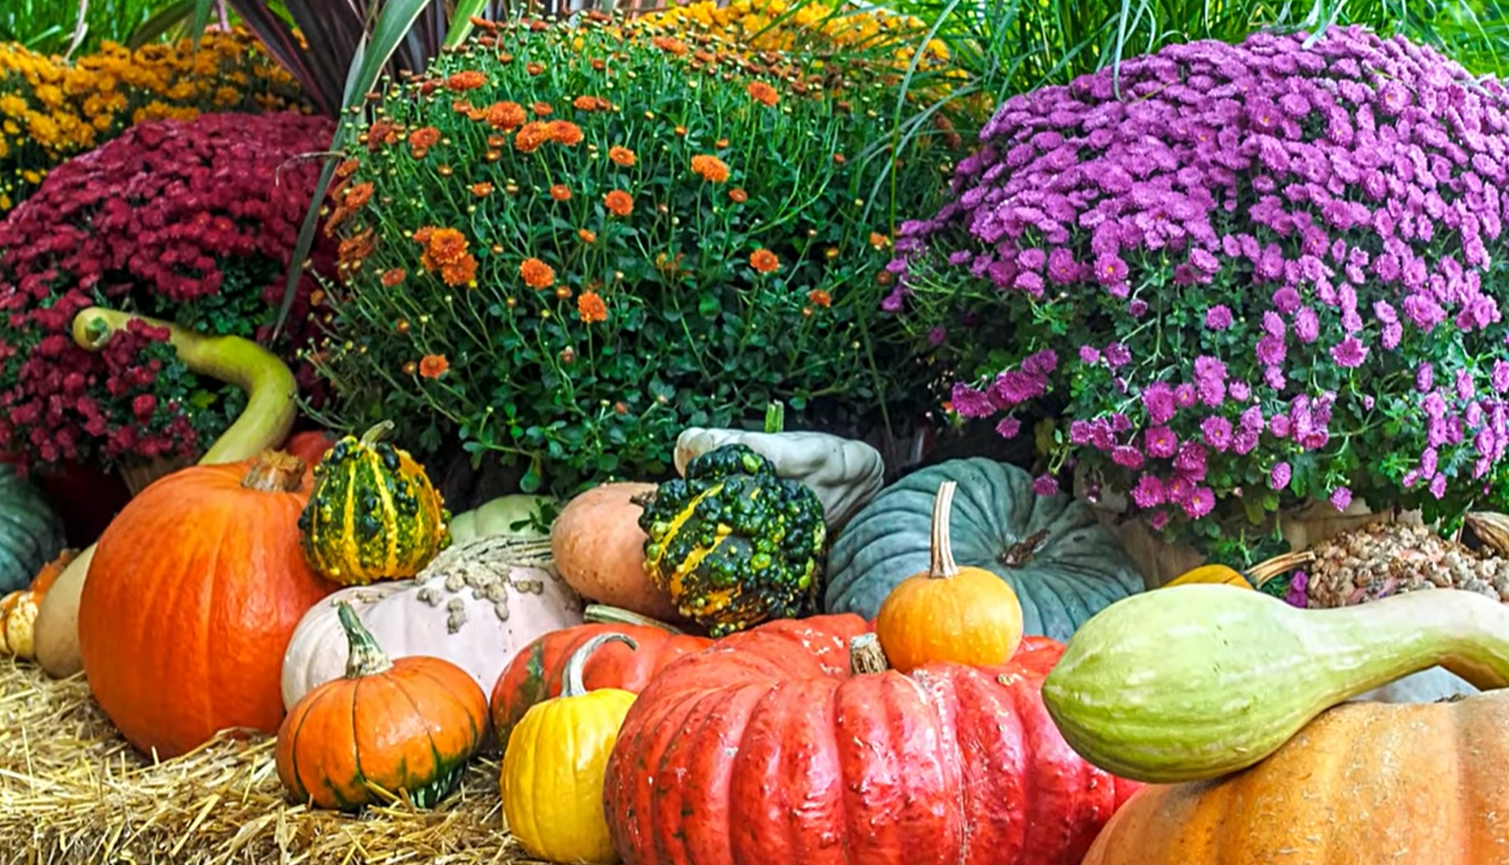
Take Your Fall Display to the Next Level
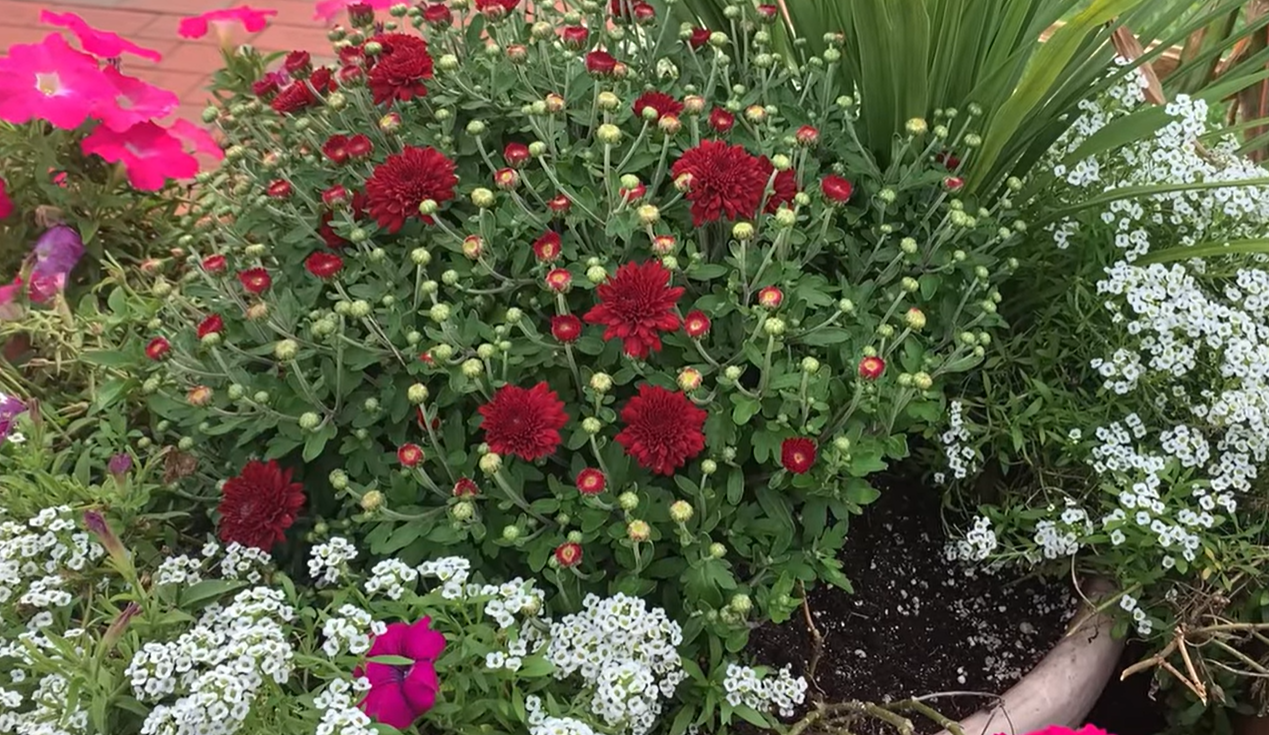
Mums look amazing on their own — but pair them with these garden companions and your autumn display will truly pop:
-
🌾 Ornamental grasses for texture and movement
-
🌸 Pansies & asters for long-lasting color
-
🌶️ Ornamental peppers for vibrant contrast
-
🥬 Cabbage & kale for bold foliage
-
🍁 Coral bells & celosia for variety and height
-
🎃 Pumpkins & gourds for the finishing festive touch
Mix and match these with your mums in containers or beds to create a welcoming fall oasis.
Final Thoughts: Make Your Mums a Yearly Showstopper
You don’t have to settle for one-season mums. With proper planting, pinching, and winter prep, these fall beauties can brighten your garden year after year.