
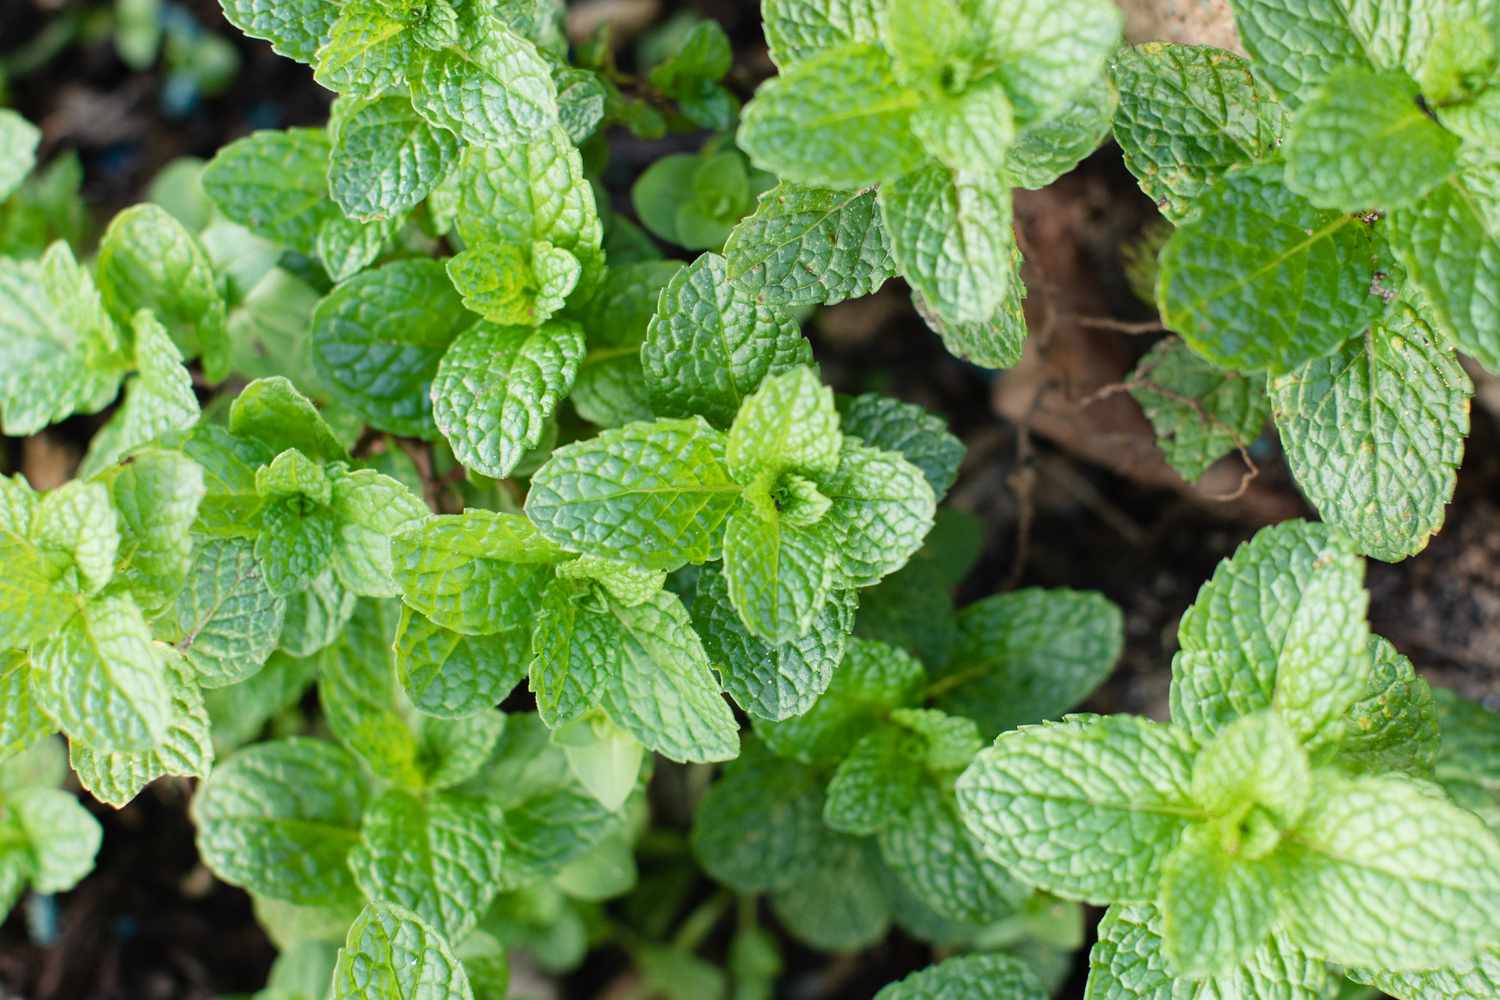
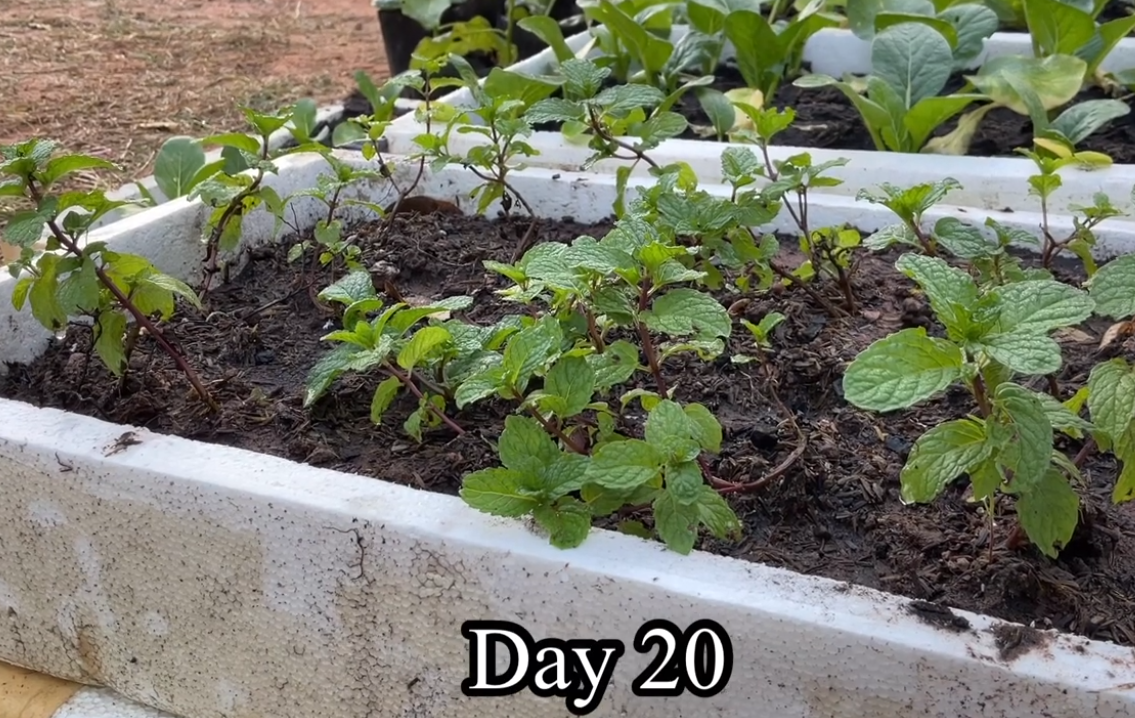
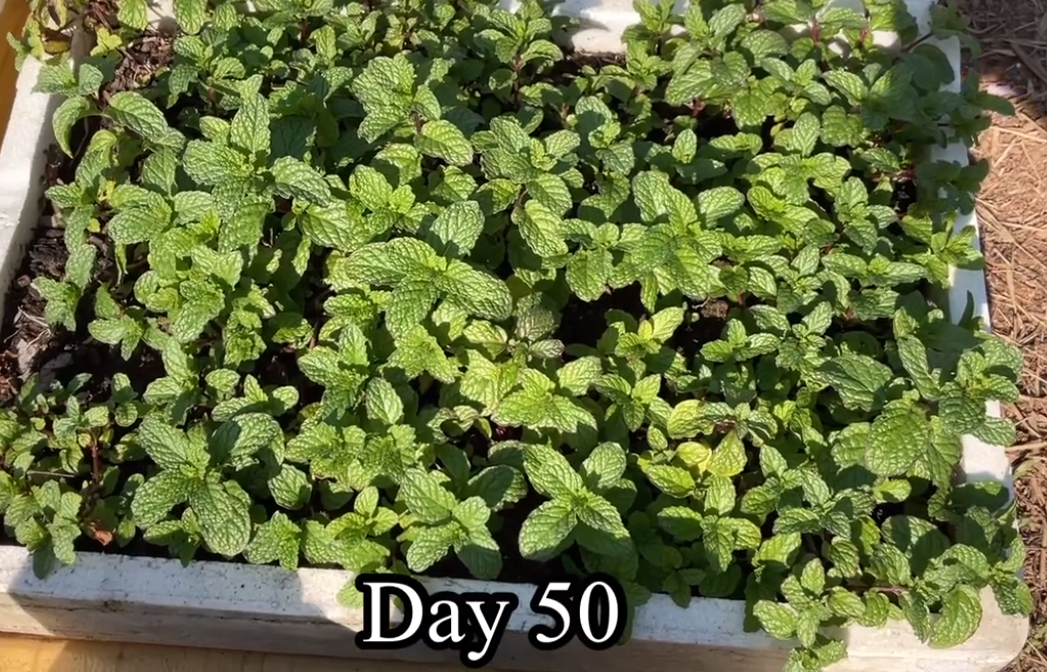
Mint is one of the easiest, fastest-growing, and most rewarding herbs to cultivate, especially for beginners. But here’s a little-known trick that can take your mint-growing game to the next level: growing mint in a Styrofoam box. This simple technique not only encourages faster and healthier growth but also leads to a more generous harvest—all with minimal effort.
If you’ve never considered using a Styrofoam box as a container for herbs, now’s the time. Whether you’re limited on space or just looking for a low-cost, low-maintenance gardening solution, this method will surprise you with how effective and practical it is. In this comprehensive guide, we’ll walk you through the steps, explain the benefits, and share expert tips to help you grow thriving mint right at home.
Contents
Why Grow Mint in a Styrofoam Box?
Styrofoam boxes, often overlooked in home gardening, offer a range of advantages when used for growing herbs like mint:
-
Superior Insulation: These containers help regulate soil temperature, protecting roots from extreme heat or cold, which is especially important for a vigorous herb like mint.
-
Lightweight & Portable: Easy to move around your balcony, patio, or yard to catch the perfect light.
-
Environmentally Friendly & Affordable: Reusing Styrofoam from packaging helps reduce waste and saves money on buying expensive planters.
-
Prevents Mint Overgrowth: Mint is known for its aggressive spreading habit. A contained space keeps it under control and easy to manage.
-
Customizable Drainage: You can drill holes exactly where needed, ensuring ideal drainage and preventing root rot.
Step-by-Step Guide to Growing Mint in a Styrofoam Box
1. Choosing the Right Styrofoam Box
Start with a clean, sturdy Styrofoam box that’s at least 8 to 12 inches deep. This gives mint roots plenty of space to spread and thrive. Avoid boxes that previously stored meat or toxic materials. Bonus tip: if your box comes with a lid, it can serve as a makeshift humidity dome for early-stage growth.
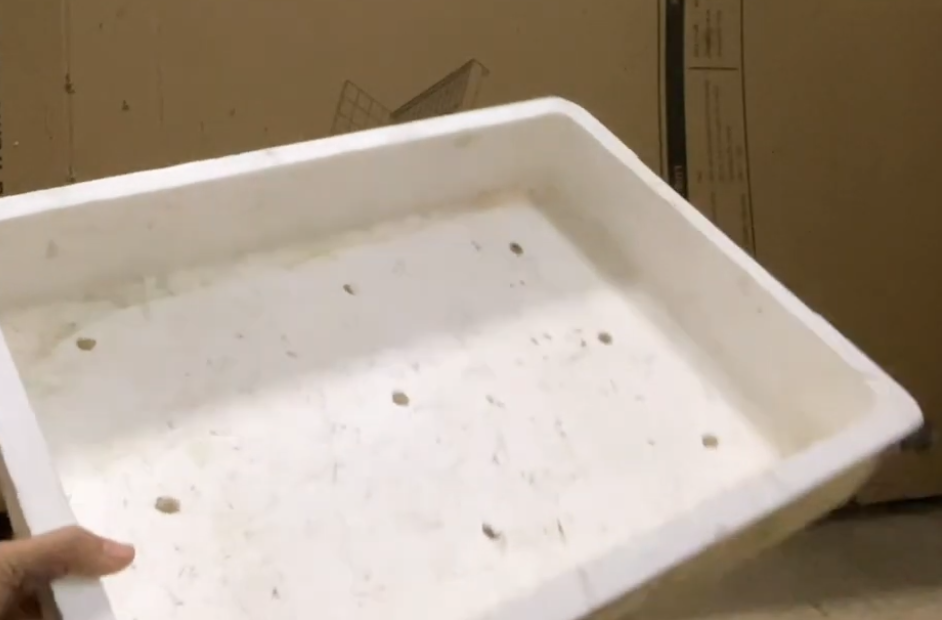
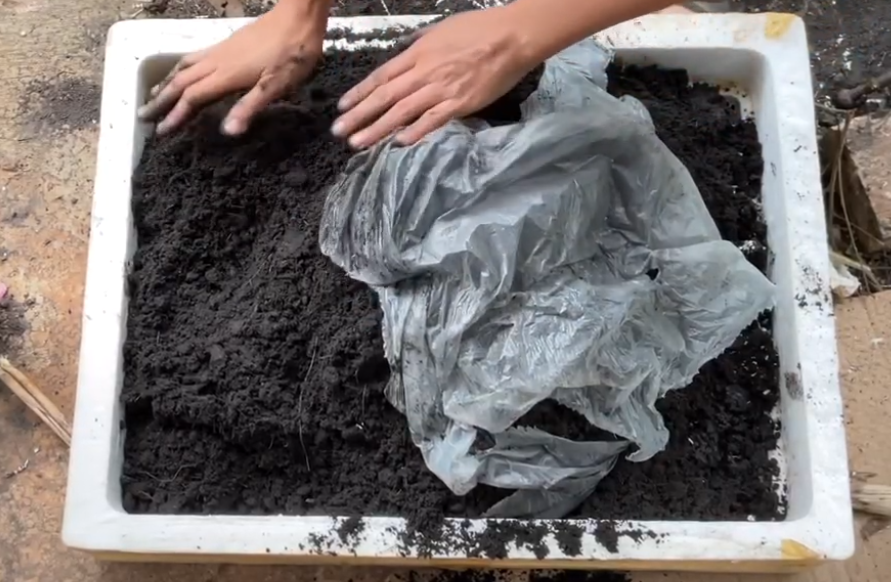
2. Preparing the Box
Use a screwdriver or heated skewer to poke several drainage holes at the bottom of the box. Line the base with pebbles, gravel, or broken Styrofoam pieces to improve water flow and prevent soggy roots. For deeper boxes, layer in compost at the bottom to give your plants a head start with rich nutrients.
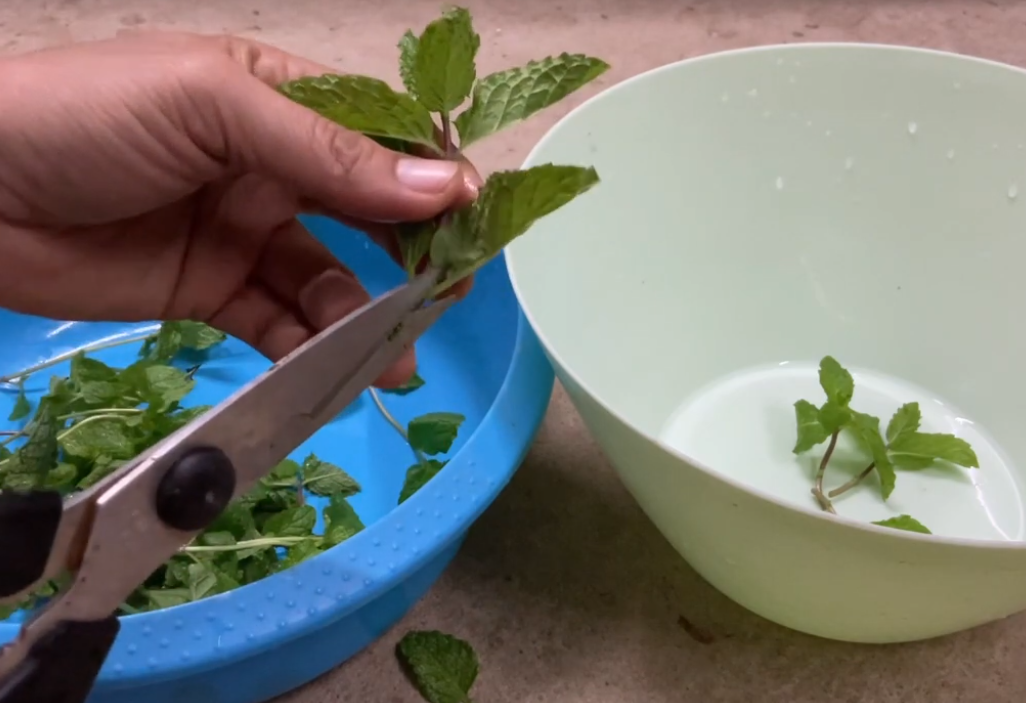
3. Choosing Between Mint Cuttings or Seeds
-
Cuttings: The quickest way to get started. Take a 5–6 inch cutting from a healthy mint plant, strip off the lower leaves, and place it in water for a few days until roots emerge.
-
Seeds: Growing from seed is slower but lets you explore unique varieties like peppermint, spearmint, or chocolate mint. Start seeds indoors, or sow them directly into the soil.
4. The Ideal Soil Mix for Mint
Mint thrives in well-draining, nutrient-rich soil. A great blend includes:
-
1 part garden soil
-
1 part compost (or worm castings)
-
1 part perlite or coarse sand for aeration
Aim for a soil pH between 6.0 and 7.0 (slightly acidic to neutral). Avoid heavy, compacted soils that retain too much moisture.
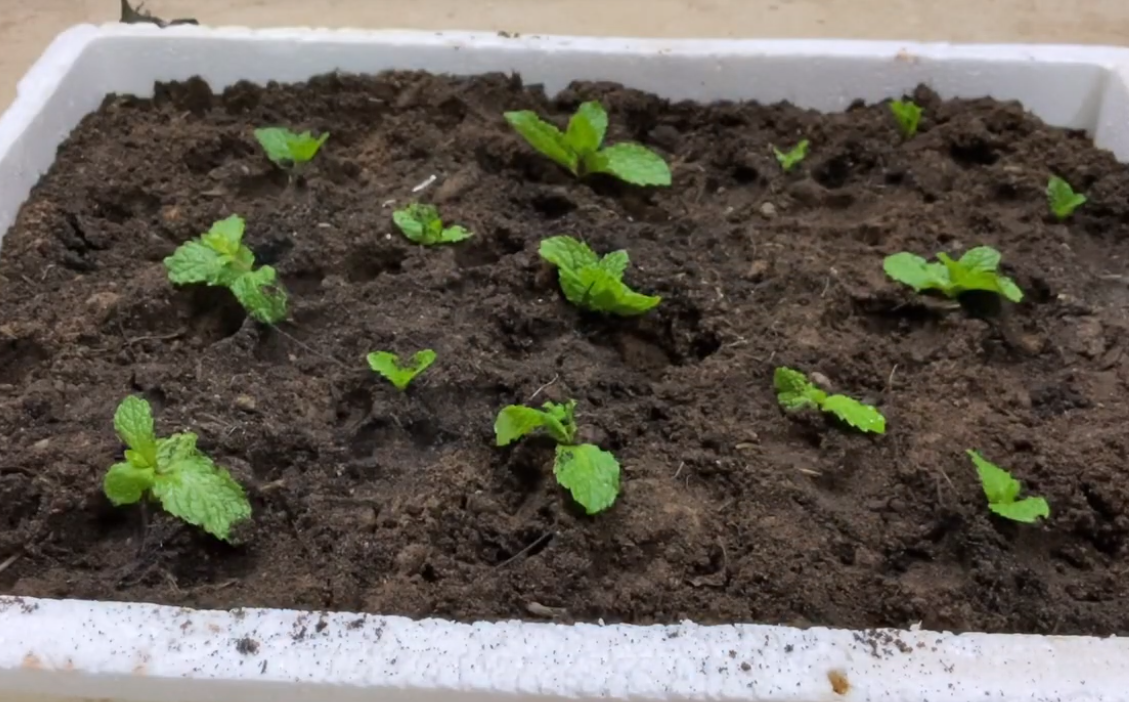
5. Planting Your Mint
If you’re using cuttings, plant them 2–3 inches deep and 4–6 inches apart to give them room to spread. For seeds, scatter them thinly and cover lightly with soil. Water gently with a spray or watering can to avoid dislodging the roots or seeds. The key is to keep the soil evenly moist—not drenched.
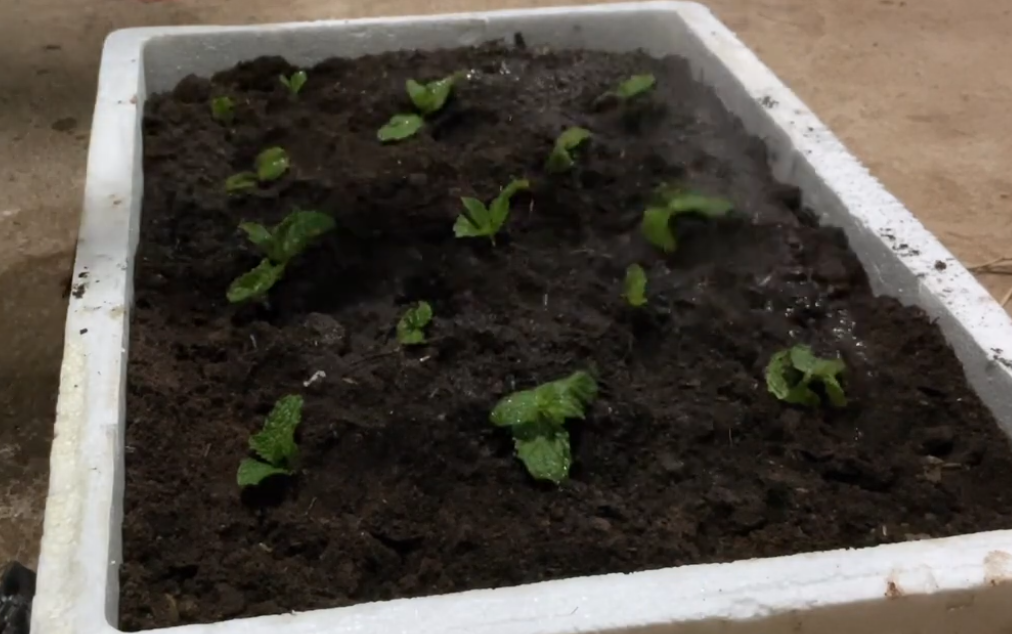
6. Watering and Moisture Tips
Mint loves moisture but cannot tolerate waterlogged roots. Water once or twice daily during hot weather, and reduce frequency when it’s cooler. If you’re in a dry climate or growing indoors, mist the leaves occasionally to increase humidity. Make sure your drainage holes are doing their job.
7. Sunlight and Placement
Place your Styrofoam box in a location that receives 4–6 hours of indirect sunlight per day. Mint enjoys bright, filtered light but can burn under intense, direct midday sun. Indoors, position your box near a south- or east-facing window, or use a grow light for consistent results.
8. Fertilizing for Lush Growth
Feed your mint every 3–4 weeks with a mild organic fertilizer like compost tea or fish emulsion. Avoid high-nitrogen fertilizers—they may cause the plant to grow lots of leaves with reduced flavor. For pale leaves or slow growth, add a diluted seaweed extract to give your mint an extra mineral boost.
9. Managing Pests and Diseases
Although mint is naturally pest-resistant, it can still fall victim to aphids, whiteflies, or spider mites. Spray with neem oil or an insecticidal soap as needed. Ensure good airflow around the plants to prevent mildew or fungal issues. Avoid overcrowding and always remove yellowing or damaged leaves promptly.
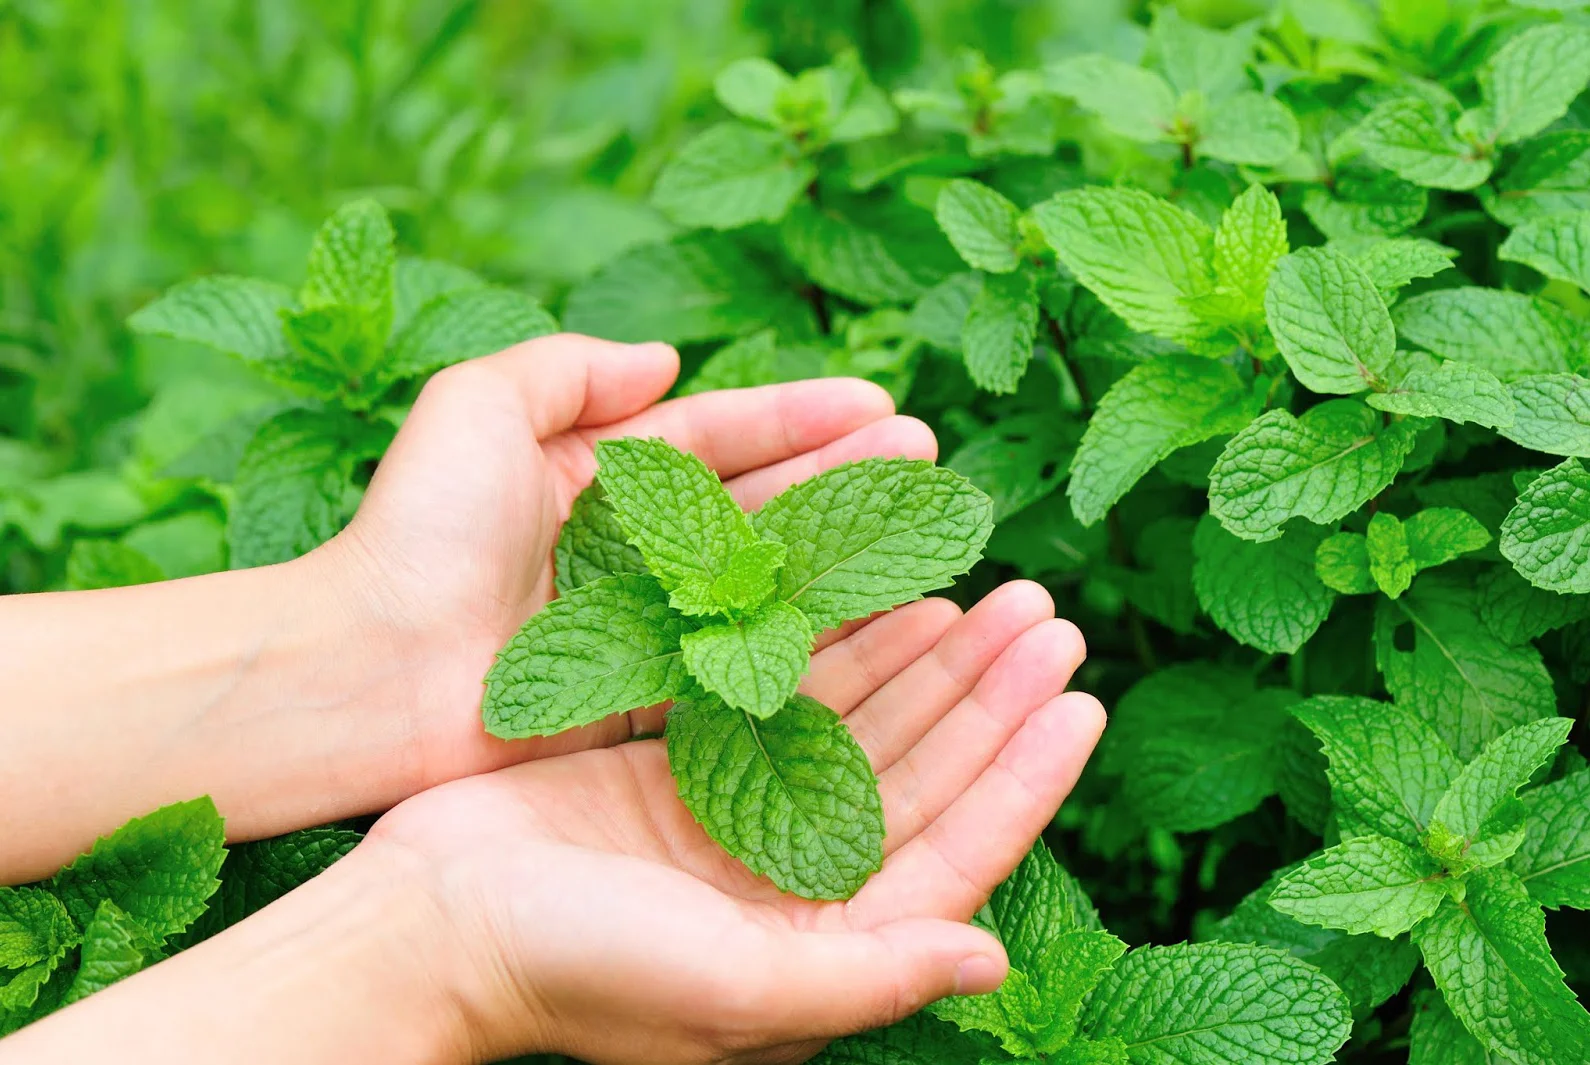
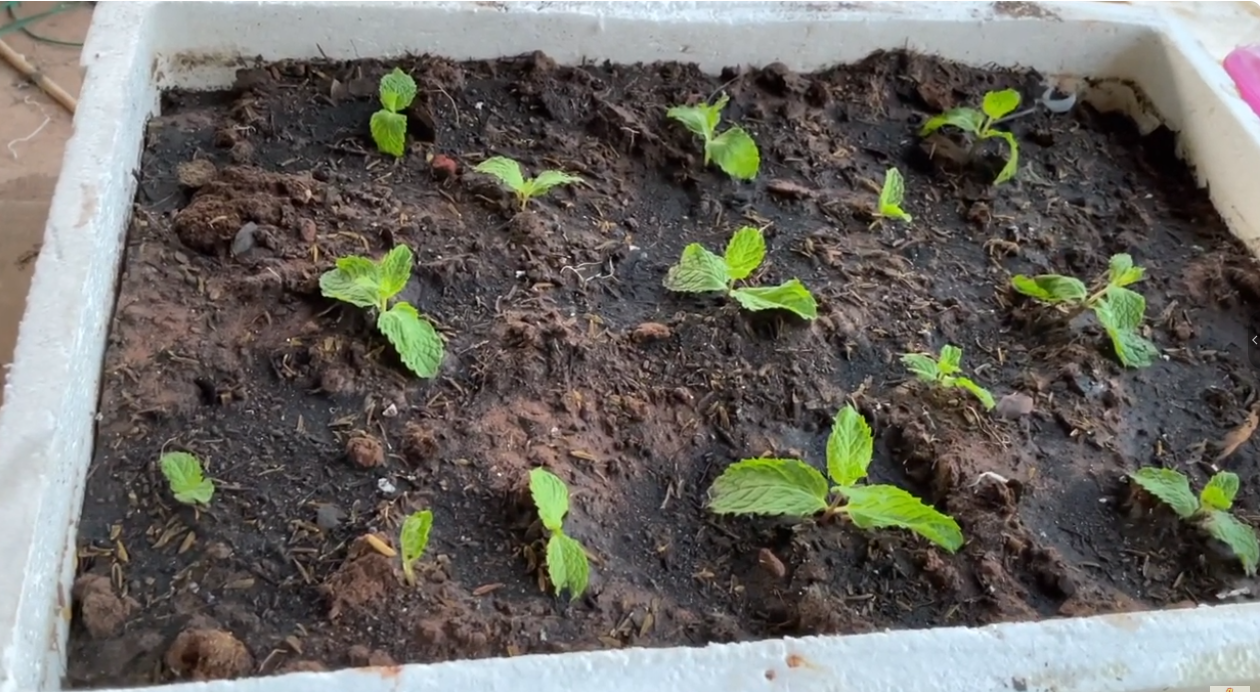
Harvesting Mint for Best Flavor
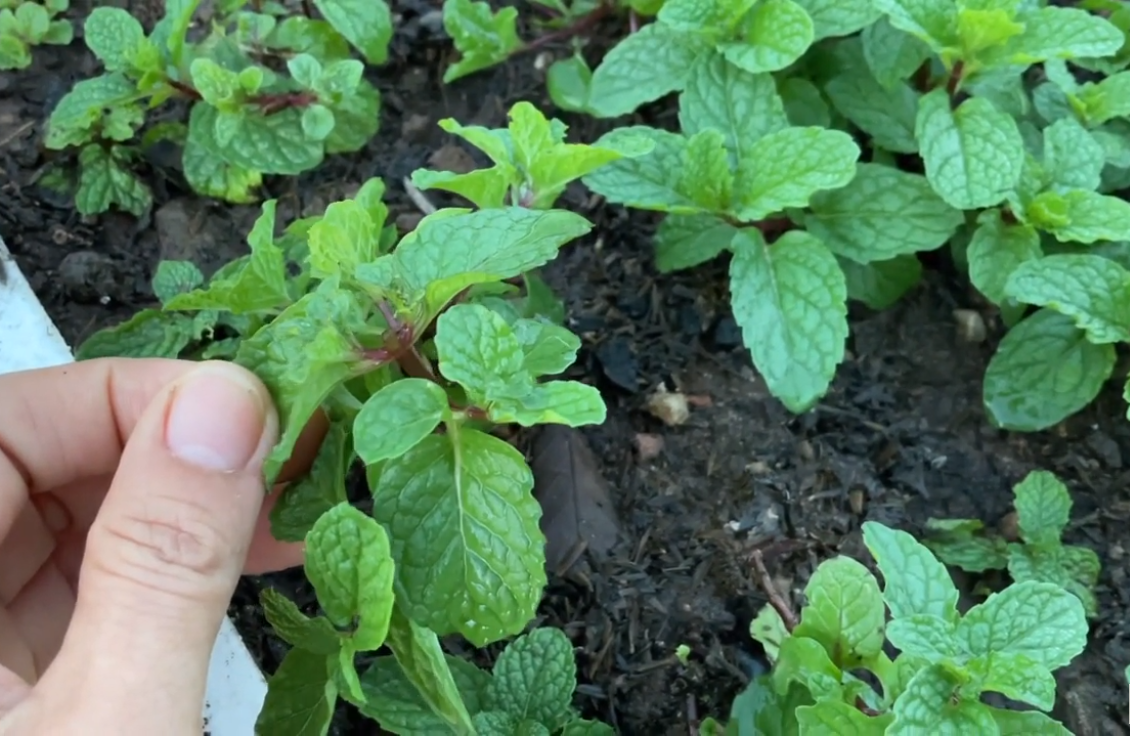
Harvest when your mint plant is at least 6–8 inches tall. Use scissors or garden shears to snip stems just above a leaf node. This encourages bushier, fuller growth. The best time to harvest is in the morning, when the essential oils are at their peak concentration. Use fresh leaves immediately, refrigerate them in a damp paper towel, or air-dry them for storage.

Pro Tips for Exceptional Results
-
Companion Planting: Grow mint alongside parsley, chives, or basil to discourage pests naturally.
-
Mulch Smartly: Apply a layer of coconut coir, straw, or leaf mulch to retain moisture and suppress weeds.
-
Regrow from Harvested Cuttings: Place cut stems in water to root and replant—an endless mint cycle!
-
Use Deeper Containers: Repurposed Styrofoam coolers are perfect for more robust mint growth
Final Thoughts
Growing mint in a Styrofoam box is more than just a gardening hack—it’s a sustainable, effective, and space-saving method that brings big rewards. Whether you’re a seasoned gardener or just starting out, this technique offers ease, affordability, and impressive results. With proper care and a bit of creativity, you’ll have a thriving mint supply for teas, mojitos, salads, remedies, and more—right at your fingertips.
If you’ve never tried this method before, there’s no better time to start. It’s simple, fun, and surprisingly productive. Give it a go, and you might never grow mint the traditional way again!