
Have you ever returned home after a long summer trip and felt the itch to reconnect with your garden?
That satisfying moment when your hands hit the soil again? I know the feeling. But here’s something even more exciting: fall is the perfect time to take hydrangea cuttings—and most gardeners don’t even realize it.
Yes, you heard that right. While everyone else is packing up their tools for winter, you could be setting yourself up for a whole new round of homegrown hydrangeas next spring. And it’s not nearly as complicated as you might think.

In this blog post, I’ll walk you through:
-
Why fall propagation works like a charm
-
How to choose the right stem (even if your plant is covered in blooms)
-
The step-by-step method I use for 100% success
-
How to prep, plant, and care for your cuttings through the cold
Let’s get growing.
Contents
- 1 Why Fall Is the Secret Season for Propagating Hydrangeas
- 2 Step 1: Choose the Right Hydrangea Stem for Cutting
- 3 Step 2: Cut with Precision — Just Below the Leaf Node
- 4 Step 3: Prep the Cutting (Here’s Where Many Gardeners Go Wrong)
- 5 Step 4: Pot It Up — The Right Soil Mix Makes All the Difference
- 6 Step 5: Don’t Forget Aftercare!
- 7 How Long Do Hydrangea Cuttings Take to Root?
- 8 Final Thoughts: Take the Leap—Propagating Hydrangeas Is Addictively Fun
Why Fall Is the Secret Season for Propagating Hydrangeas
Many gardeners assume propagation is a spring or summer job. But here’s the thing: fall offers the perfect conditions for rooting semi-hardwood cuttings, especially for bigleaf hydrangeas (Hydrangea macrophylla).
Why I love doing this in fall:
-
There’s more time to fuss with cuttings (no seed-starting madness!)
-
I have extra pots available after clearing out summer plants
-
The growth has matured just enough to form strong, healthy roots
-
Cooler temperatures reduce transplant shock and moisture stress
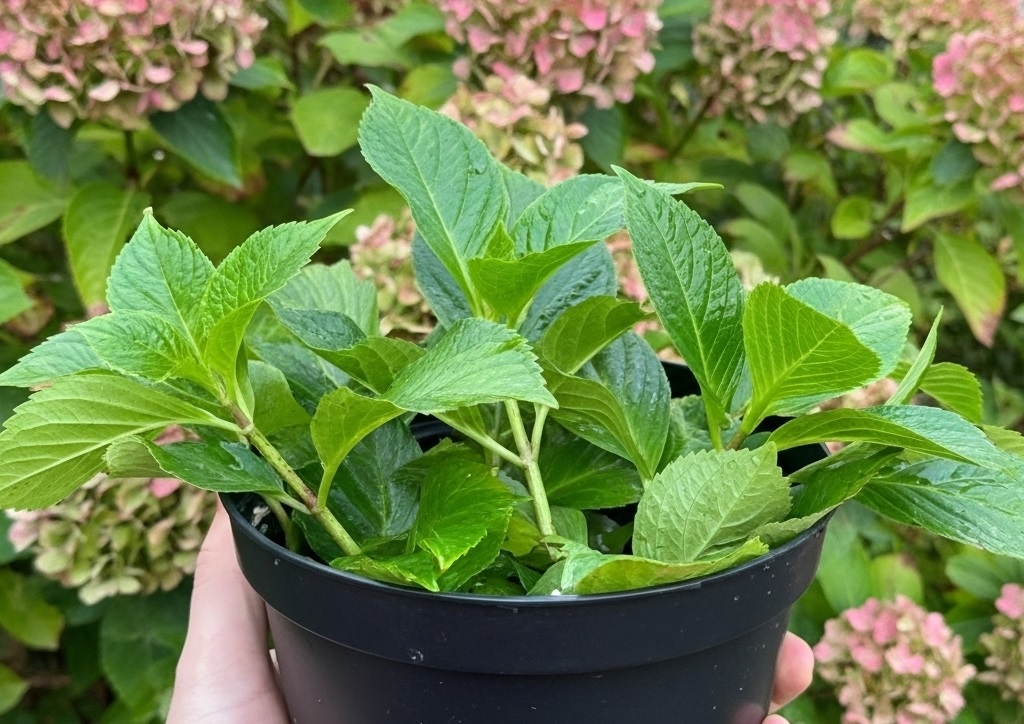
I returned from vacation with a plan: take as many hydrangea cuttings as possible—especially from my French mophead hydrangeas. And let me tell you, it’s one of the most satisfying late-season tasks.
Step 1: Choose the Right Hydrangea Stem for Cutting
Before you prep your potting mix, focus on choosing the perfect stem—because this step is everything. The key rule?
Avoid any stems that had flowers this season.
That’s it. Non-flowering stems haven’t spent their energy on blooming and are far more likely to develop roots successfully.
How to Identify the Right Stem:
-
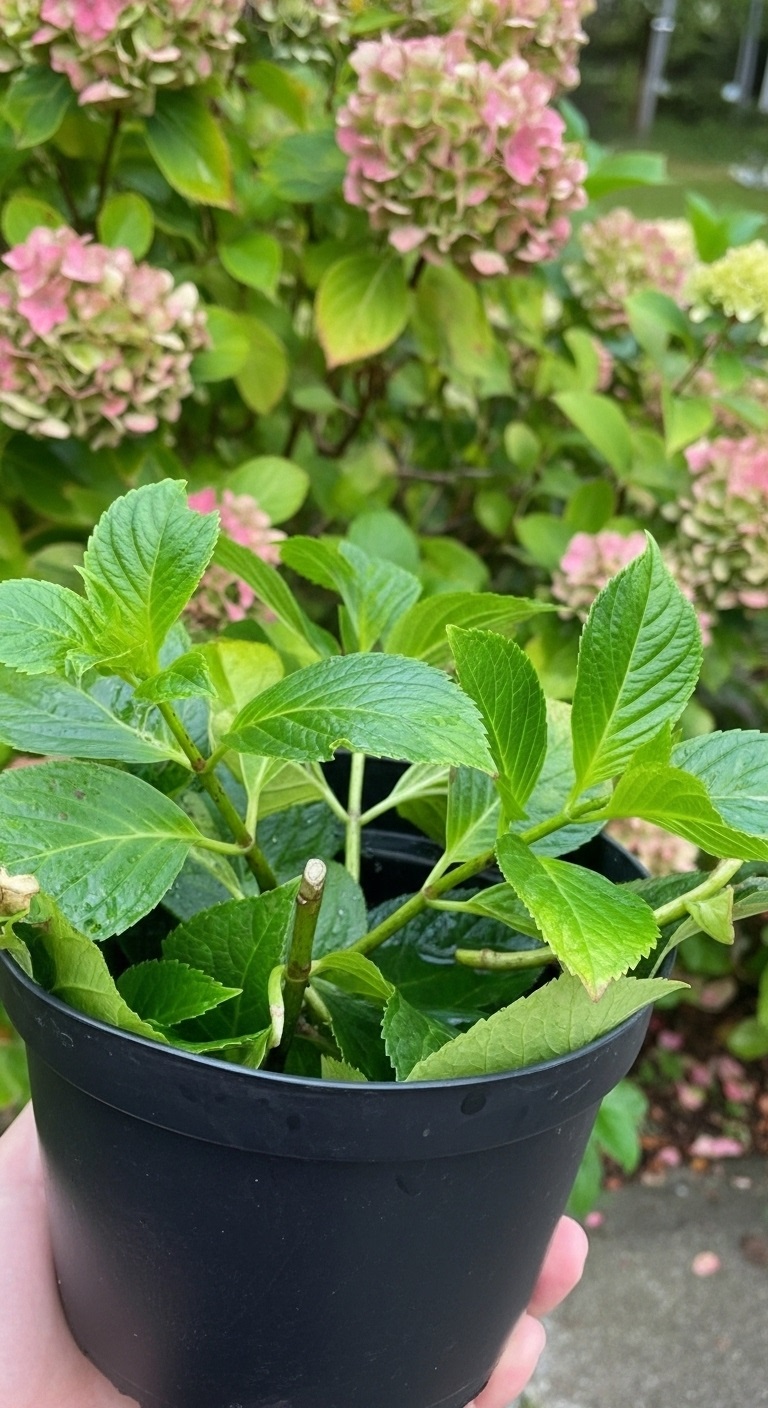
Look deep within the plant for shoots that didn’t flower
-
Check lower or shaded areas of the shrub
-
Focus on side branches rather than center shoots
Even on a heavily blooming plant (especially if it’s been overfed in spring), there are usually a few hidden gems—short, strong shoots with lots of energy left to root.
💡 Pro Tip: Side shoots are gold. If the center shoot flowered, its offshoots probably didn’t.
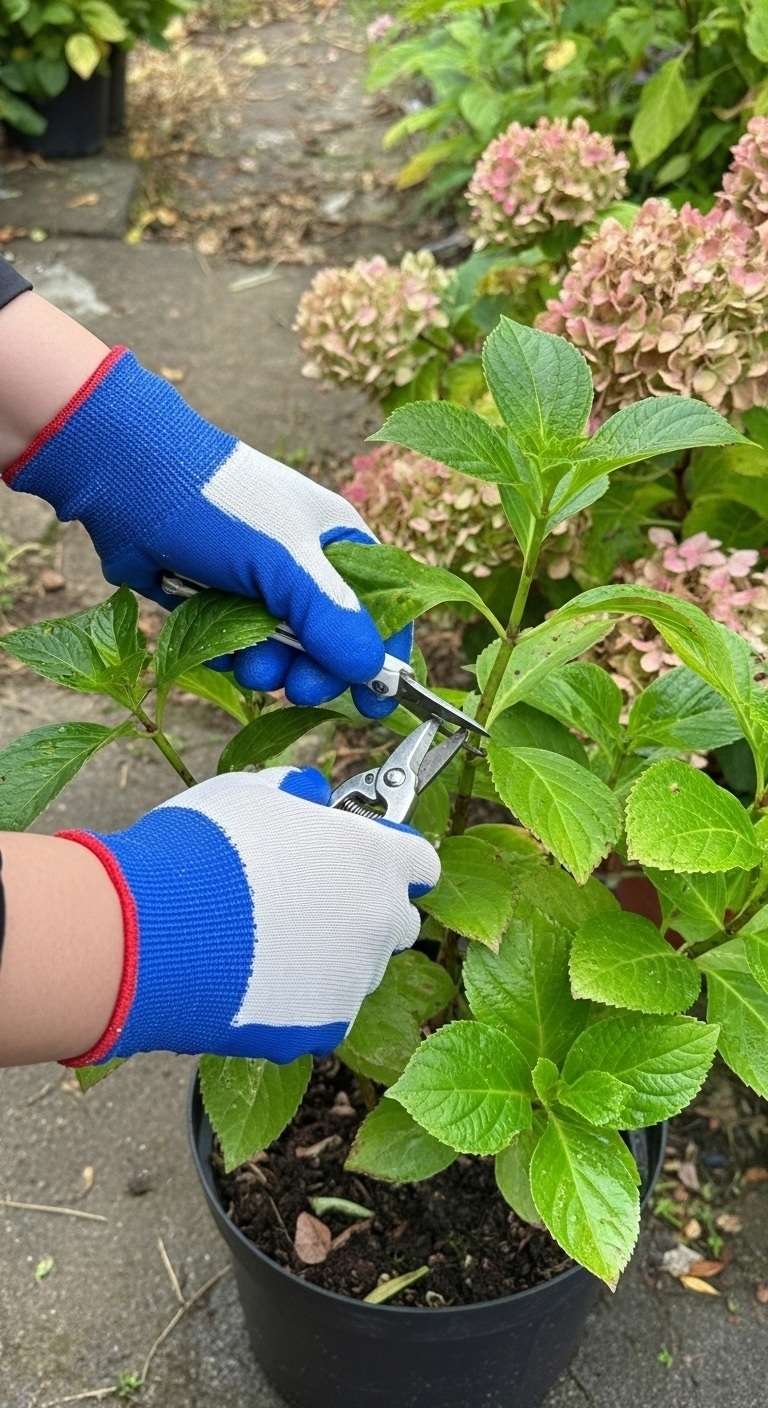
Step 2: Cut with Precision — Just Below the Leaf Node
Once you find your stem, it’s time to cut—but not just anywhere.
Always cut:
-
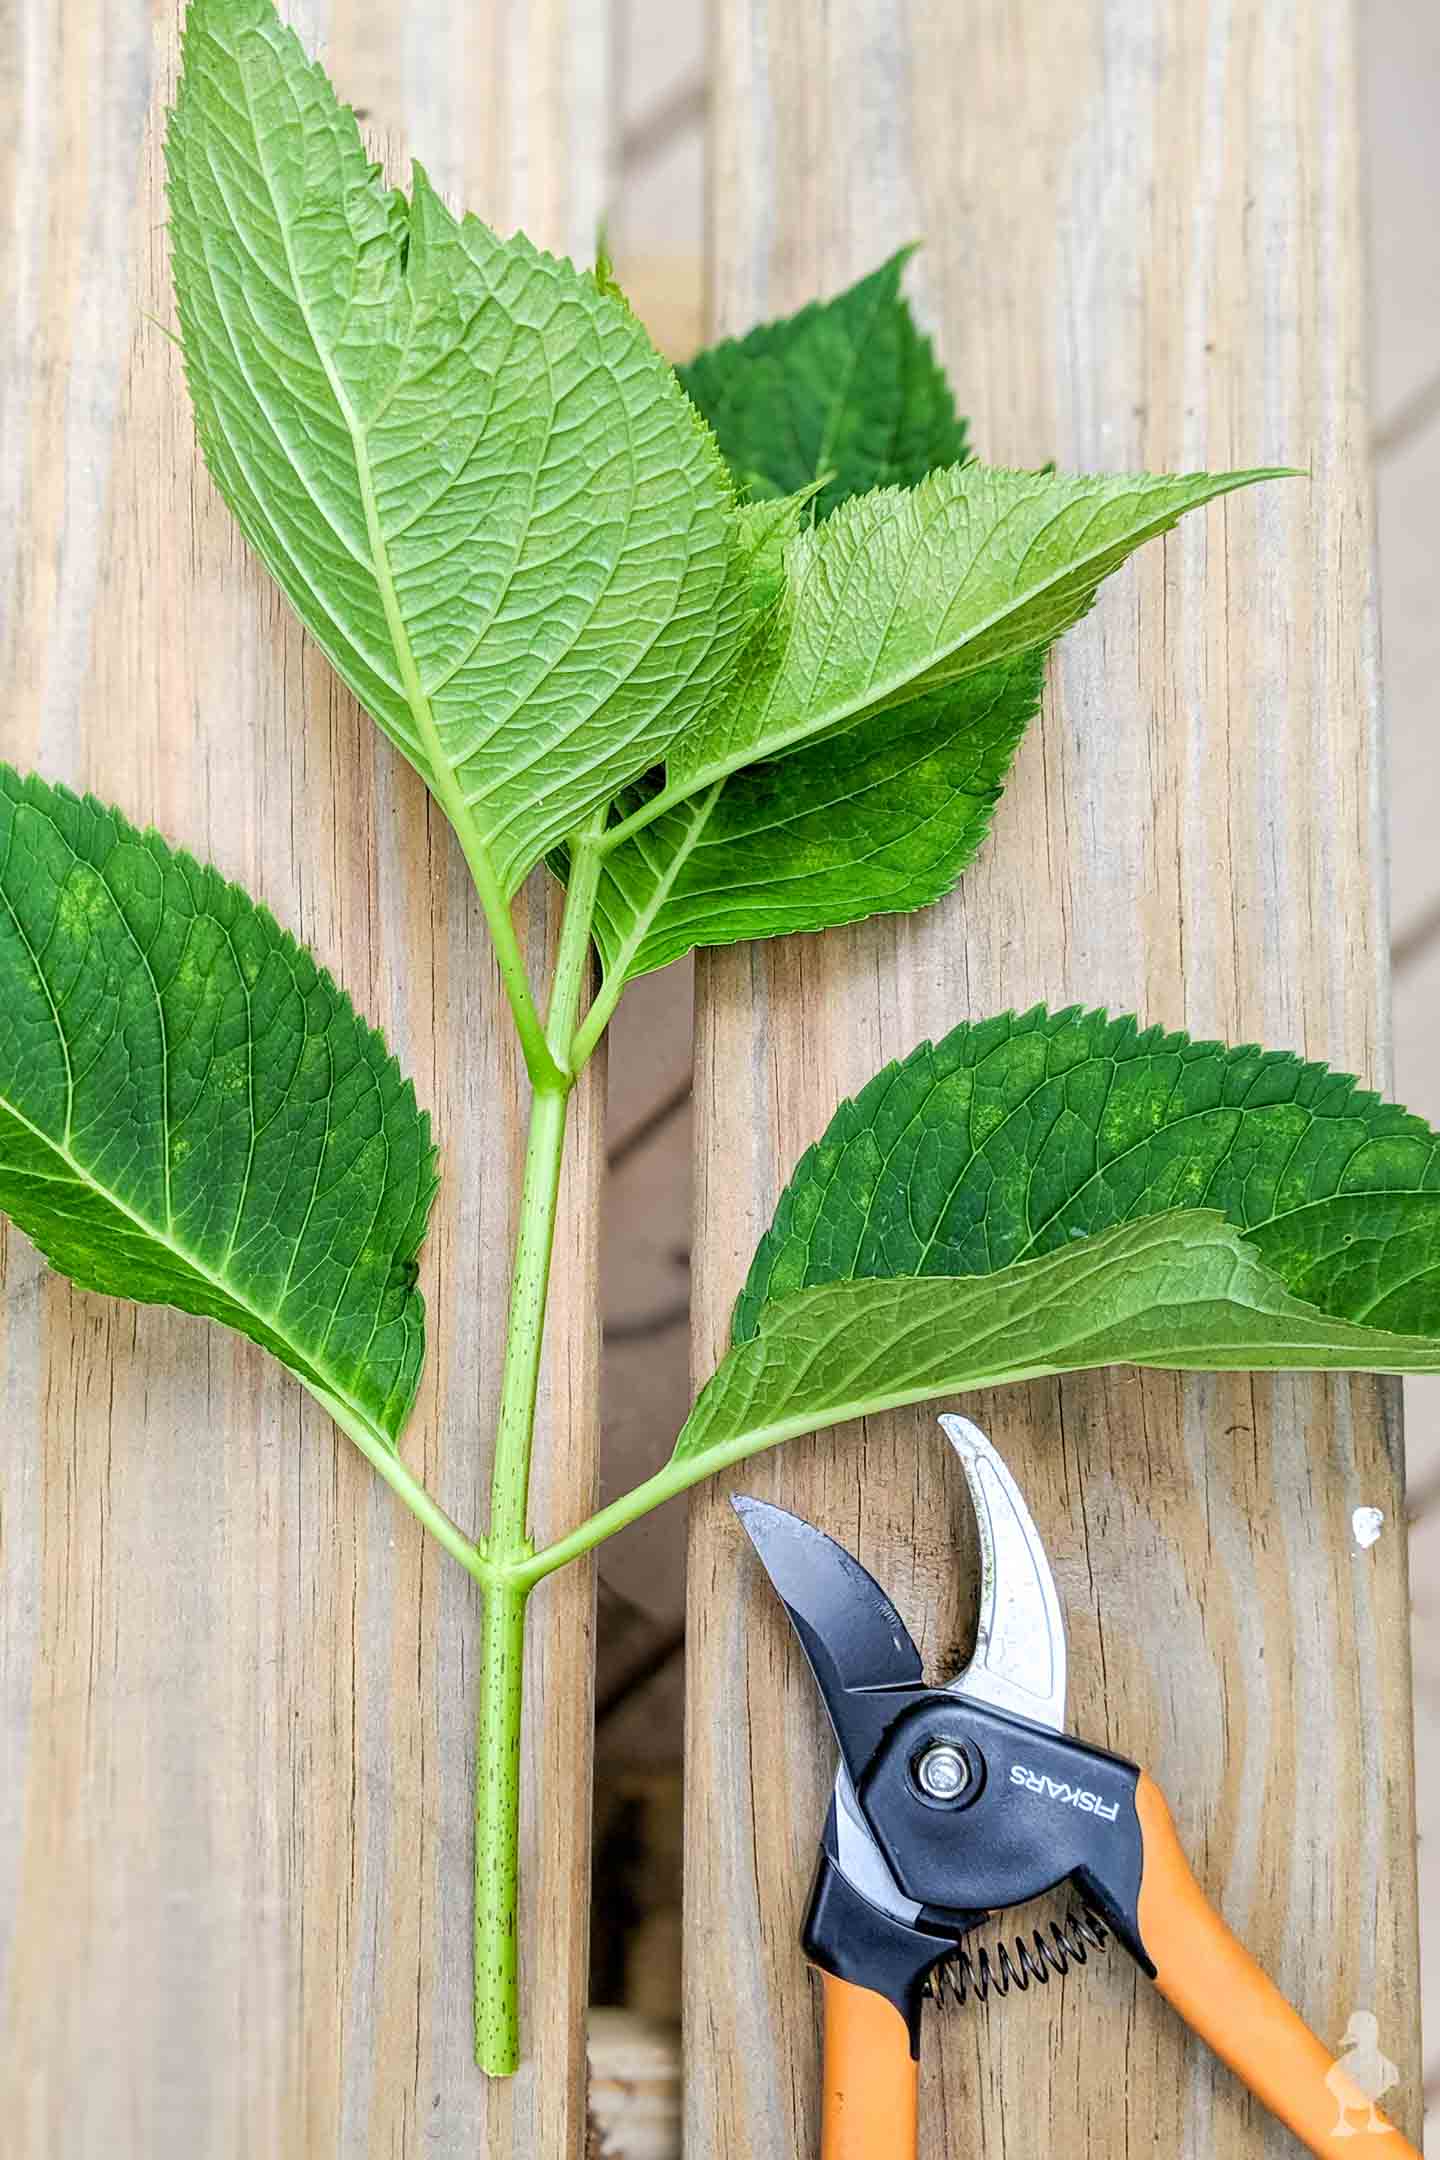
Right below a leaf node (this is where root hormones are most concentrated)
-
About 4–6 inches long (10–15 cm)
-
With at least one extra leaf node below ground level (this helps roots form from multiple points)
I often take multiple cuttings from different branches. Even though I’ve had close to 100% success in the past, I still like to hedge my bets—because gardening is never 100% predictable.
Step 3: Prep the Cutting (Here’s Where Many Gardeners Go Wrong)
Now let’s get those cuttings ready for soil.

Strip the lower leaves:
-
Remove any leaves that would end up buried (they’ll rot and spoil the soil)
-
Leave the top leaves for photosynthesis
If you’re doing this in late summer and it’s still hot, trim the remaining leaves in half to reduce moisture loss. In fall, with cooler temps, you don’t need to do this unless the leaves are huge.
Should you use rooting hormone?
If you’re in a hurry or taking late fall cuttings, a sprinkle of powdered rooting hormone can help.
But personally, I skip it—I’ve found that rich compost in my potting mix does the job beautifully.
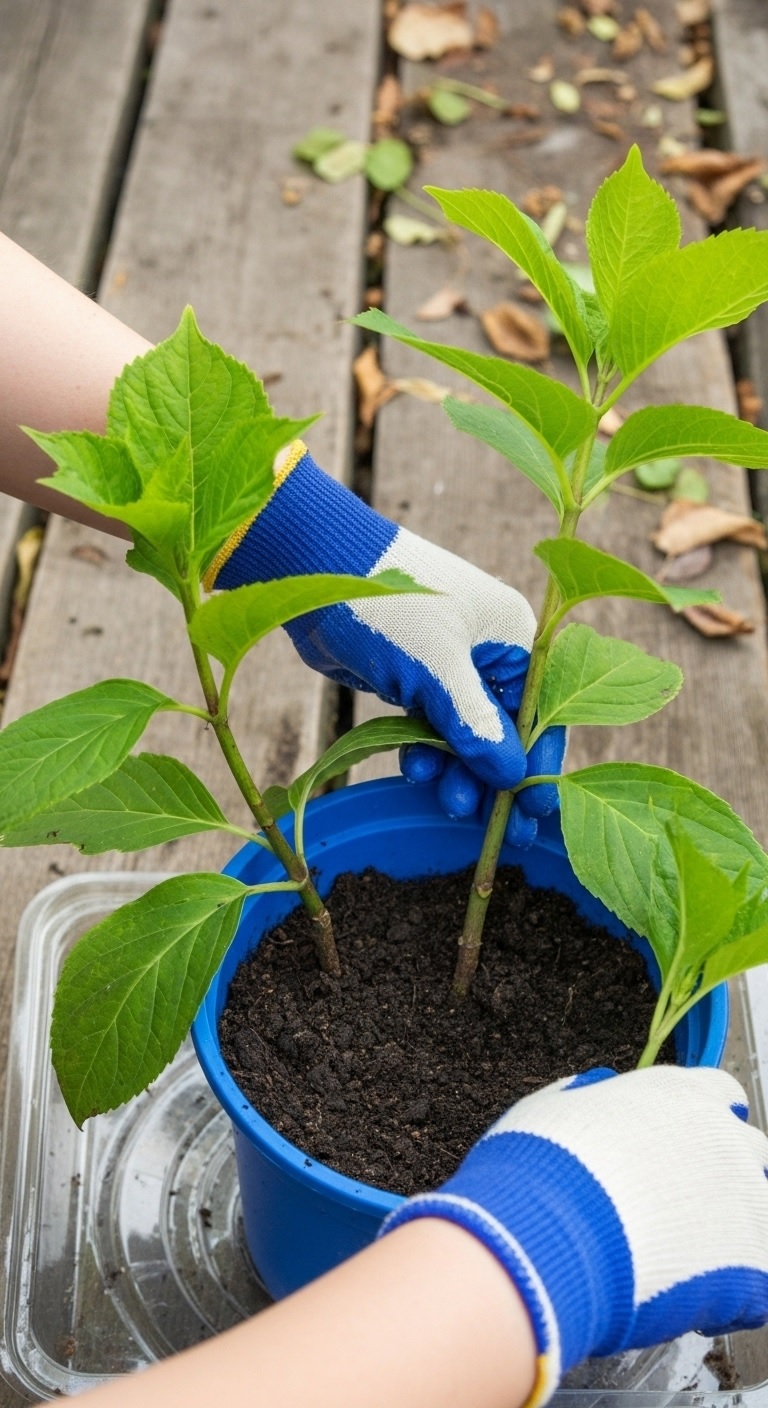
Step 4: Pot It Up — The Right Soil Mix Makes All the Difference
Now we plant!
Use a pot:
-
Deep enough to bury two leaf nodes
-
Wide enough to accommodate multiple cuttings (if you’re like me and prefer fewer pots to move)
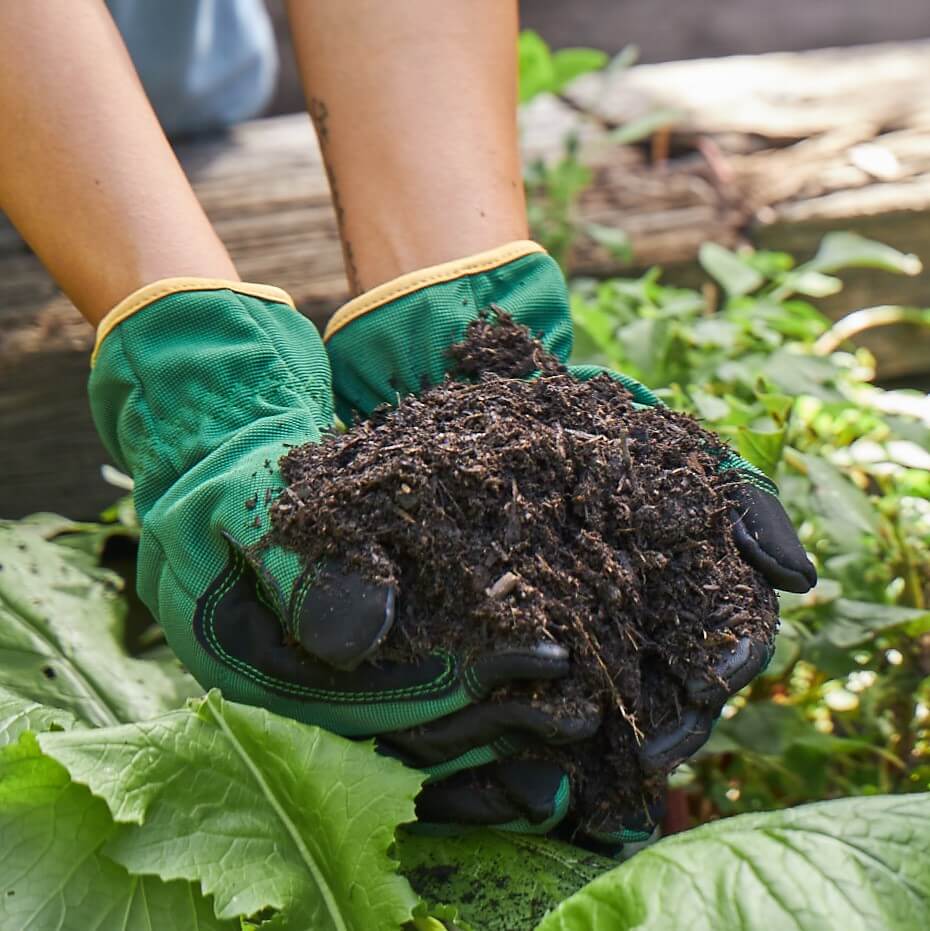
Soil mix for hydrangea cuttings:
-
80% quality potting compost
-
20% horticultural sand for drainage
-
Add a handful of perlite if your garden is especially rainy
Avoid water-logged soil. It’s the #1 killer of new cuttings. Your mix should drain quickly but still hold a little moisture.
Step 5: Don’t Forget Aftercare!
Once planted:
-
Water gently to help the soil settle
-
Place the pot in a sunny fall spot (don’t worry, fall sun isn’t too harsh)
-
Keep soil lightly moist—not soaked
Winter care:
Before temps drop below freezing, move the pot to a sheltered area—porch, sunroom, or cold frame. Keeping them together in one large pot helps them overwinter better.
How Long Do Hydrangea Cuttings Take to Root?
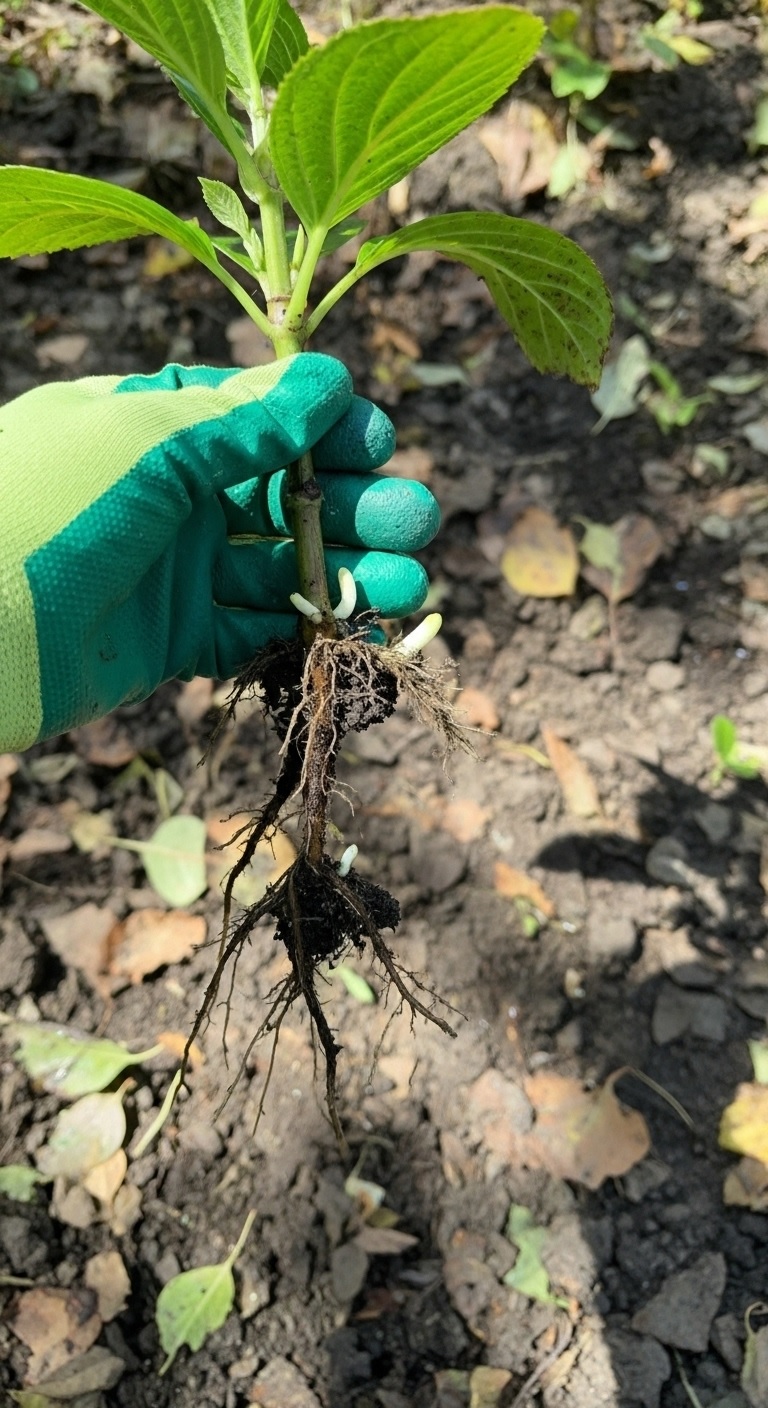
Be patient!
Cuttings usually take 4–6 weeks to form roots, depending on warmth and moisture.
You can check by giving the stem a gentle tug—if it resists, roots have formed. If it slides out, give it more time.
In early fall, you can separate and pot them individually after rooting. If it’s already late in the season, let them overwinter in one big container. They’ll be stronger come spring.
Final Thoughts: Take the Leap—Propagating Hydrangeas Is Addictively Fun
There’s something magical about watching new life form from a single snip. Propagating hydrangeas isn’t just easy—it’s rewarding, budget-friendly, and surprisingly meditative.
Fall might seem like the end of the gardening season—but for your hydrangeas, it’s just the beginning.