
Ginger is one of the easiest plants I’ve grown at home! It’s tasty, useful, and grows well even in small spaces. If you give it the proper care—good soil, gentle light, regular water, and fertilizer—you can enjoy a big harvest in just a few months. I’m excited to share with you how I grow fresh, delicious ginger from store-bought roots—step by step!
Contents
- 1 Why Grow Ginger At Home?
- 2 Step 1: Choose the Right Ginger Root
- 3 Step 2: Prepare Your Ginger to Sprout
- 4 Step 3: Treat Rhizomes Before Planting
- 5 Step 4: Get the Right Pot and Soil
- 6 Step 5: Planting Ginger Correctly
- 7 Step 6: Watering and Lighting for Growth
- 8 Step 7: Watching Your Ginger Grow
- 9 Step 8: Feed Your Ginger Regularly
- 10 Step 9: Keep an Eye on Growth and Leaves
- 11 Step 10: Time to Harvest Your Ginger
- 12 Step 11: Clean and Save for Next Season
- 13 Wrapping Up
Why Grow Ginger At Home?
Ginger is one of the first crops exported from Asia, and today, it’s popular among home gardeners too. I love it because I can grow it in small containers with little care.
All it needs is:
- Regular watering
- Dappled sunlight
- Some fertilizer
And in a few months, I get loads of fresh ginger!
Step 1: Choose the Right Ginger Root
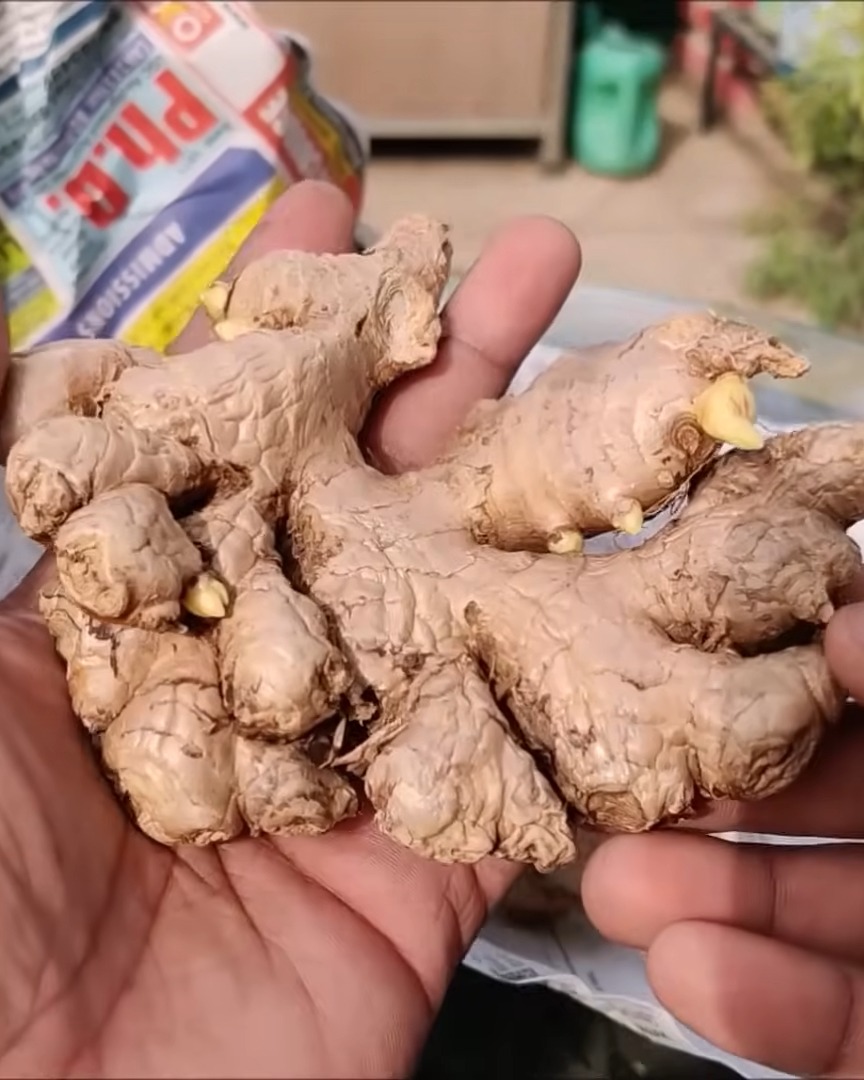
Let’s begin by choosing good ginger roots. I just buy mine from the local grocery store. Look for ginger that’s plump and old.
The best ones have small points or buds on the tips—these are called “eyes.” When you see those, you know the root is ready to grow. The more eyes a rhizome has, the more shoots and stalks it can produce!
Step 2: Prepare Your Ginger to Sprout
Ginger is slow to start, but there’s a simple trick to speed things up. I wrap my rhizomes in newspaper and place them in the shade.
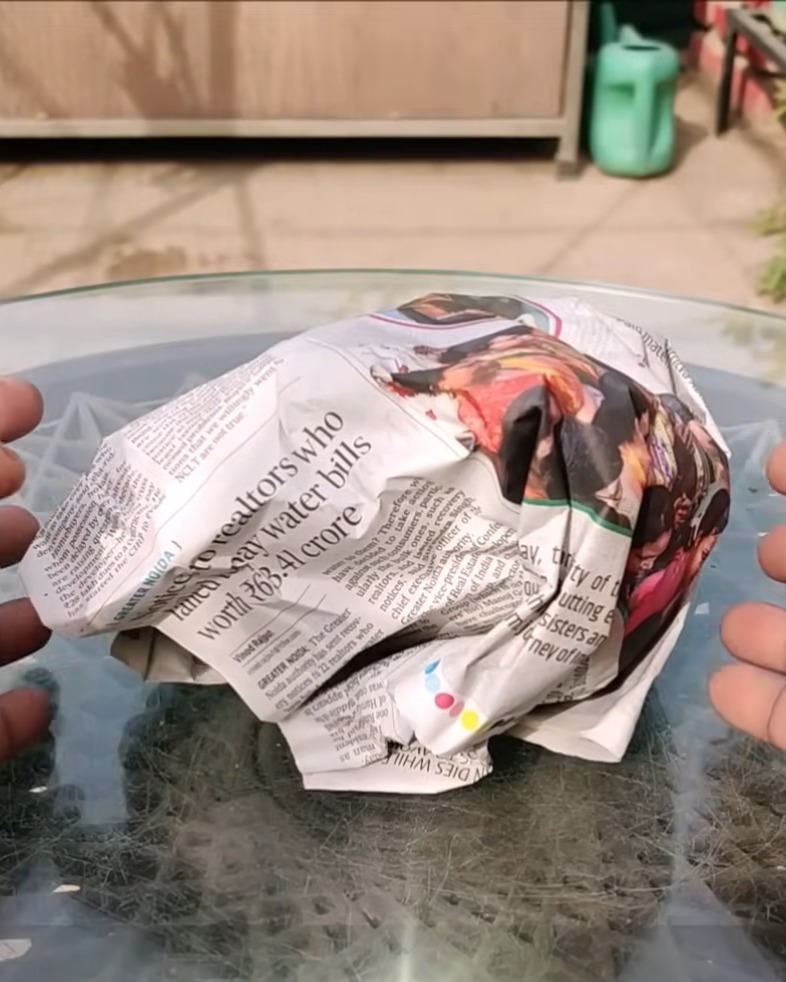
After about 10 to 12 days, I check them, and sure enough, several little eyes pop out!
These eyes look like tiny nerves and are lighter in color. They’re just like the ones on potatoes and will soon turn into roots.
Step 3: Treat Rhizomes Before Planting
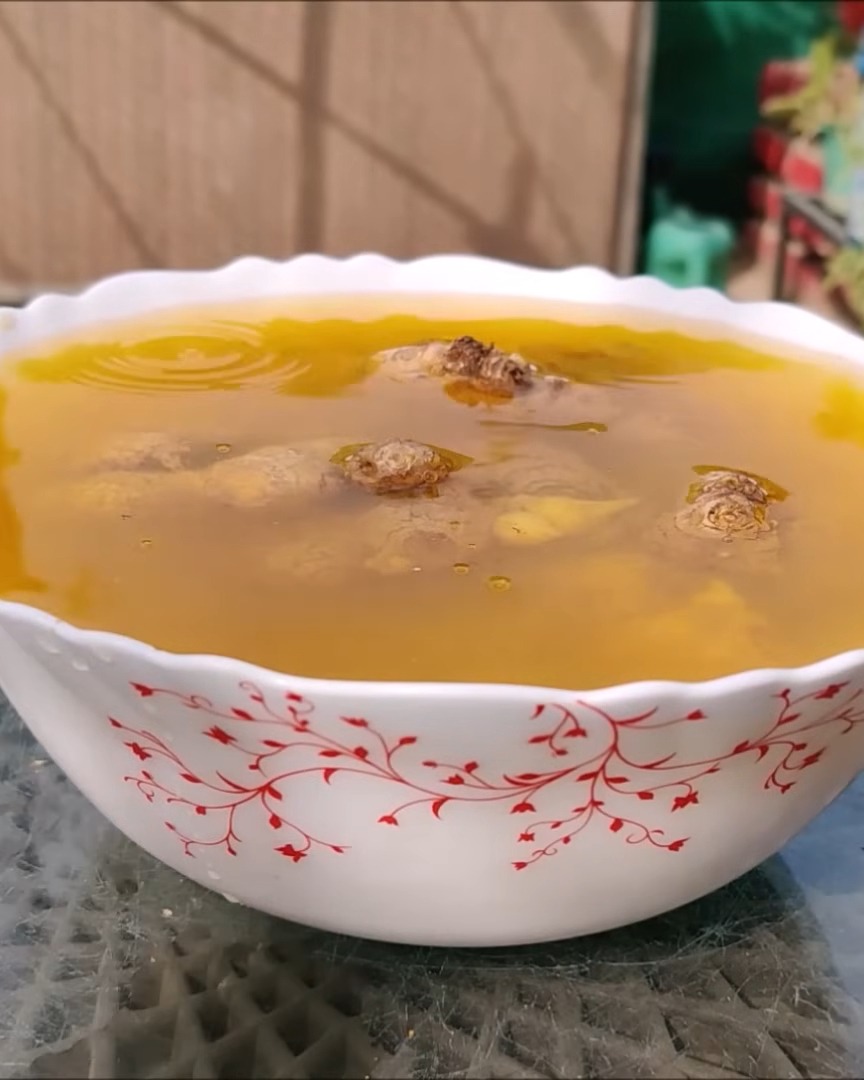
Here comes an important step I never skip—rhizome treatment. I soak my ginger in turmeric water for at least one hour. This protects it from fungal infections.
Once that’s done, I leave the pieces in the shade to dry for 1–2 hours. It’s quick, easy, and it keeps my plants healthy from the start.
Step 4: Get the Right Pot and Soil
Now, let’s talk containers and soil!
Ginger grows sideways, so I always choose wide pots over deep ones. My pots are at least 10 inches deep, but the width is what matters. The more space sideways, the more ginger I get.
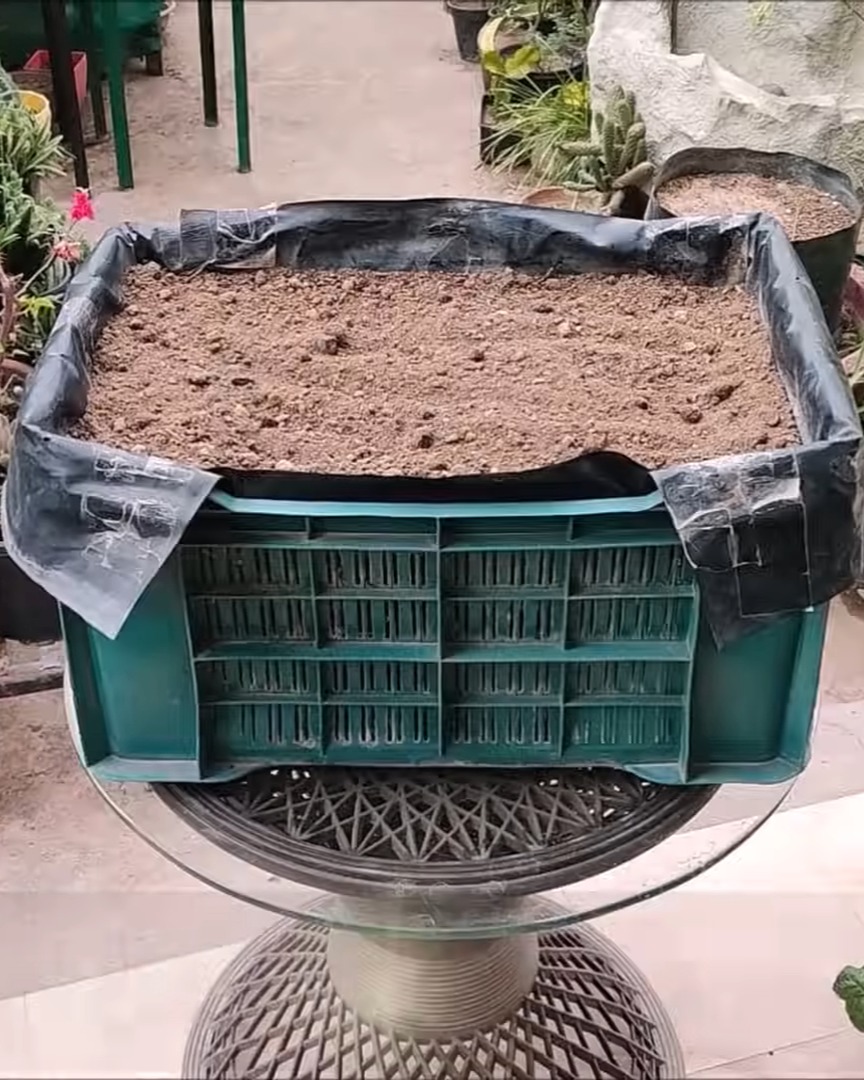
For soil, I mix:
- 60% sandy garden soil
- 40% cattle manure
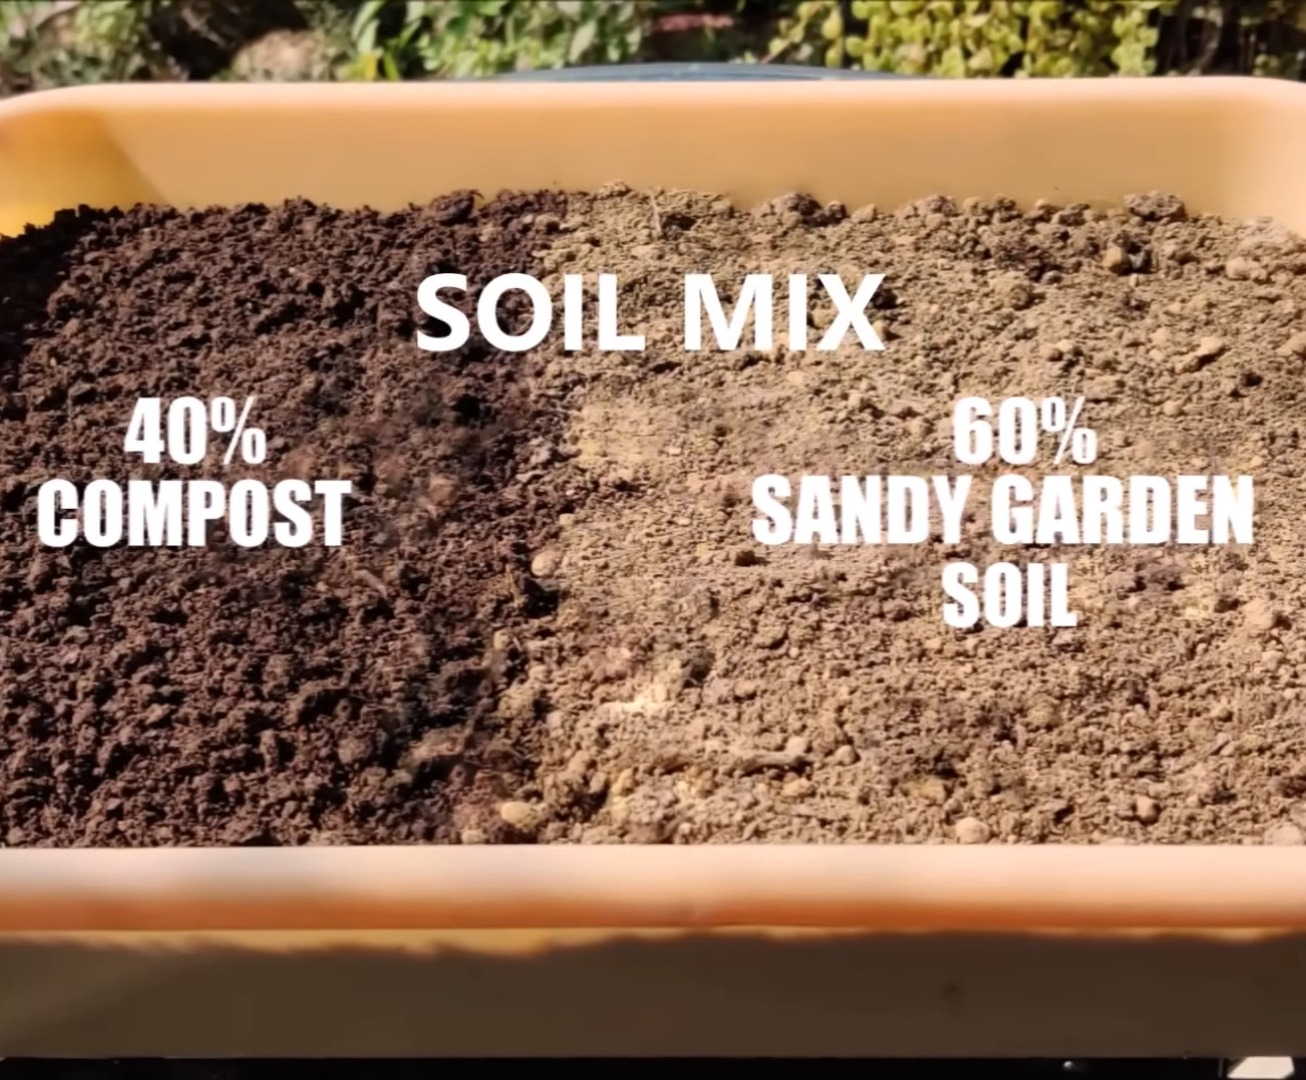
This combo keeps the soil loose, so the rhizomes can expand freely.
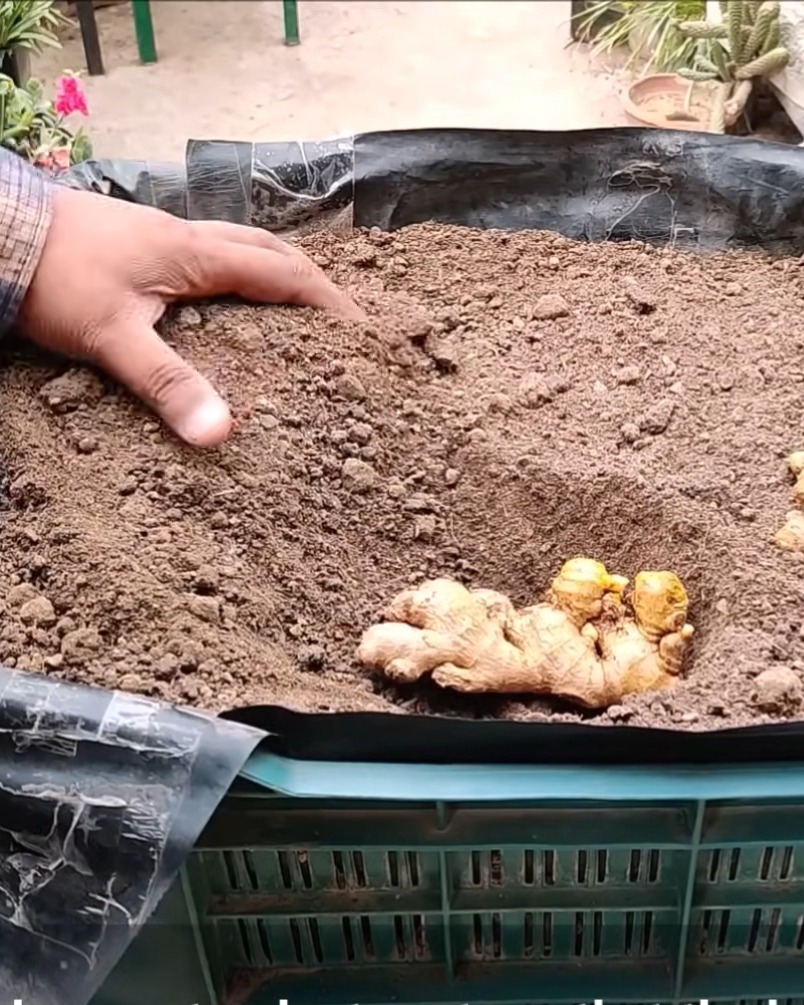
Step 5: Planting Ginger Correctly
Planting is easy, but you need to get it right. I bury the ginger about 2 to 4 inches below the soil.
Each piece is spaced 5 to 6 inches apart to give the roots plenty of room. I ensure the buds face upward—this helps the shoots grow strong.
Sometimes, I go big and plant 4–5 pieces in one wide pot. You can use whole rhizomes or cut them; just make sure each piece has at least 2–3 eyes. The bigger and plumper the rhizome, the faster it grows!
Step 6: Watering and Lighting for Growth
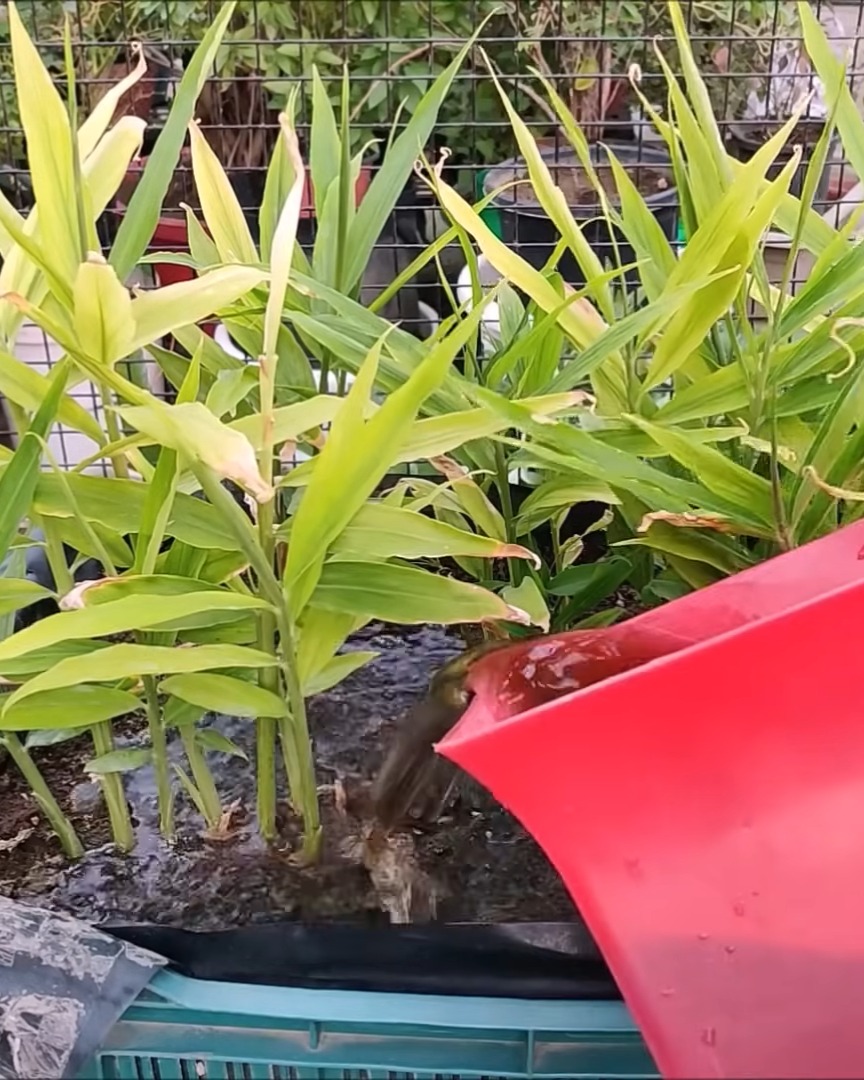
Right after planting, I water the soil well. Then, I keep the soil moist but never soggy. I always check the soil daily and water just before it dries out.
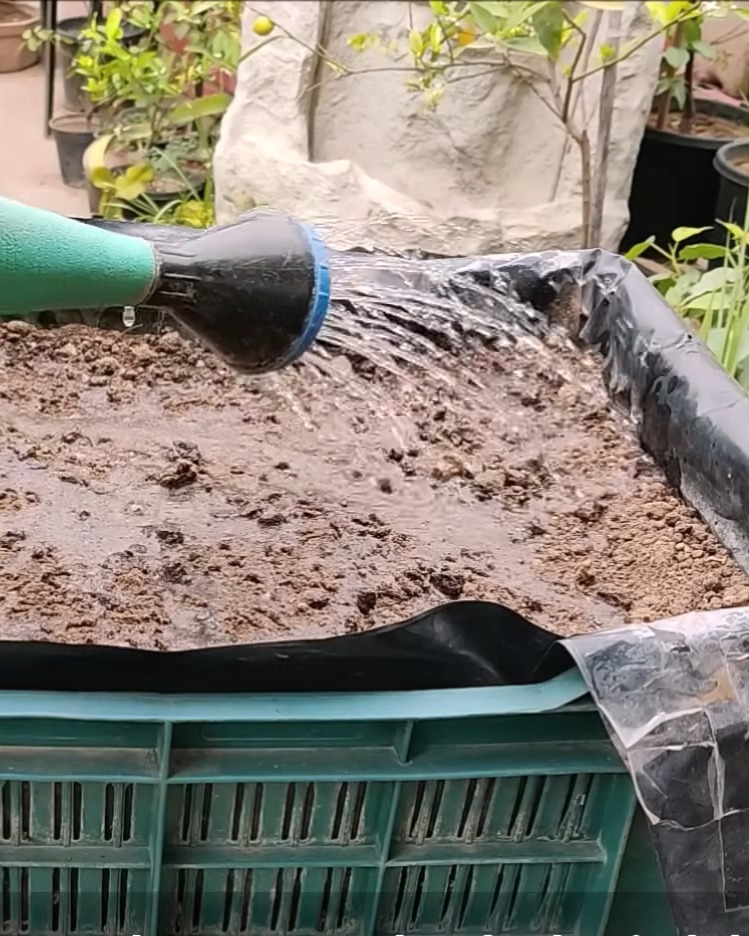
For light, I place the pot in a spot with dappled shade or 3–4 hours of sunlight. That’s the sweet spot for ginger. It really makes a difference!
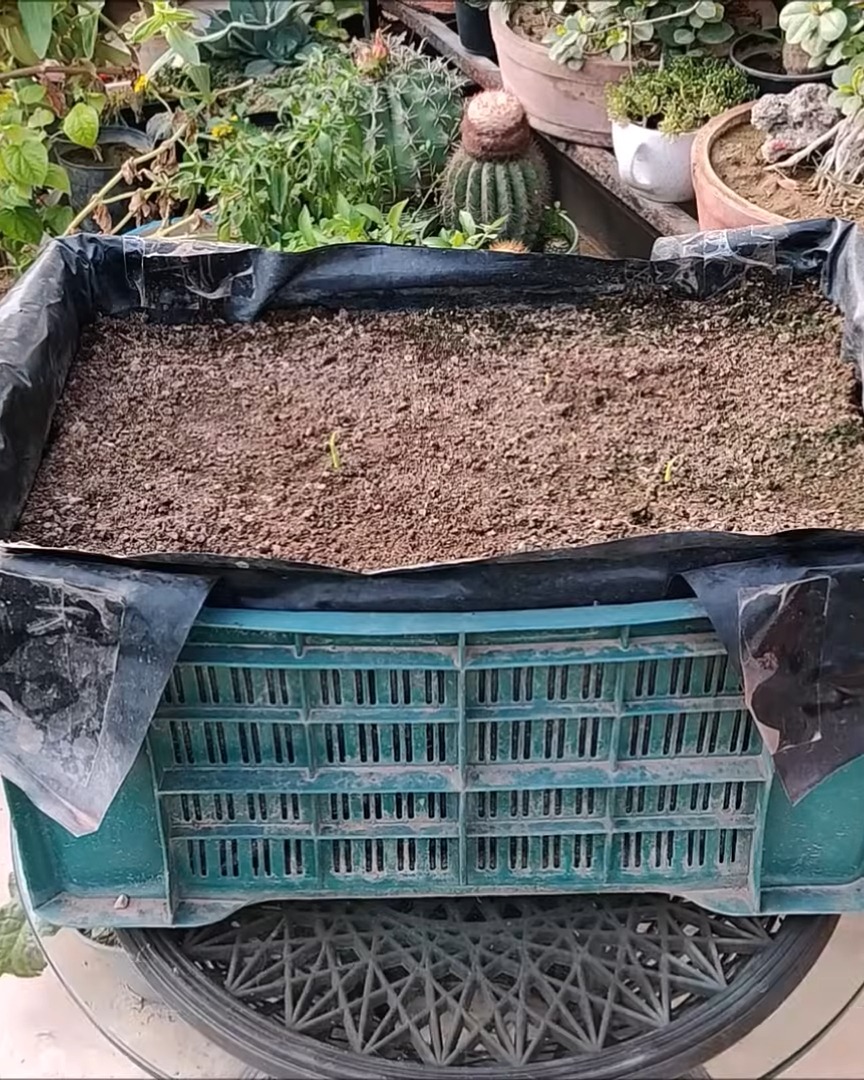
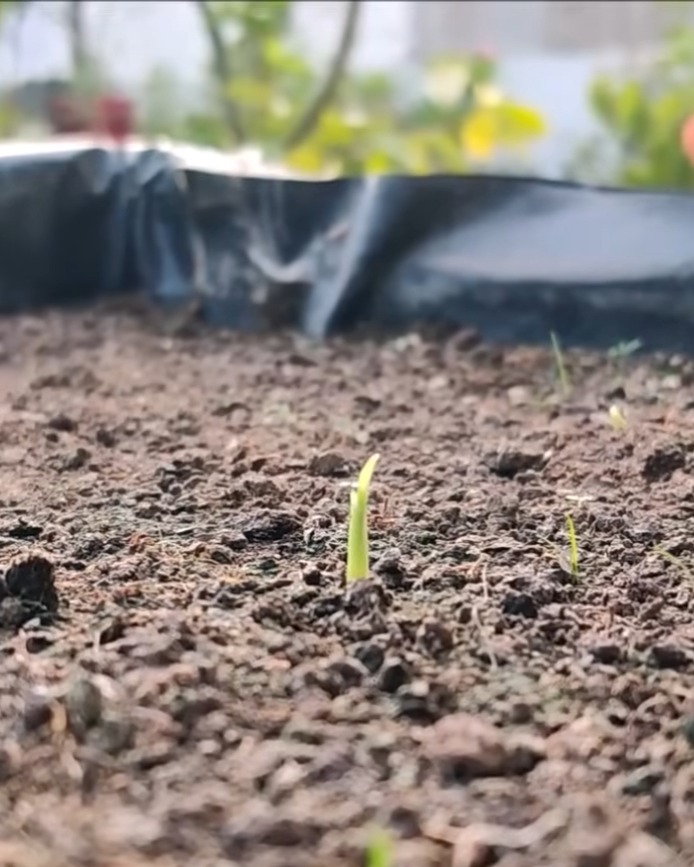
Step 7: Watching Your Ginger Grow
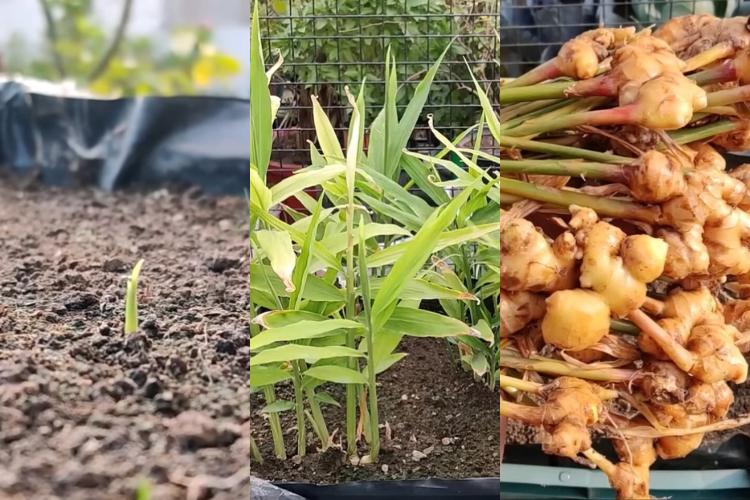
Once the conditions are right, growth begins slowly. In about 2–3 weeks, I see sprouts.
Day 36:
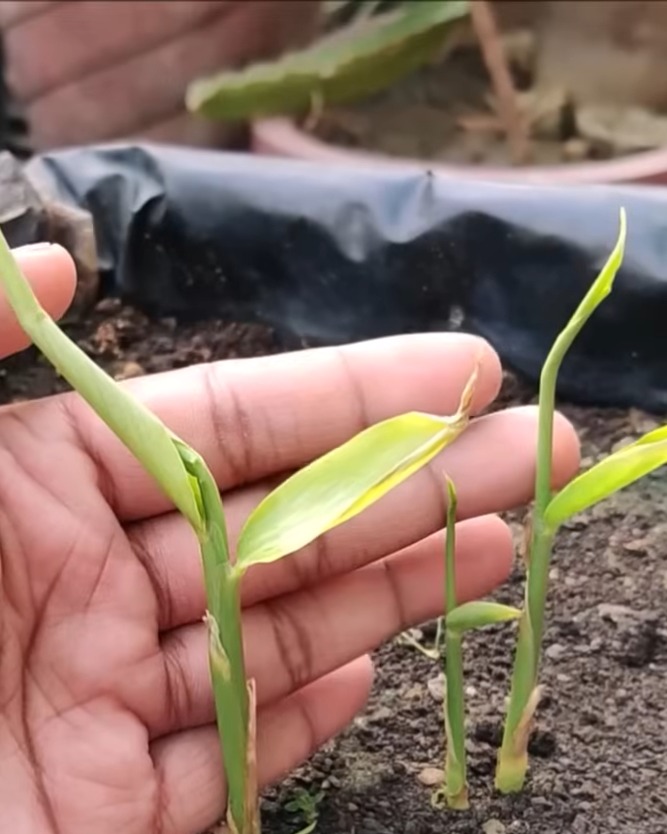
Day 48:
Day 60:
During the first 20 days, the plant grows one new leaf every 3–4 days.
Day 75:
At this early stage, the plant uses the nutrition stored in the rhizome. That’s why it’s so important to start with large, healthy pieces.
Day 105:
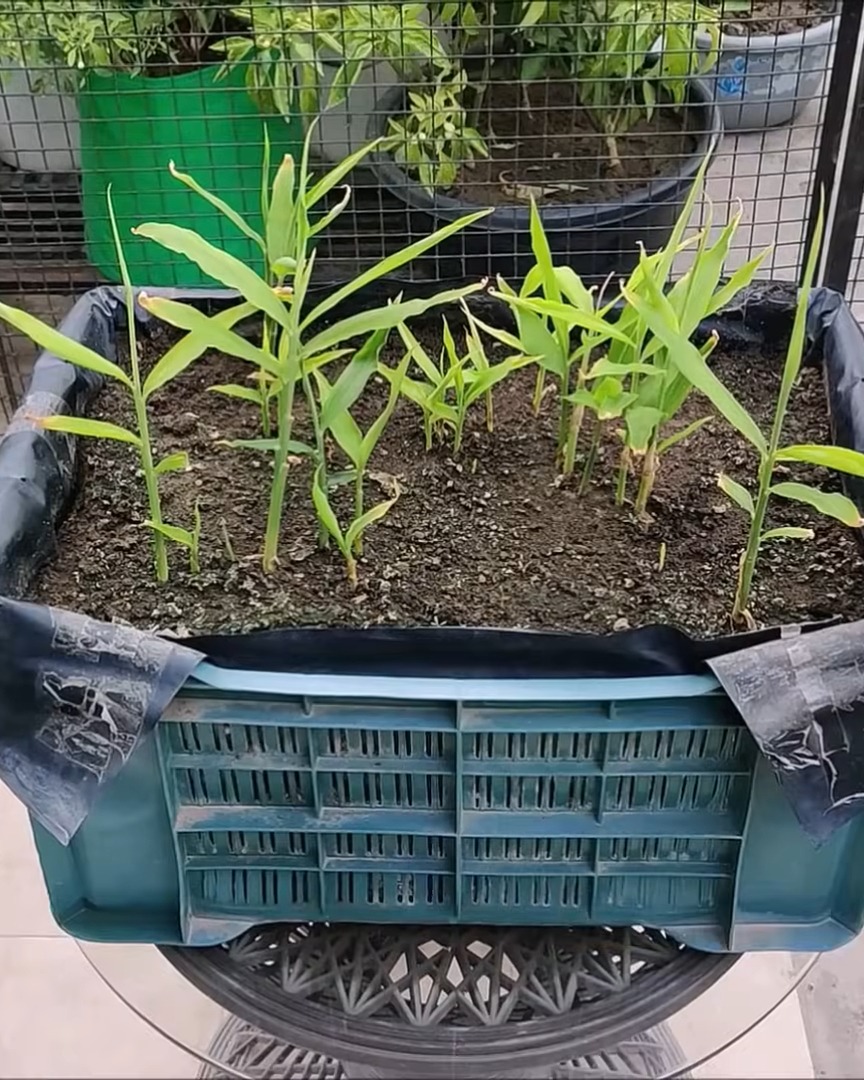
Step 8: Feed Your Ginger Regularly
Ginger needs a little food to thrive. I use a good organic liquid fertilizer every 2–4 weeks.
I add seaweed extract—just 8 to 10 ml per liter of water. I mix it well and feed the plants during watering.
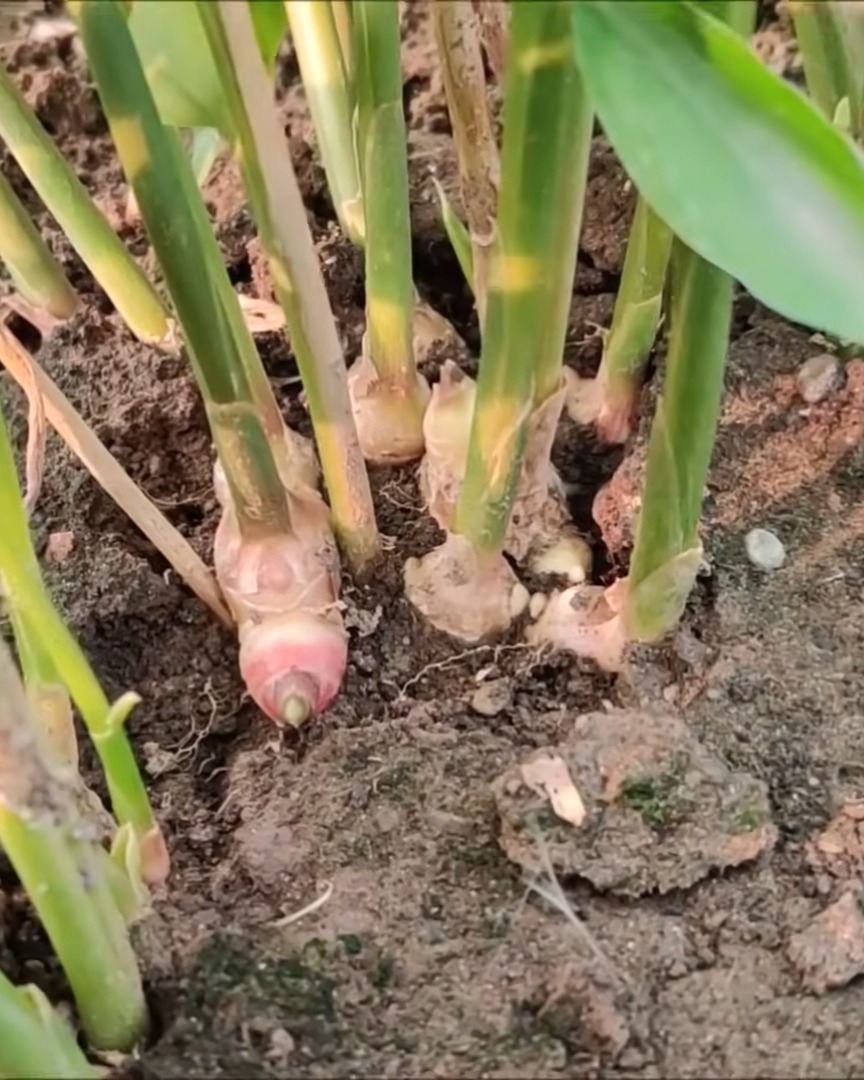
Around this time, the ginger can grow up to 2 feet tall. Don’t worry if some roots are above the soil—it’s normal.
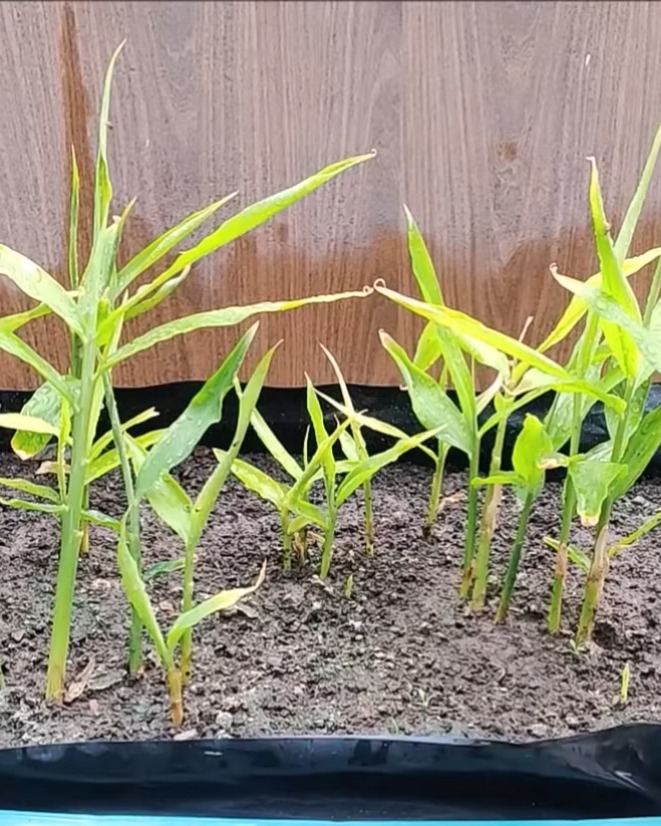
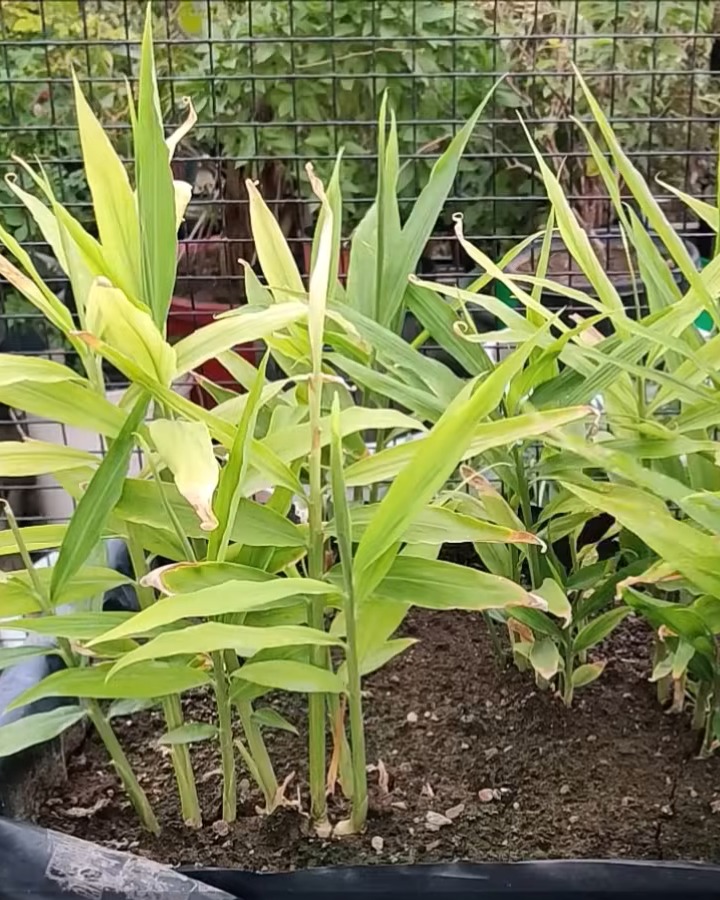
Step 9: Keep an Eye on Growth and Leaves
Now my ginger is growing fast! The leaves multiply, and the root expands quickly.
If I see any yellowing leaves, I know the plant needs extra nutrients. That’s my cue to apply more fertilizer every 3–4 weeks. I do this throughout the growing season to keep my plants green and healthy.
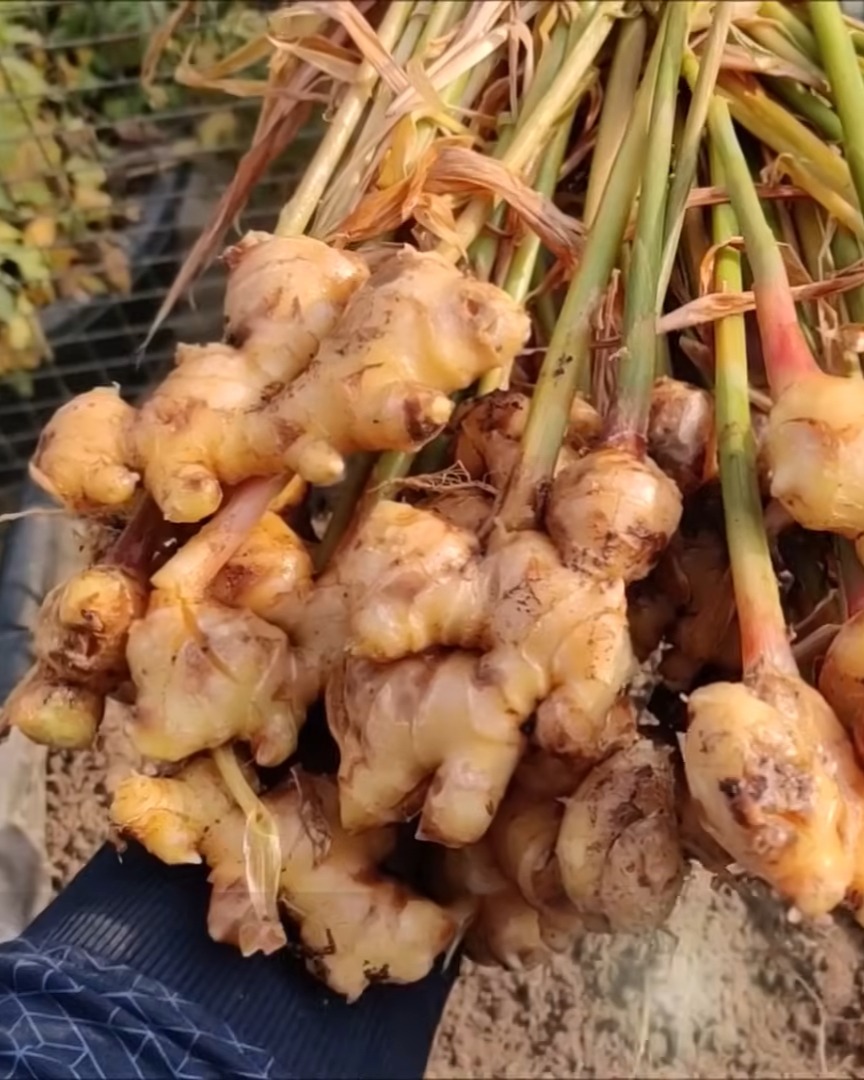
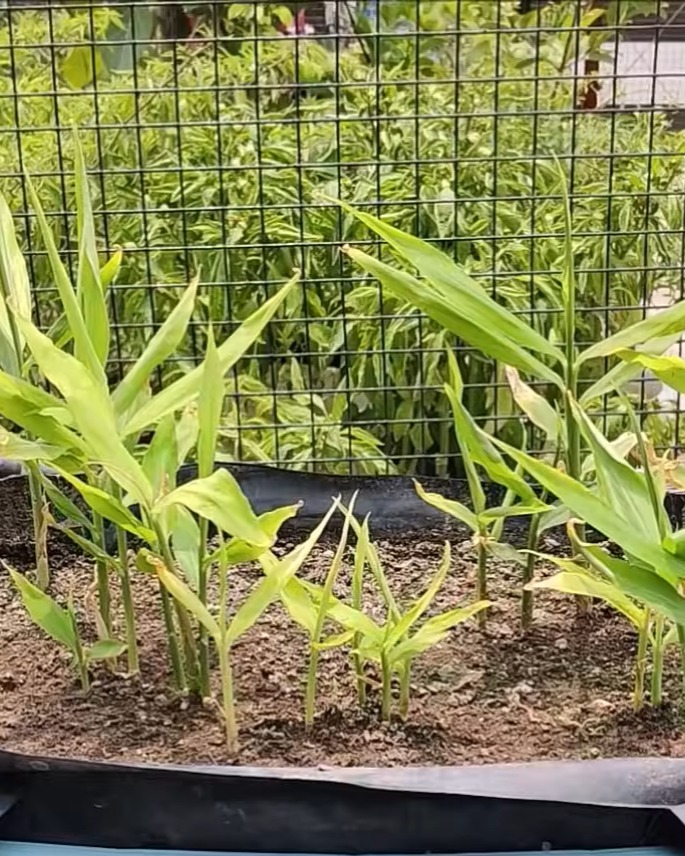
Step 10: Time to Harvest Your Ginger
After 8–10 months, it’s harvest time! If I plant in spring, I usually harvest by winter.
I watch for yellowing leaves around late summer or early winter—that’s my sign the plant is mature. My ginger plants grow up to 3–4 feet tall by this point.
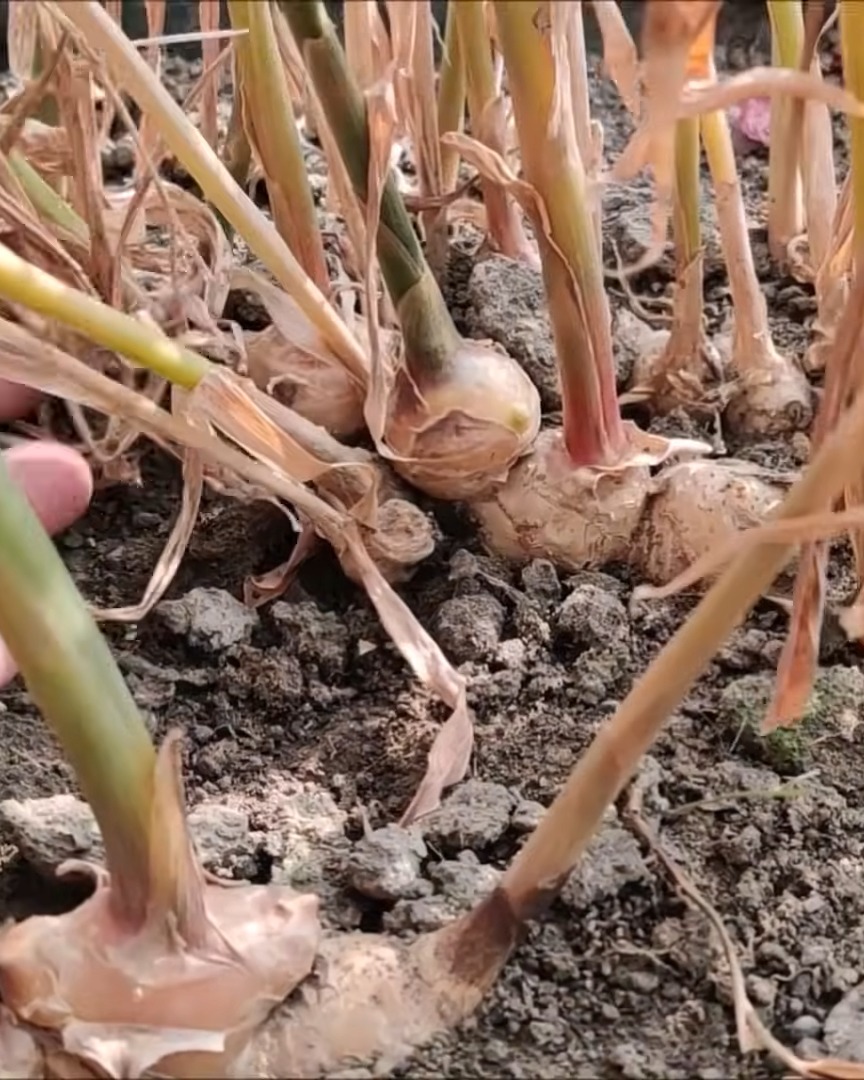
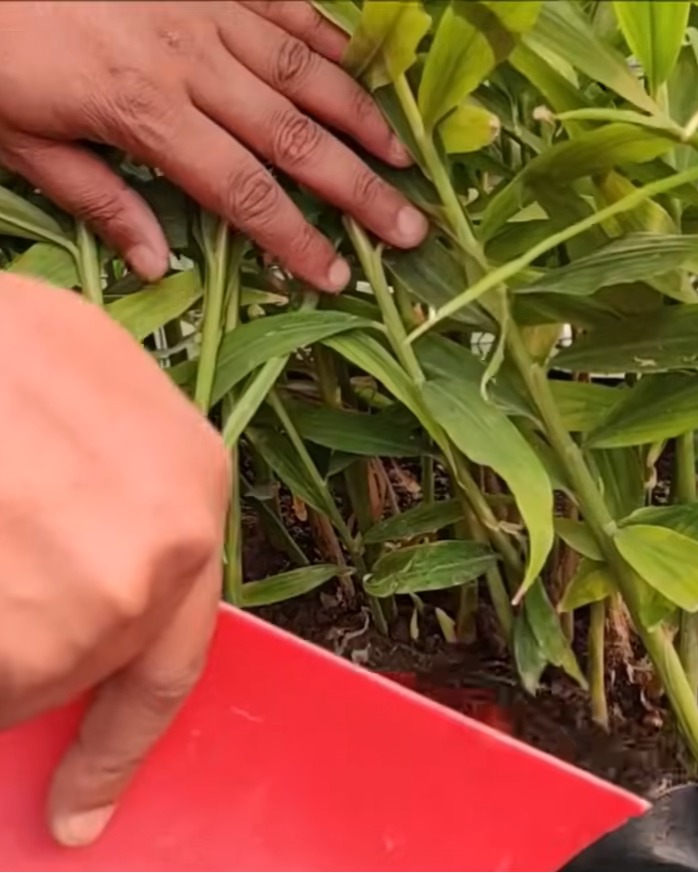
To harvest, I use my hands or a small trowel. I gently dig around the base, hold the stalks, and lift the whole rhizome.

Sometimes, I harvest small pieces just 3–4 months after planting!
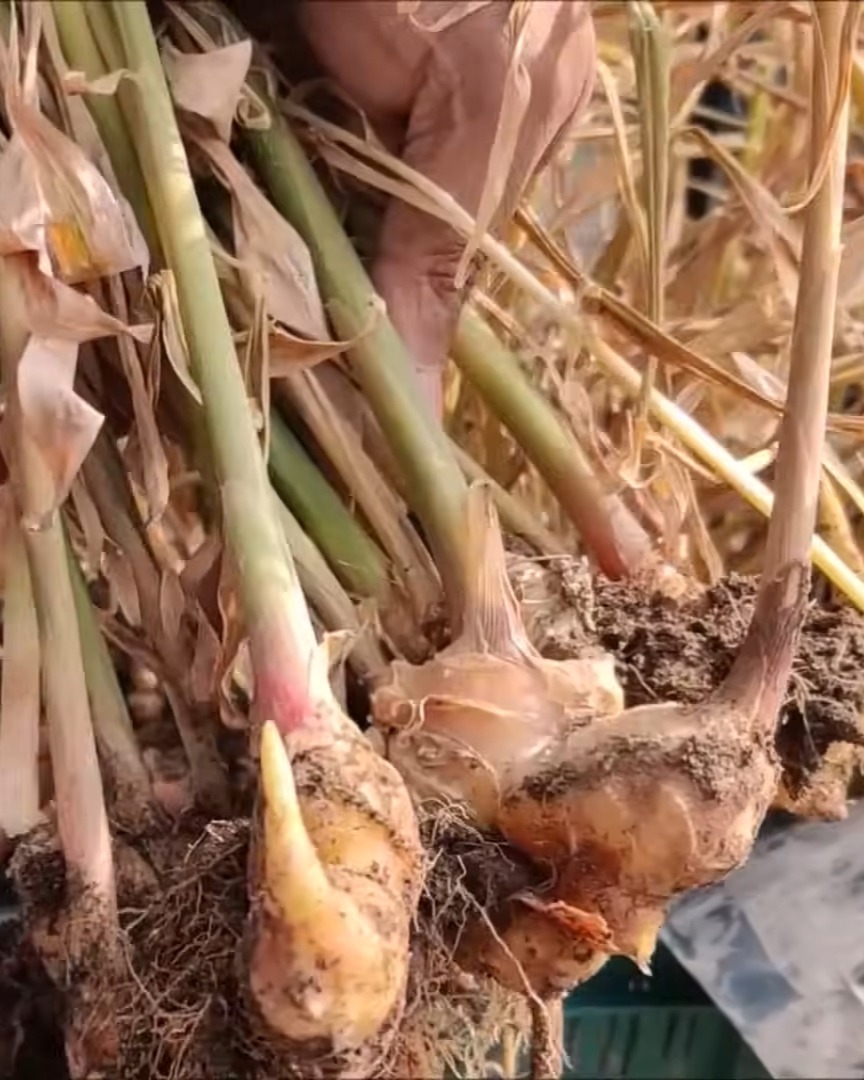
With just one container, I’ve harvested up to 8–10 kg of fresh ginger. Amazing, right?
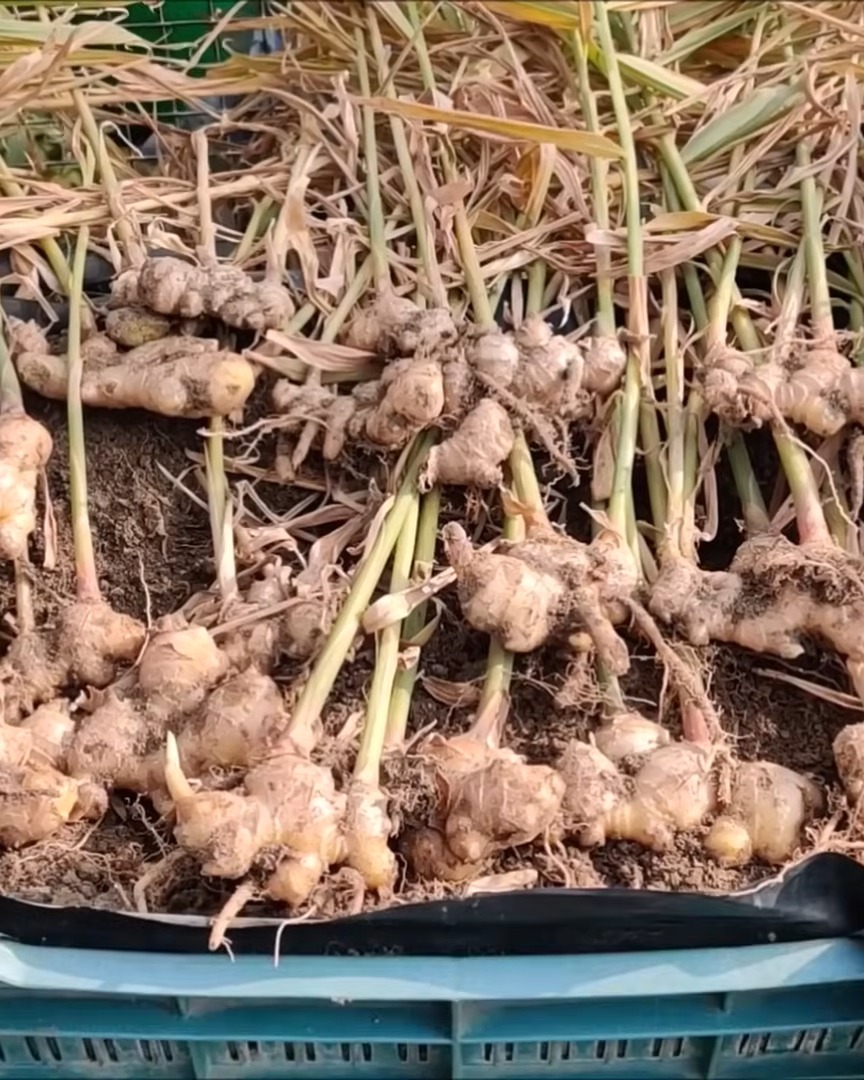
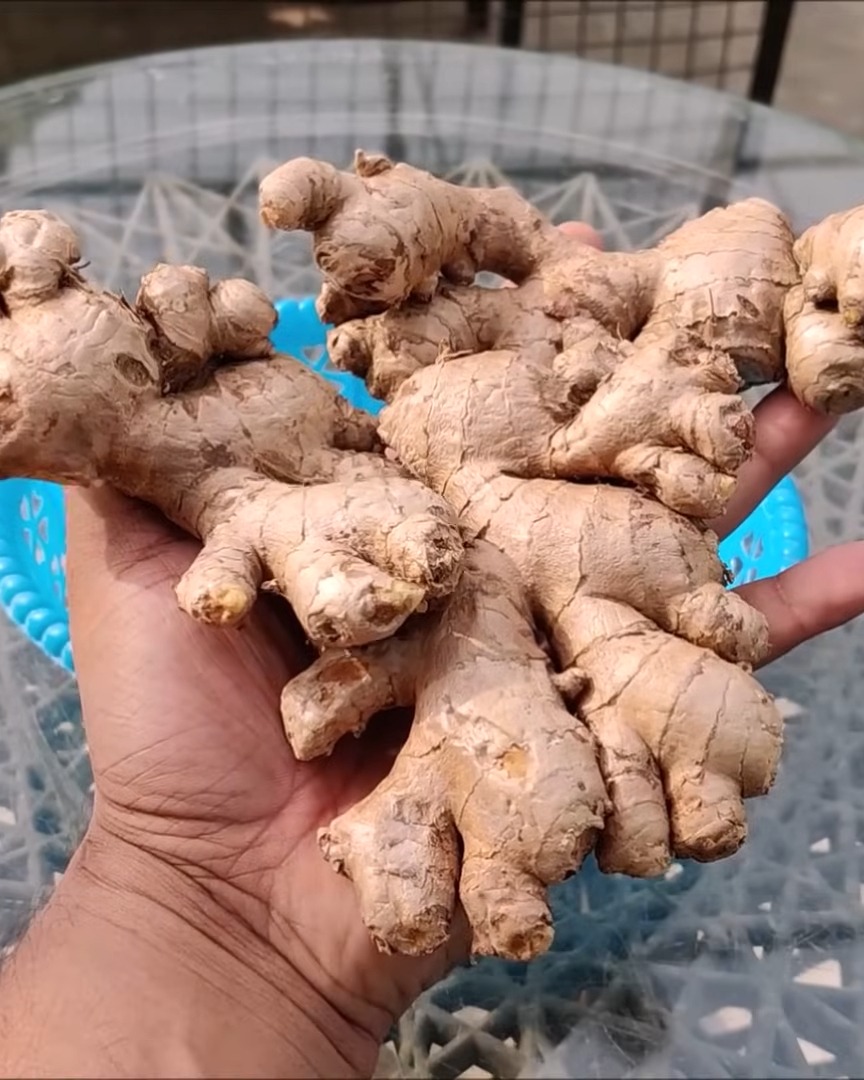
Step 11: Clean and Save for Next Season
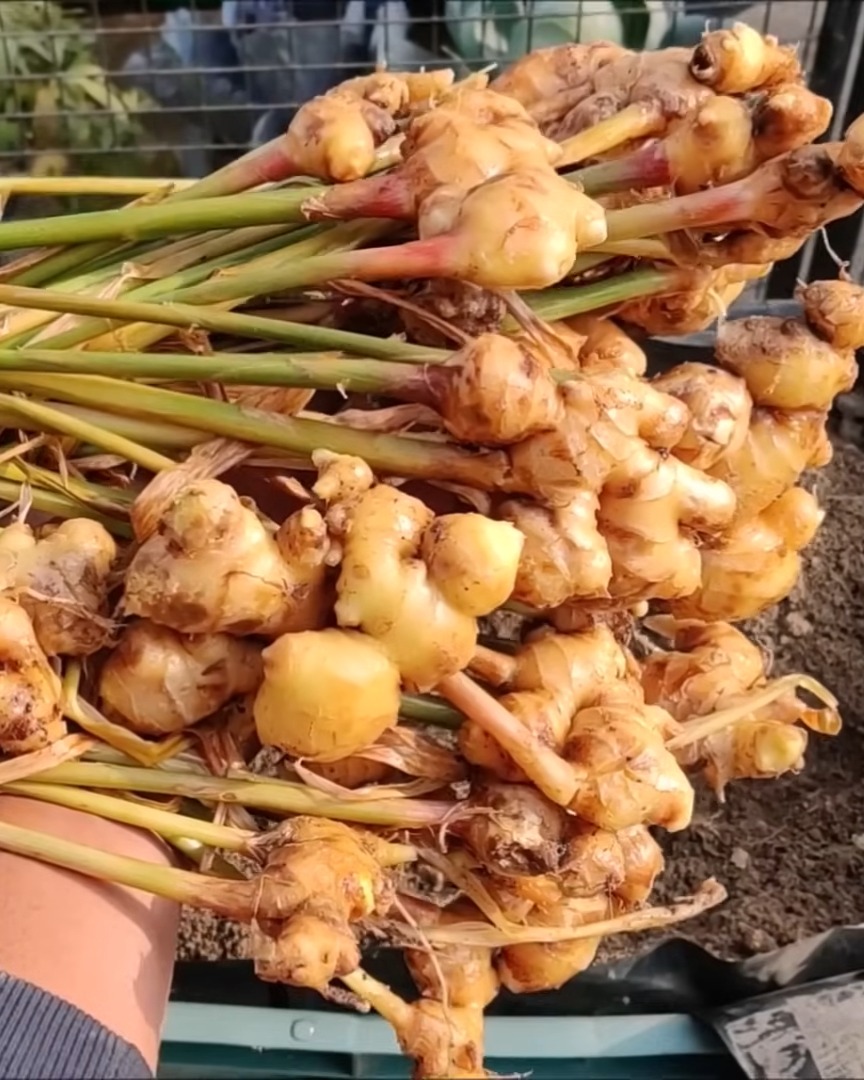
The last step is to clean your ginger well. I rinse the rhizomes under running water and scrub gently to remove dirt.
Once clean, I use the ginger in my kitchen—fresh, pickled, dried, or cooked! I also save some healthy pieces to plant again next season. That way, I never run out of homegrown ginger!
Wrapping Up
Growing ginger at home is one of the most straightforward and satisfying gardening projects I’ve done. I get piles of fresh ginger in a few months with just a little care! Why not try it and enjoy your spicy harvest straight from your garden? You’ll love the results as much as I do!