
Calendula is one of my favorite flowers to grow from seed! It’s fast, easy, and adds beautiful bursts of yellow and orange to any garden space. Whether you’re just starting or need something reliable, calendula grows with little care and gives back so much in return. In this guide, I’ll walk you through every step—from seed to bloom—right in containers!
Contents
- 1 Why You Should Grow Calendula from Seed in Pots
- 2 Best Calendula Varieties to Grow in Containers
- 3 How to Prepare for Planting Calendula Seeds
- 4 How to Plant Calendula Seeds for Successful Germination
- 5 Calendula Seedling Care Tips for Healthy Growth
- 6 Steps to transplant Calendula into Large Pots
- 7 Calendula Plant Care Tips for Pots and Containers
- 8 How to Prevent Common Calendula Problems and Boost Blooms
- 9 How to Harvest and Save Calendula Seeds for Next Season
- 10 The Bottom Line
Why You Should Grow Calendula from Seed in Pots
Let’s start with why calendula is an excellent choice for home gardeners like you and me.
Calendula grows quickly, maturing just 6 to 8 weeks after sowing! It’s low-maintenance and can handle less water and fertilizer. That’s a dream for anyone with a busy schedule or limited gardening time.
Calendula isn’t just pretty—it’s practical too! I like planting calendula near vegetables because it attracts bees and butterflies. Even better, it brings helpful insects that eat pests like aphids. It’s a natural pest repellent!
And if you’re like me and love growing in containers, you’re in luck. Calendula is perfect for pots, balconies, or small garden beds.
Best Calendula Varieties to Grow in Containers
If you’re wondering what types to grow, here are my top picks!
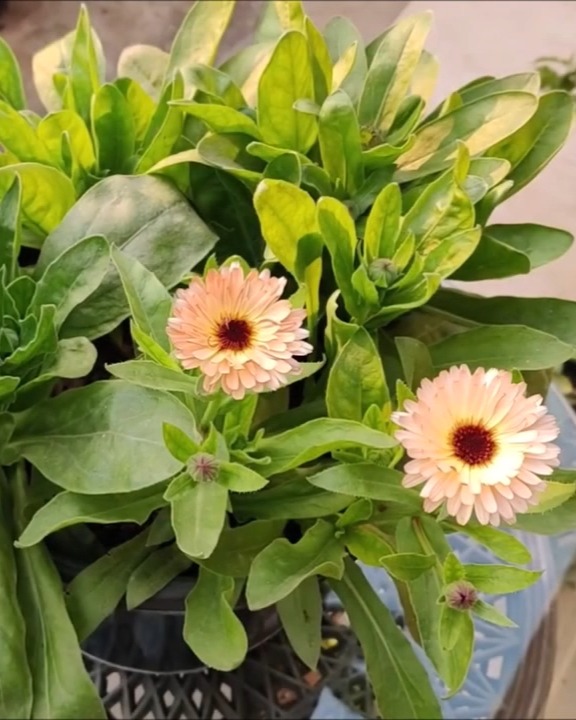
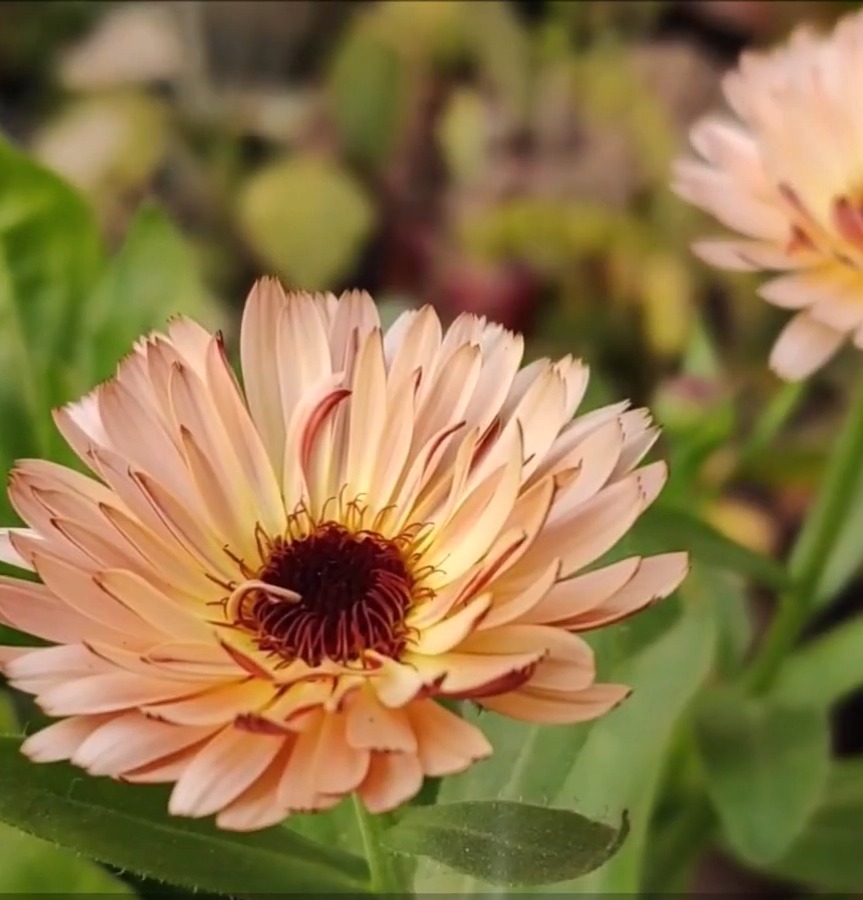
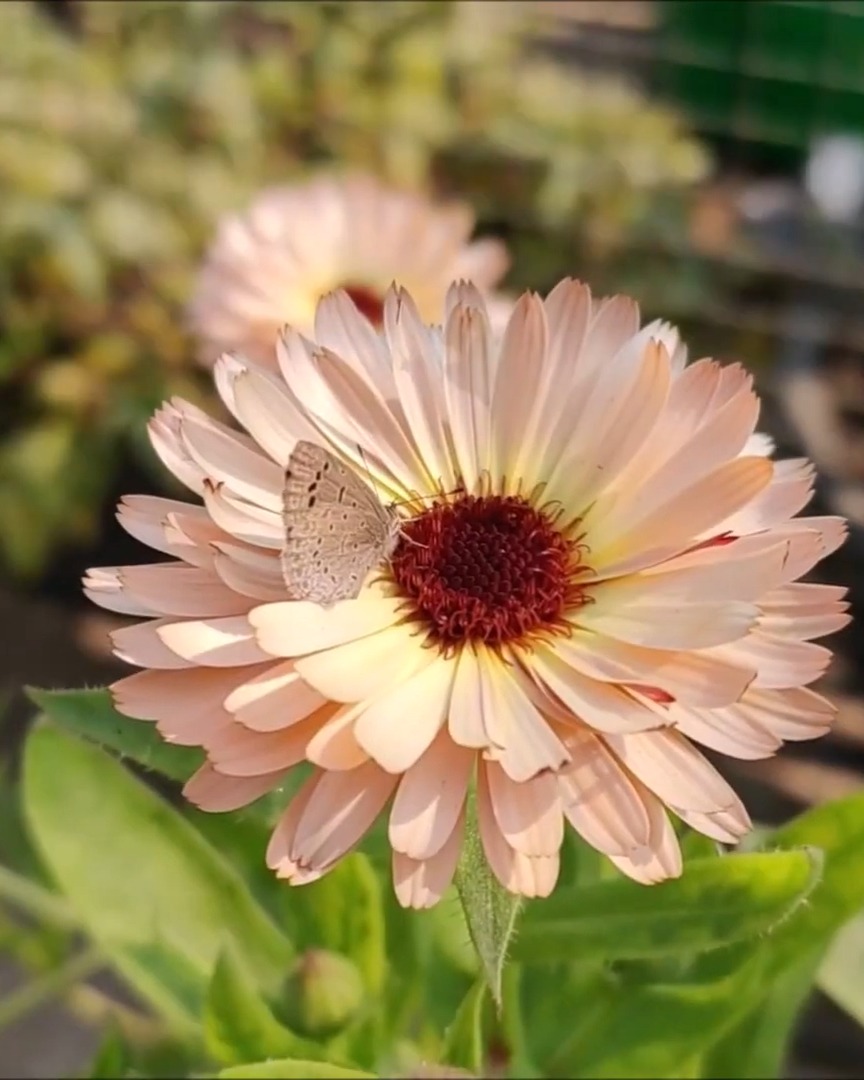
- Touch of Red: These are gorgeous! They have yellow, orange, and cream petals with reddish backs. The plants grow 12–15 inches tall and bloom in 2–3 inch flowers.
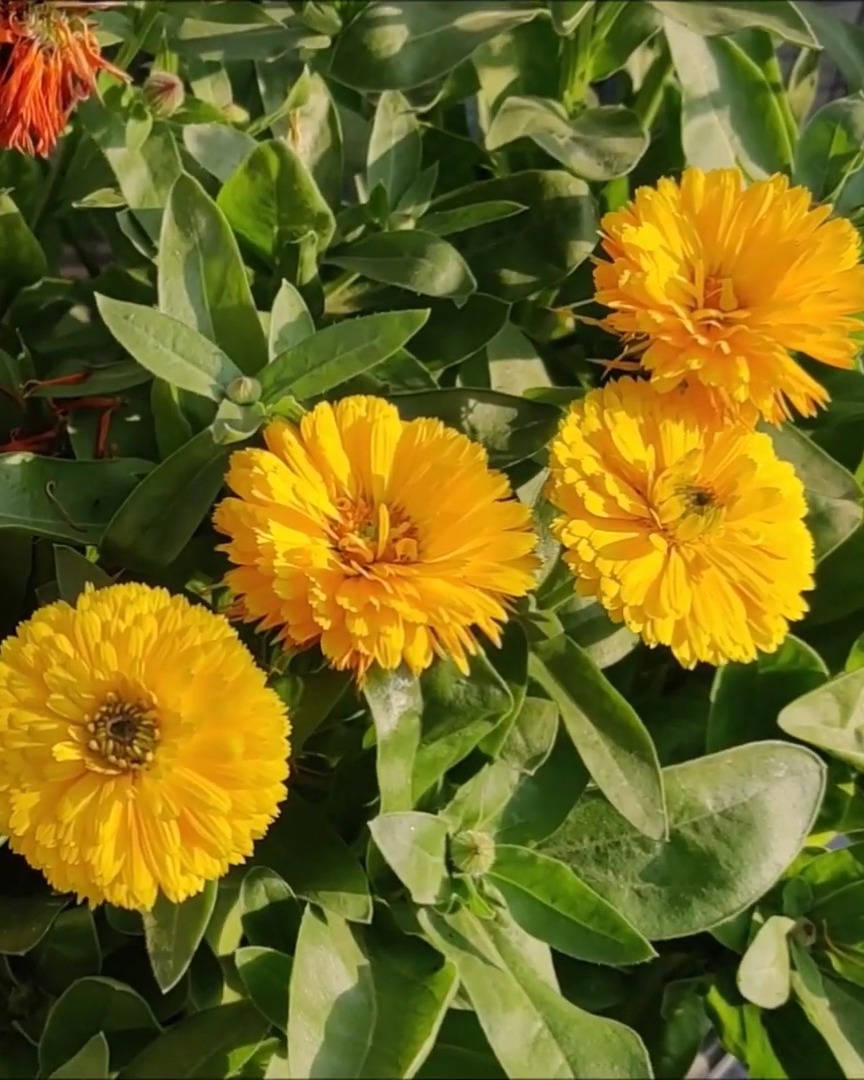
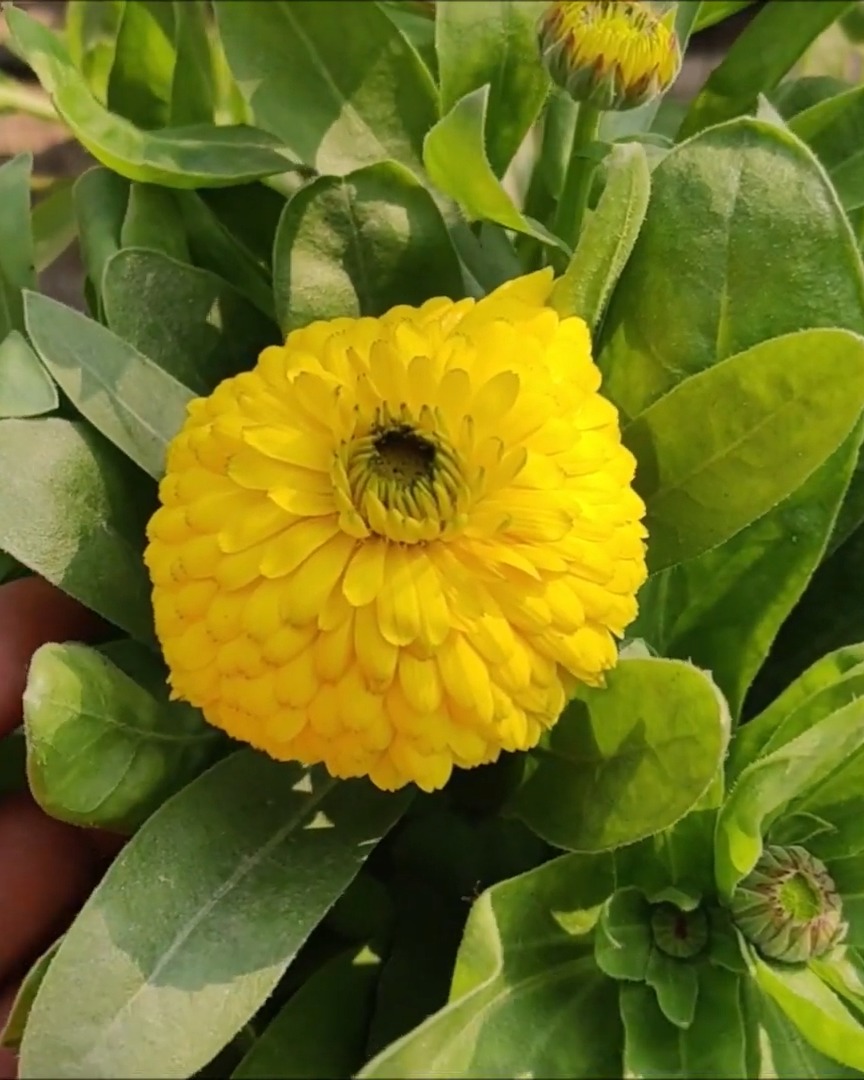
- Bonbon Series: These have double blooms in yellow and orange. Each flower is 3–4 inches wide, and the plant stays compact at about 12 inches high and wide.
How to Prepare for Planting Calendula Seeds
Starting from seed might sound tricky, but trust me, calendula makes it easy!
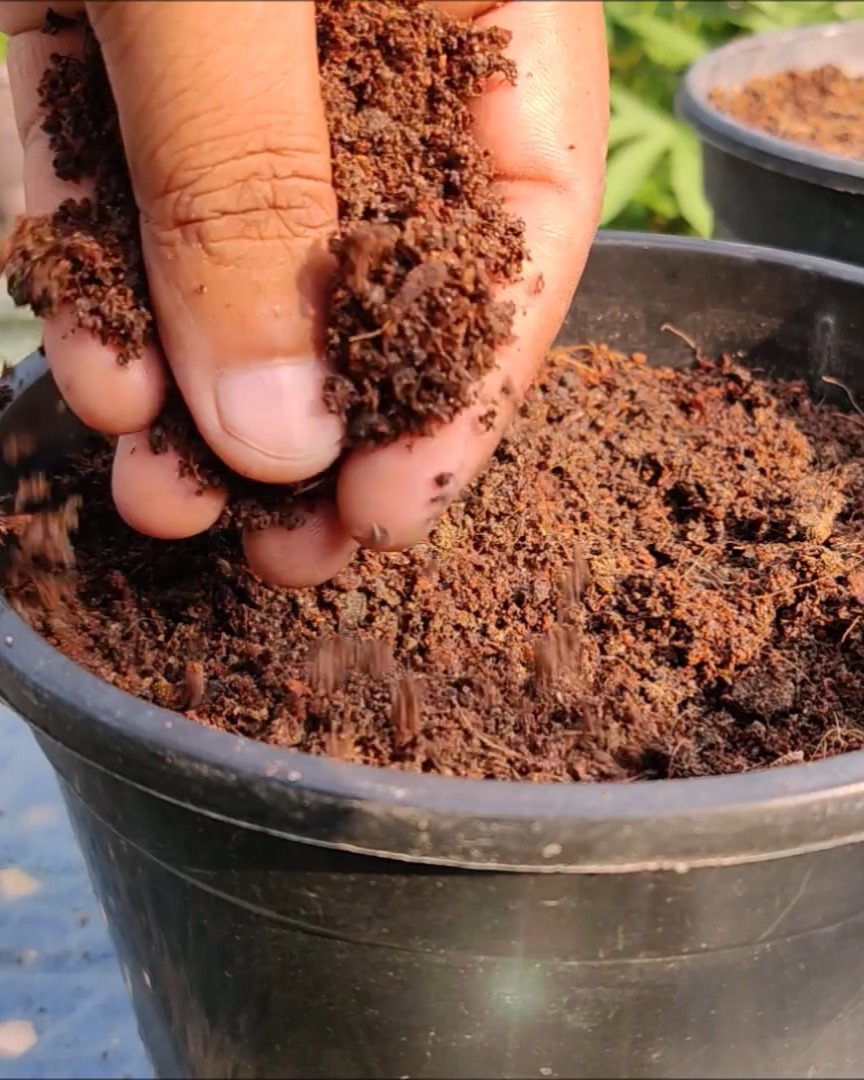
I begin with small pots and fill them with a good seed-starting mix. I always leave a little space at the top so watering doesn’t overflow. You can make a great mix yourself:
- 40% cocopeat
- 30% garden soil
- 30% vermicompost
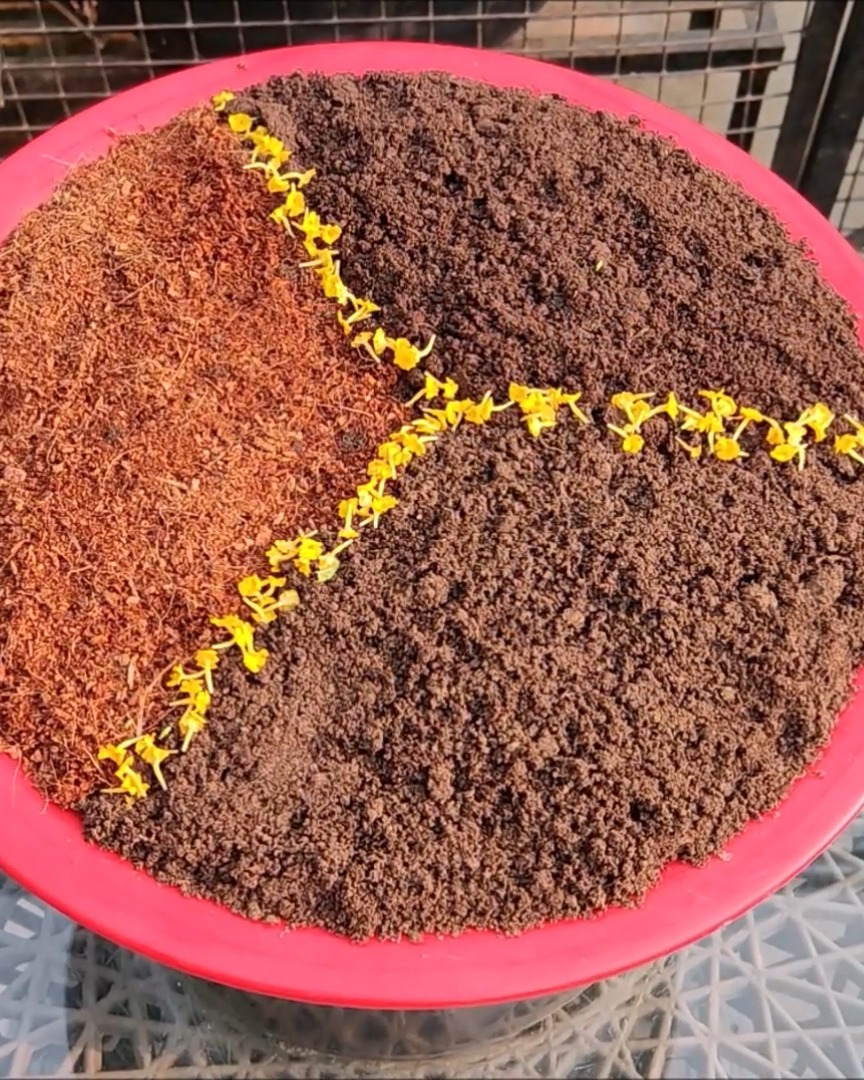
After mixing, I press down lightly to level the surface. This helps seeds sit evenly. Then, I moisten the mix. The goal is damp—not wet—so seeds don’t rot.
How to Plant Calendula Seeds for Successful Germination
Now comes the fun part—planting the seeds!
Calendula seeds are a great size to work with. I find them easy to pick up and place.
I spread them across the soil surface, keeping about 1–2 inches of space between each seed. This spacing helps each plant grow freely without crowding.
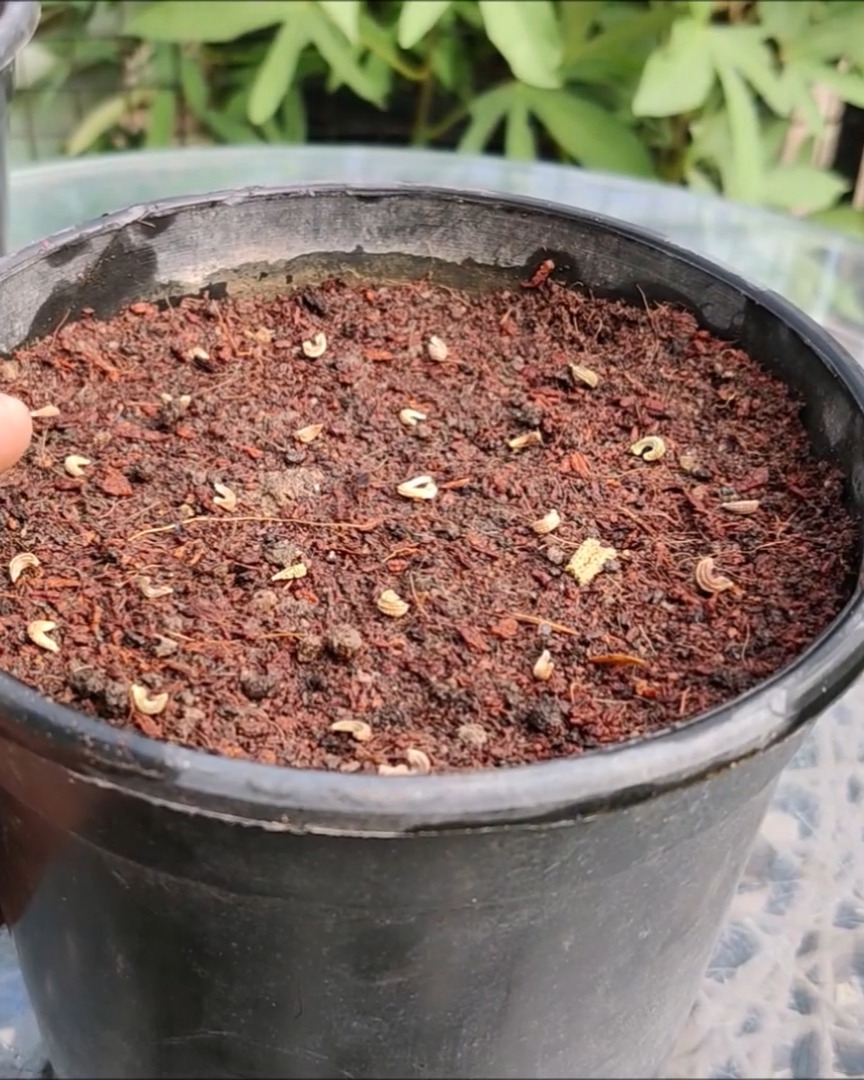
Next, I cover the seeds with just ¼ inch of the same soil mix. That thin layer protects the seeds but still lets them breathe.
Before I forget, calendula loves cool weather! Ideal temperatures range from 10°C to 28°C. I avoid sowing during hot or freezing weather, or the seeds won’t germinate well.
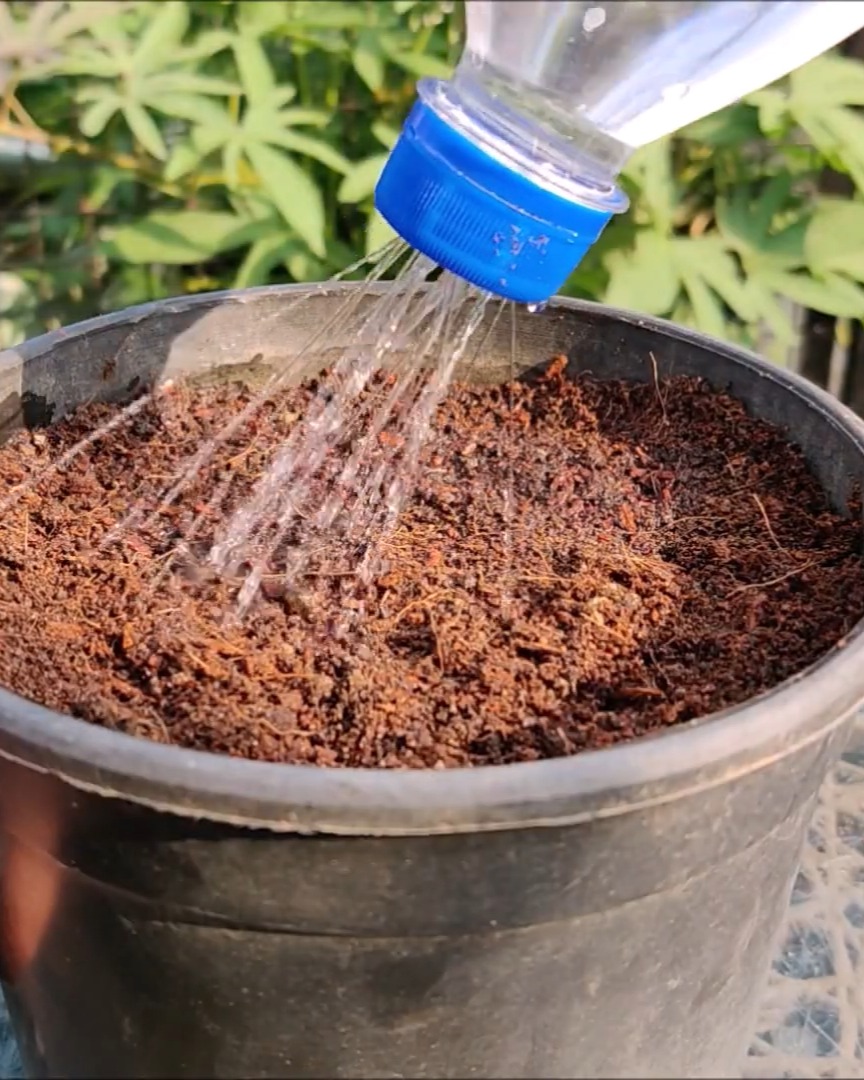
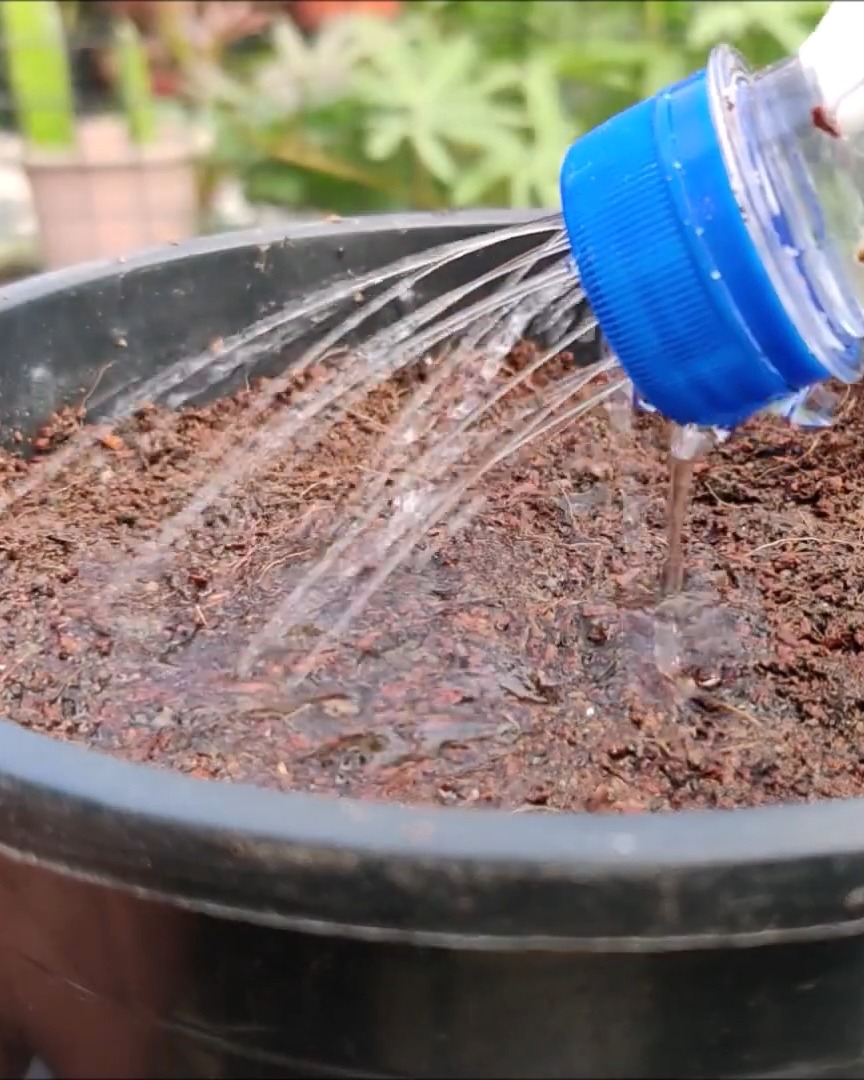
After planting, I gently firm the soil and water right away.
Just be careful not to wash the seeds away!
Calendula Seedling Care Tips for Healthy Growth
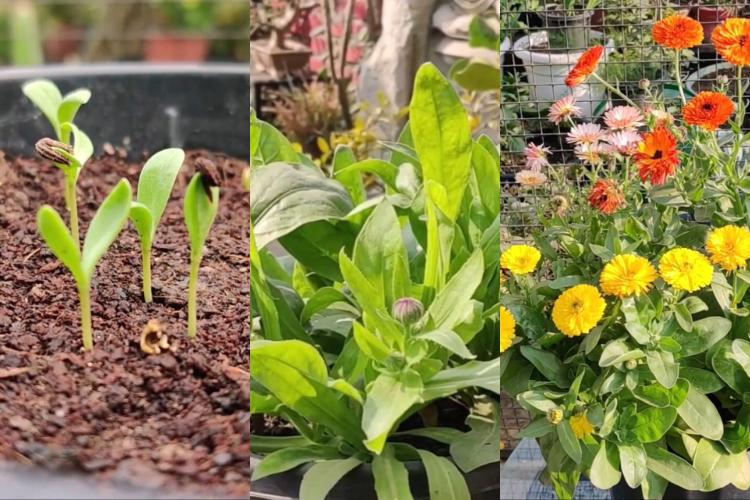
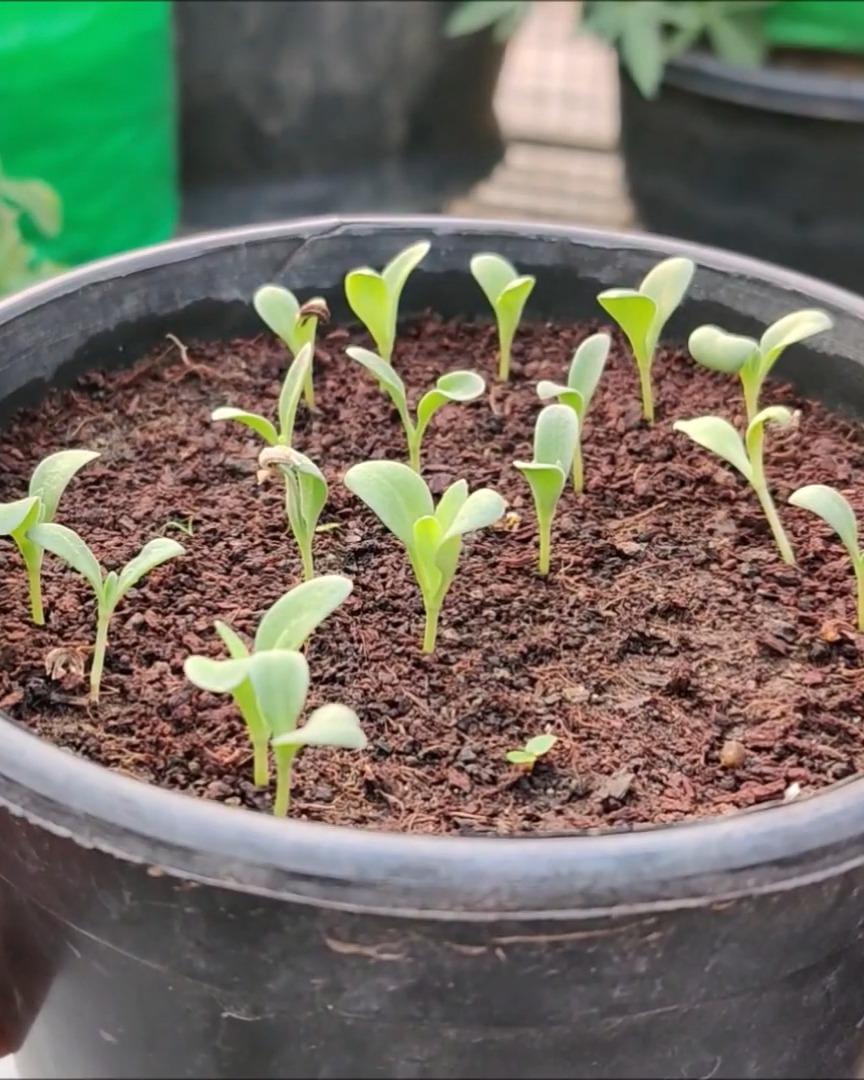
Once your seeds are in the soil, it’s all about giving them a gentle start. I usually see sprouts pop up in 3–5 days—so exciting!
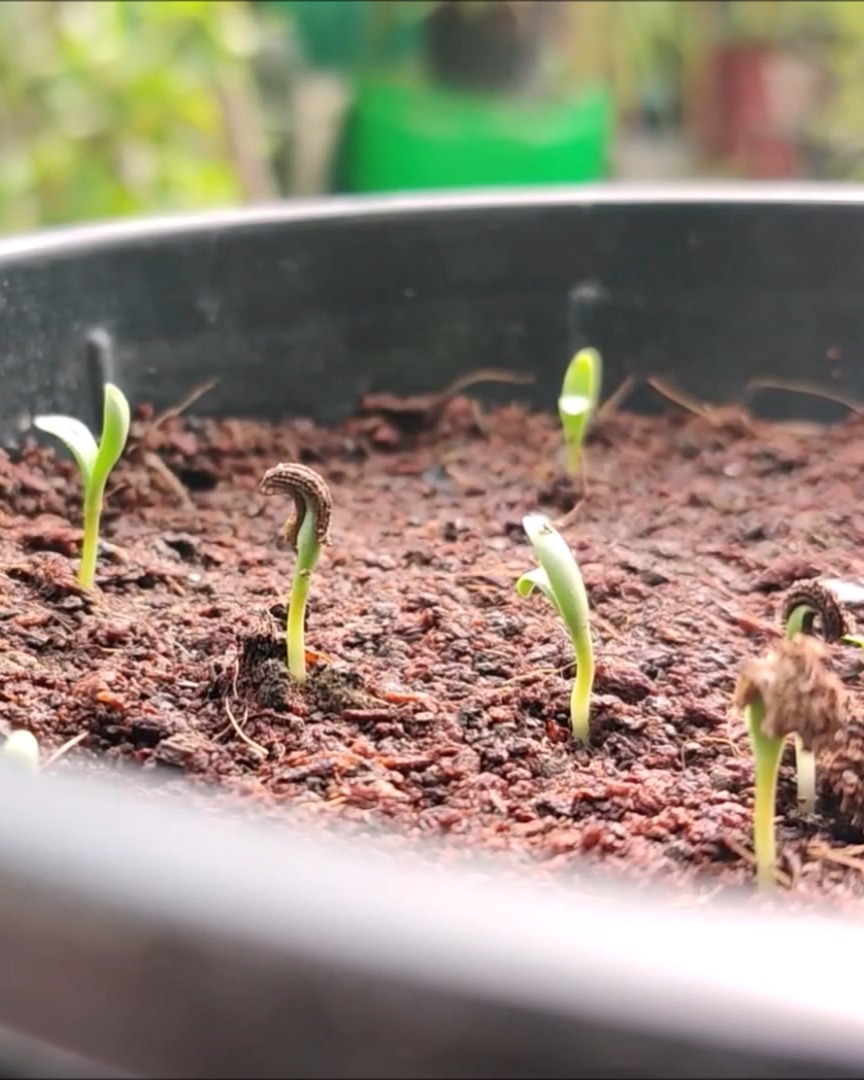
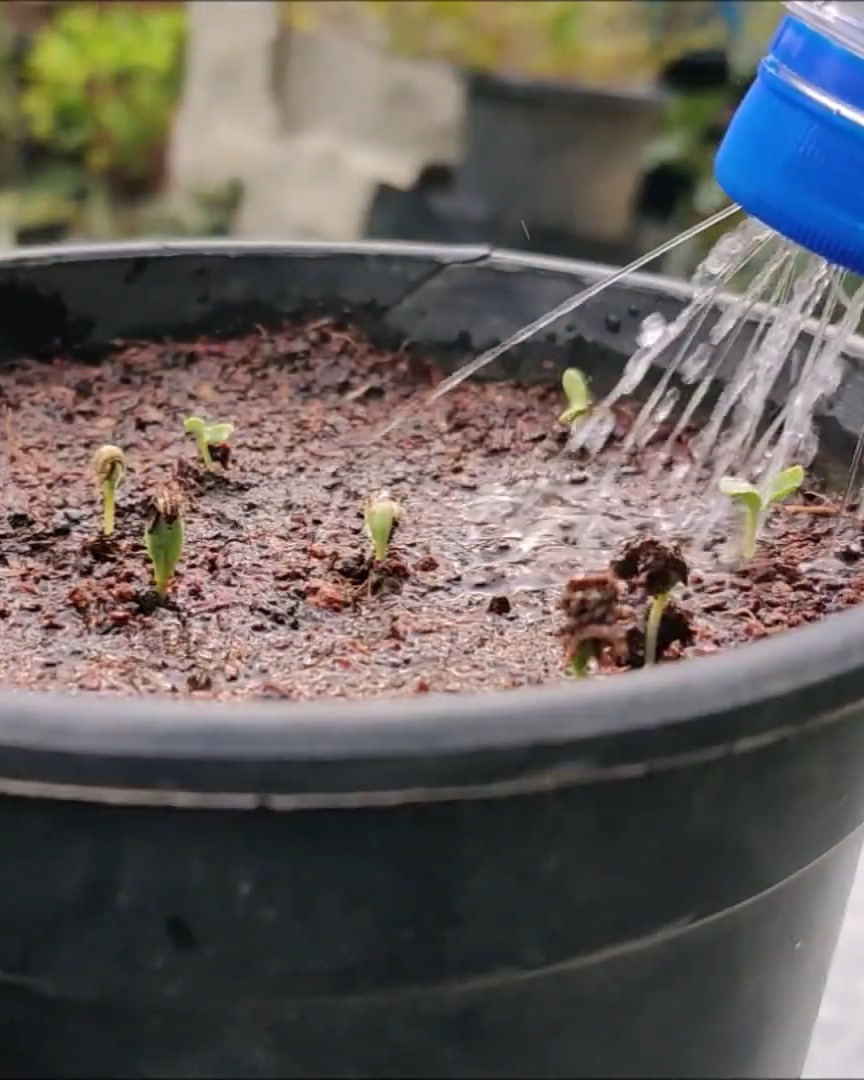
In the beginning, I check the soil every day. If the top layer feels dry, I give it a light watering. Moist soil helps the seedlings grow strong.
Day 7:
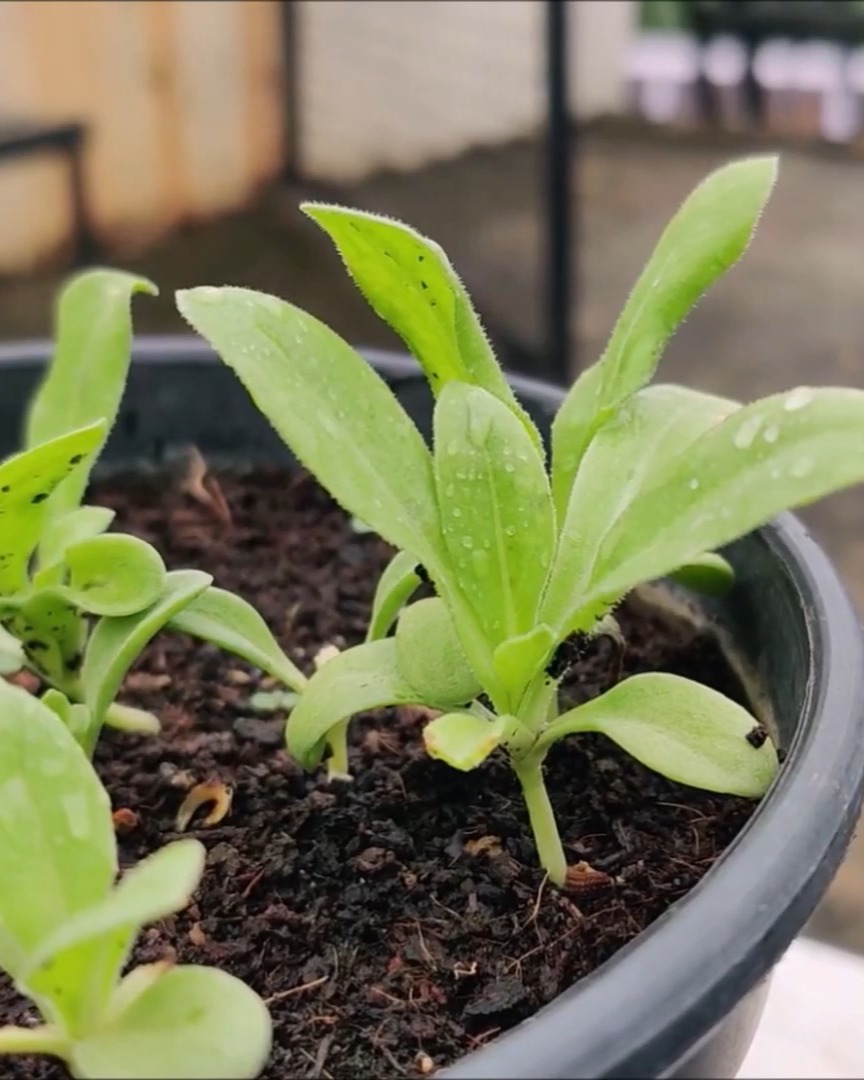
Day 12:
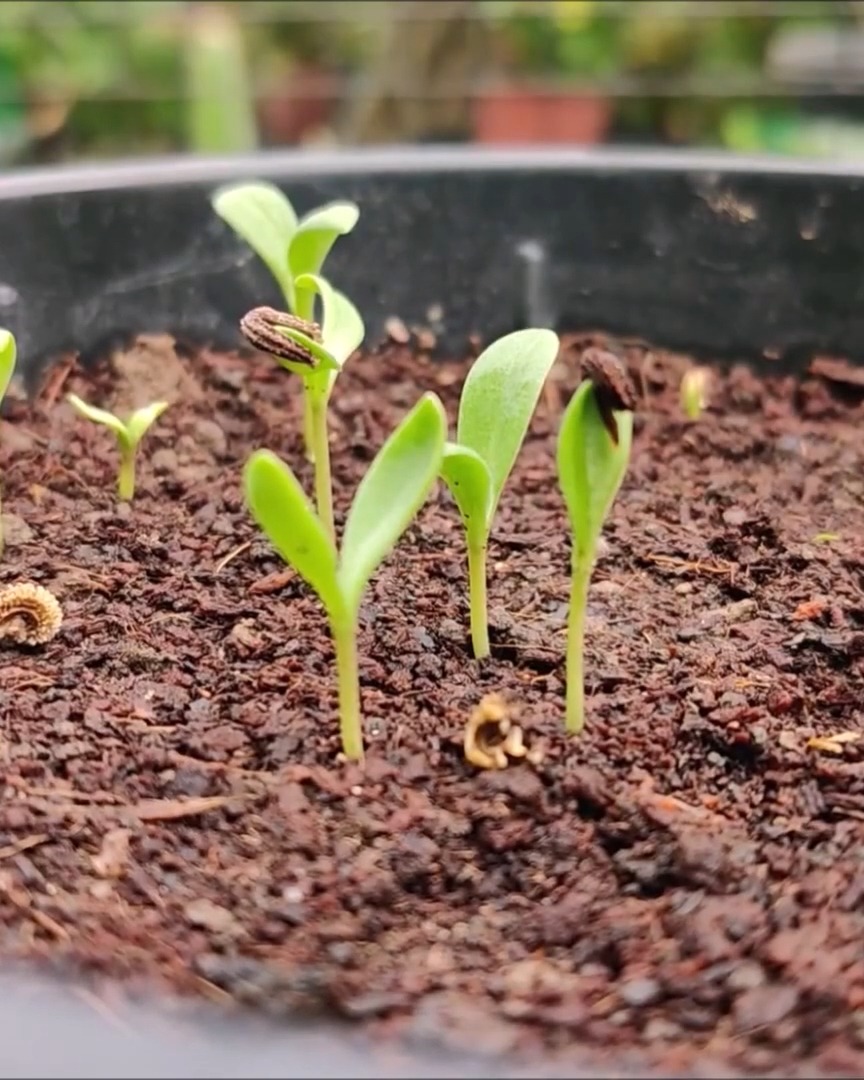
Day 26:
Day 35:
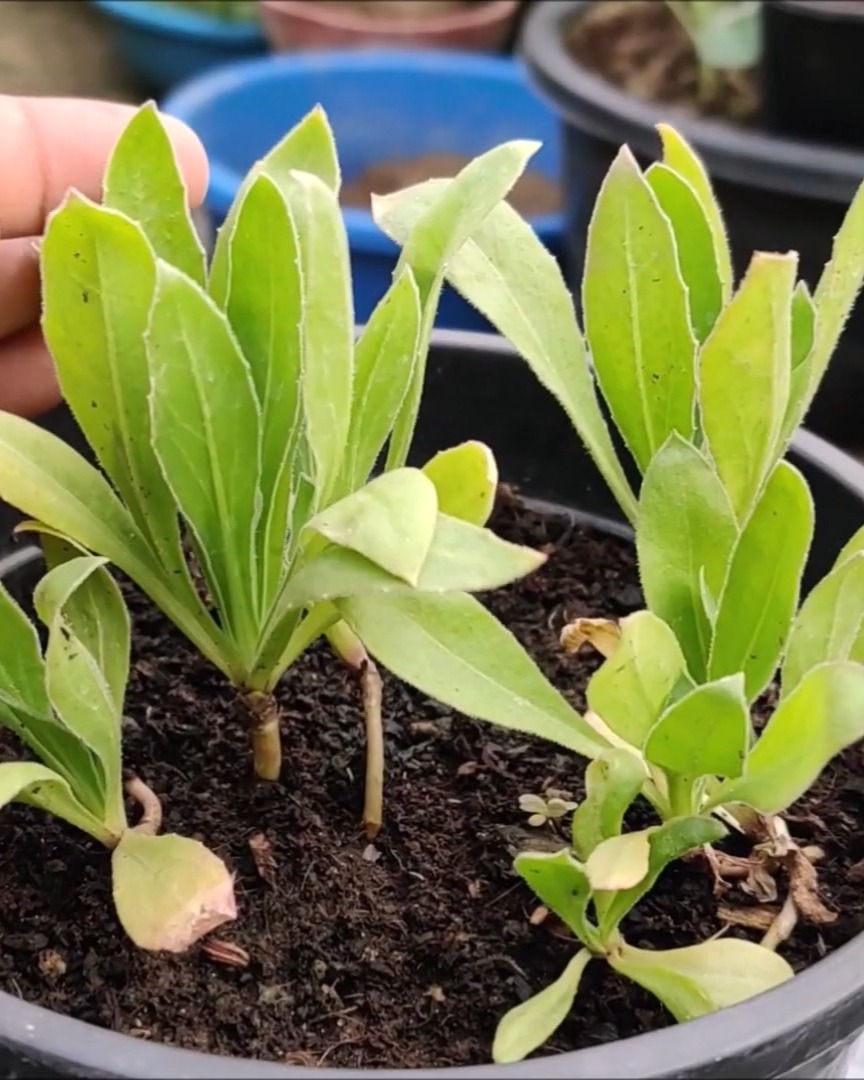
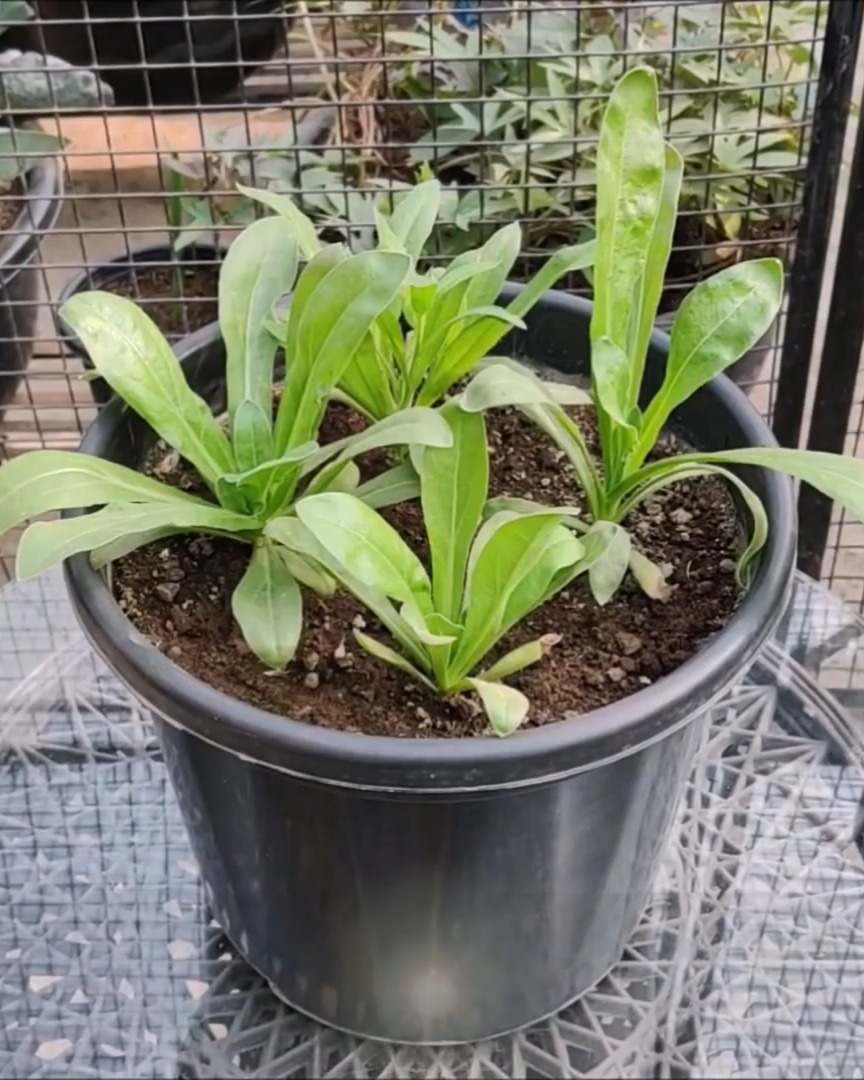
Day 45: When the seedlings are about 4–6 inches tall, they’re ready to move to bigger pots.
By then, their roots are fully developed and ready for more space.
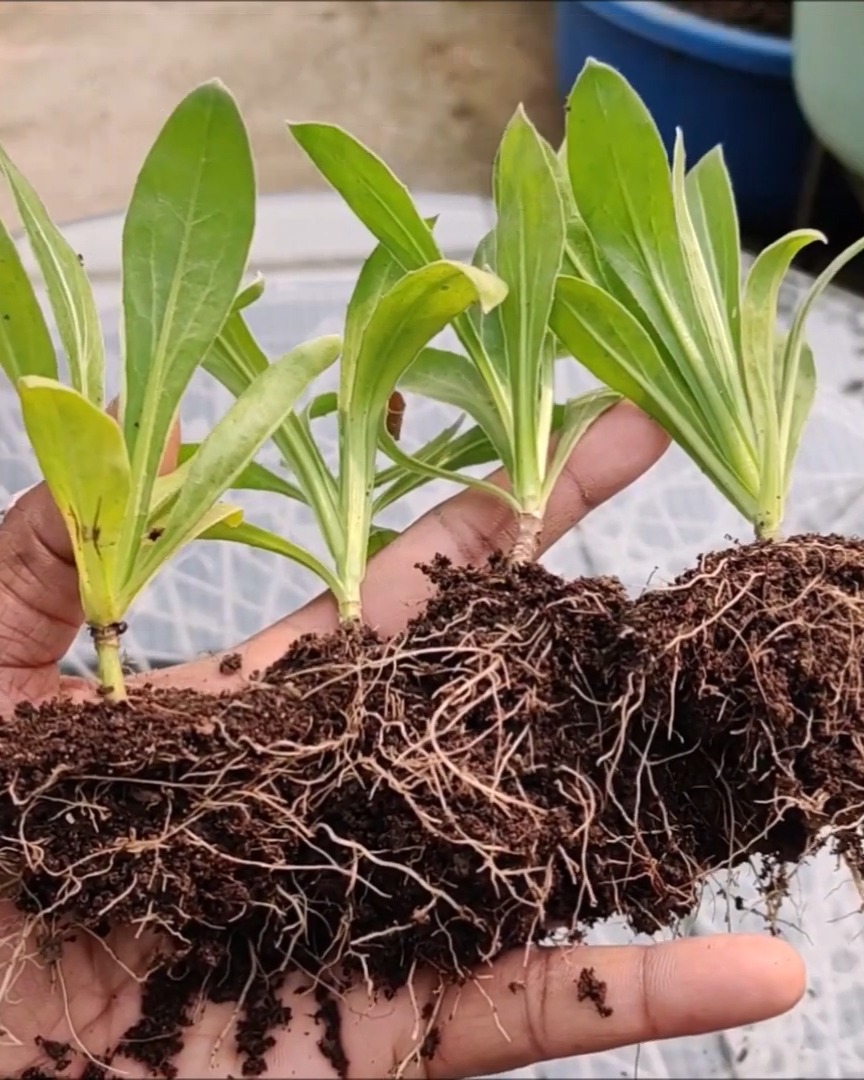
Steps to transplant Calendula into Large Pots
This next step is super important for healthy plants later on.
I use pots that are 15–16 inches wide and deep. You can go with plastic, terracotta, or even cemented pots. Ensure they have at least 3–5 drainage holes at the bottom.
For the transplant mix, I use:
- 50% garden soil
- 30% vermicompost
- 20% river sand
I dig holes twice the size of the root ball and gently place each seedling in. I keep the soil line even with the base of the plant and never bury the stem. Then, I lightly tamp down the soil.
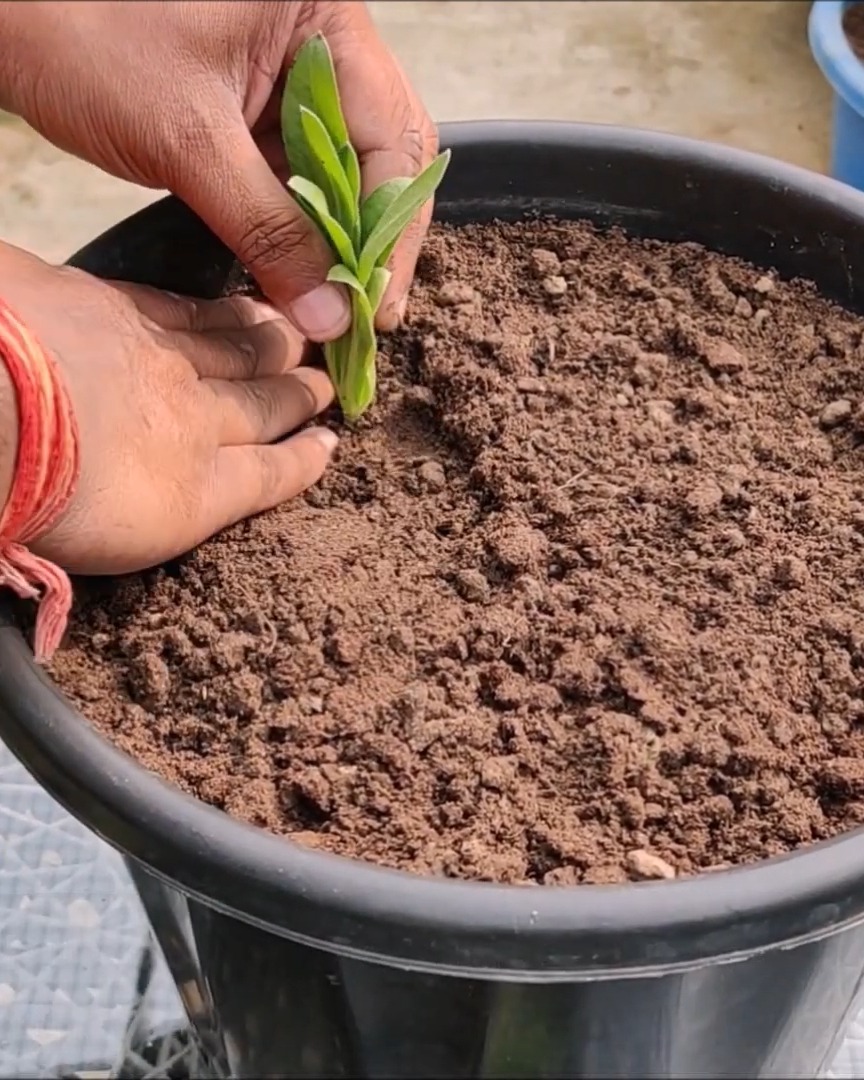
If I’m planting more than one calendula in a pot, I space them 4–6 inches apart.
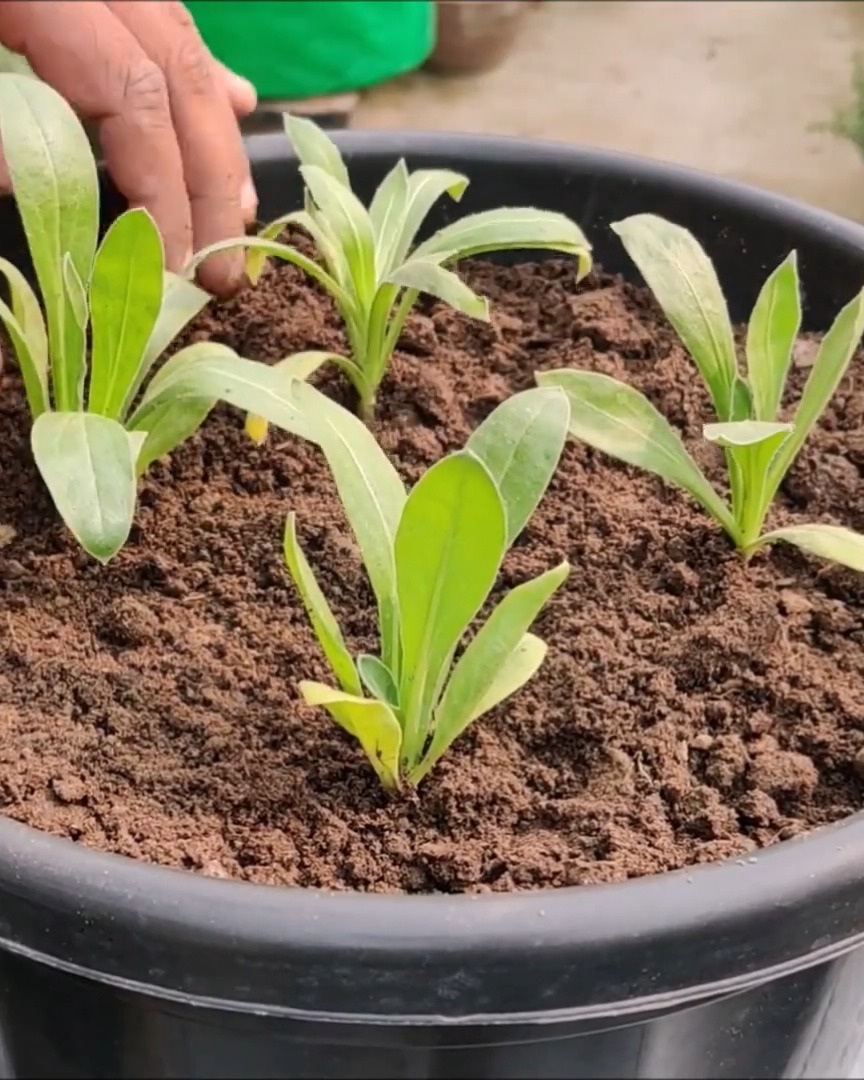
After planting, I soak the soil to help the roots settle. This also removes air pockets and reduces transplant shock.
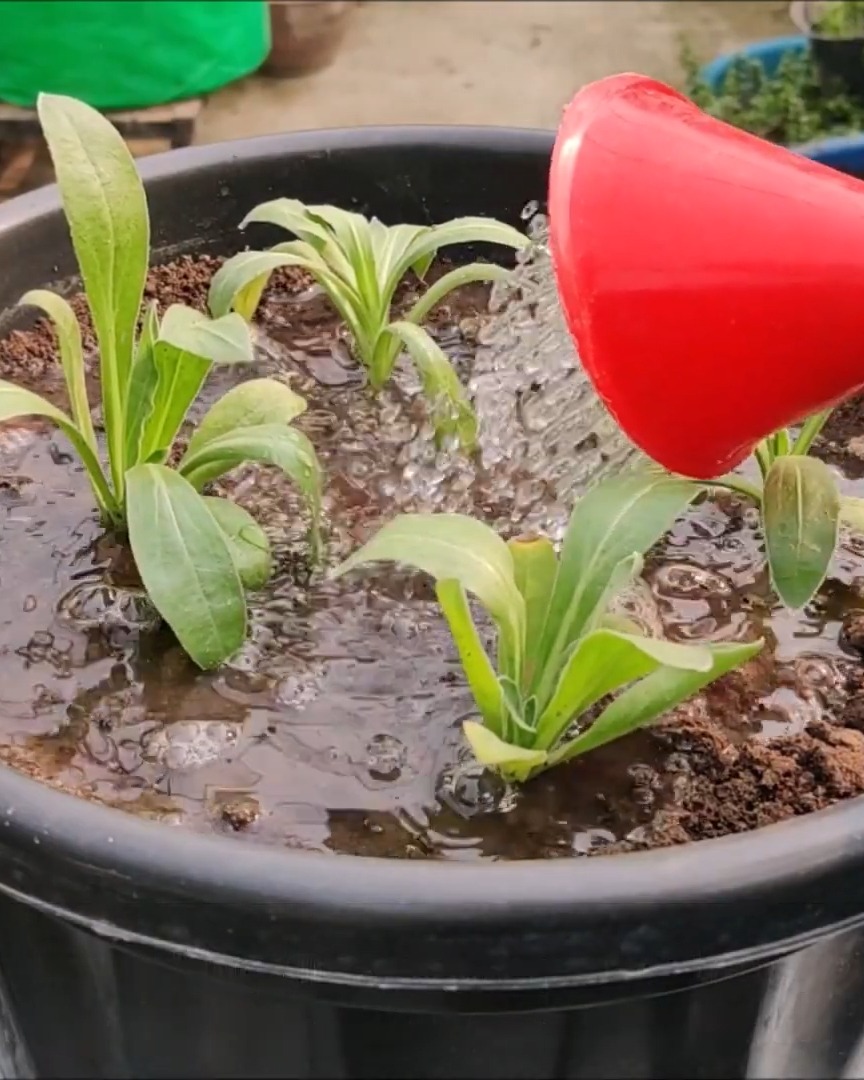
For the first 2–3 days, I keep the pot in partial shade. I water just enough to keep the soil moist.
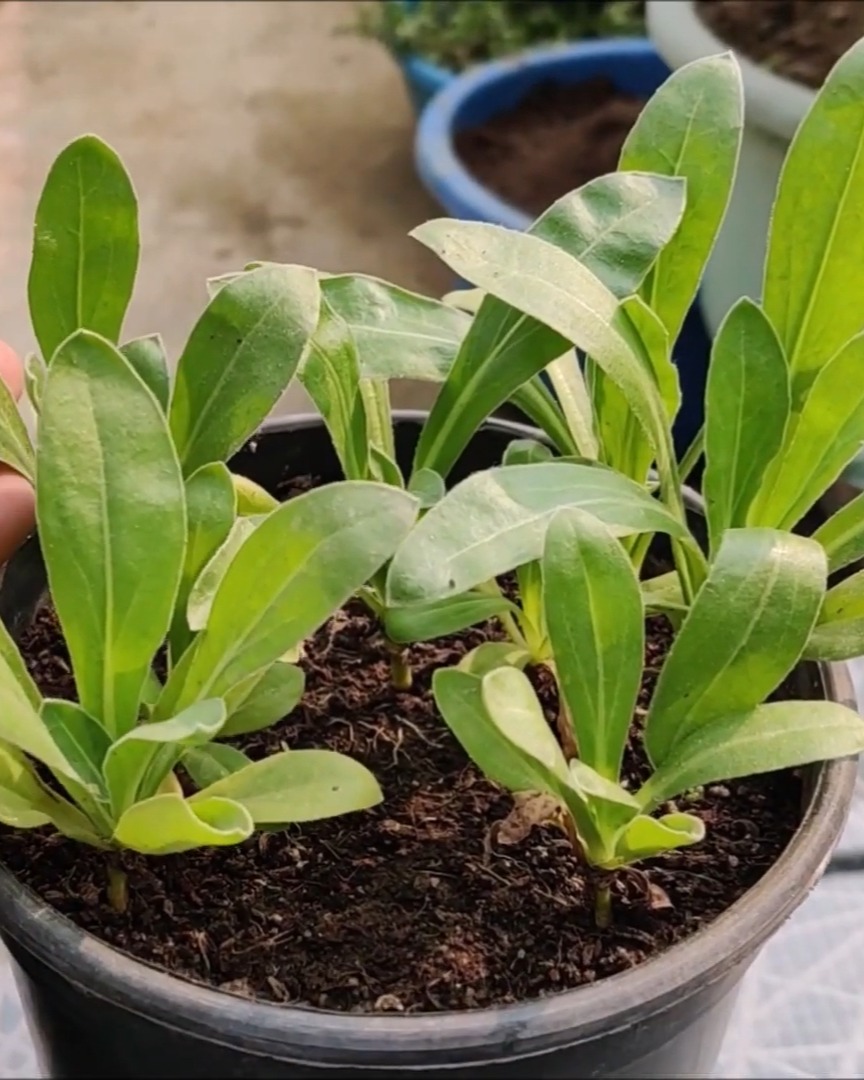
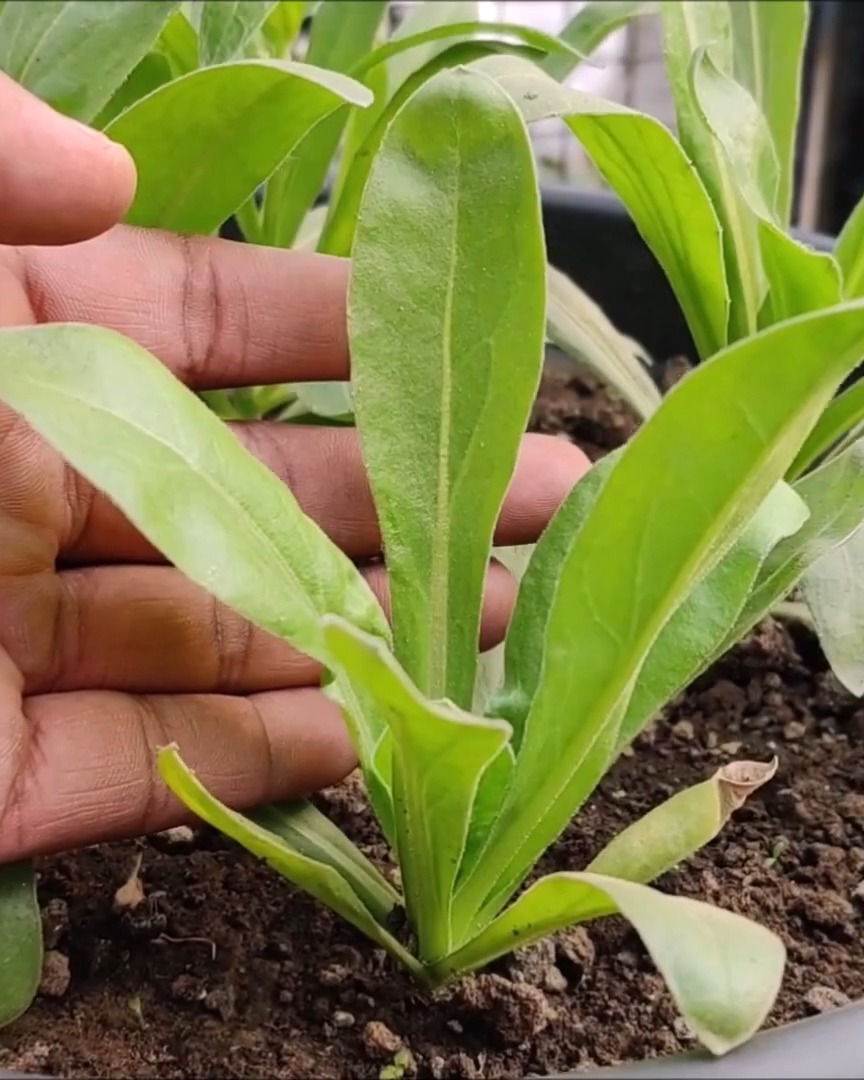
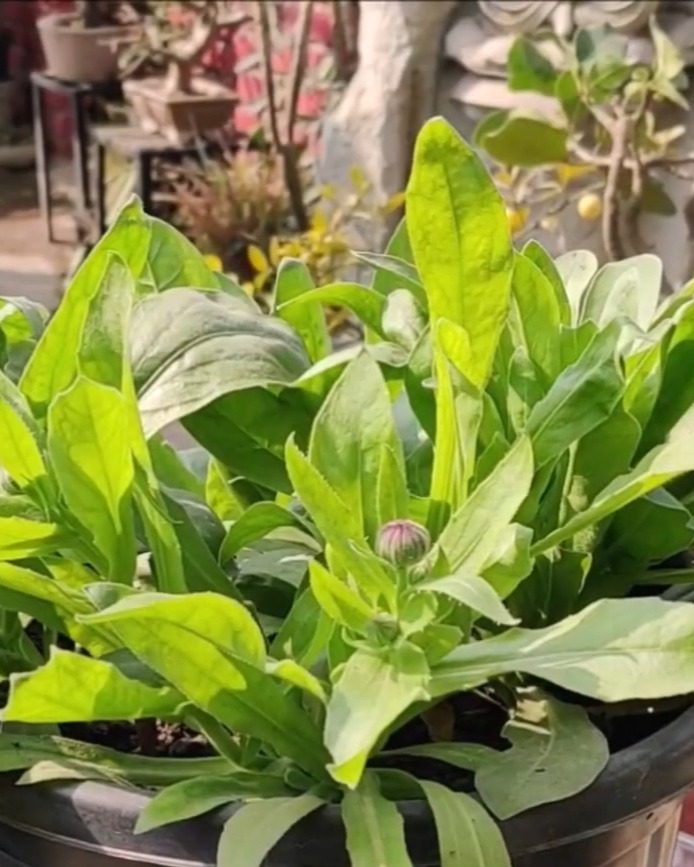
Day 55:
During this time, the stems get stronger, and the roots grow deeper, setting the stage for lush blooms!
Calendula Plant Care Tips for Pots and Containers
Now that the hard part’s done, it’s all about easy care and enjoying the process.
If I’ve added compost to the soil mix, I skip extra fertilizer. But when I want more flowers, I add some DAP (Di-Ammonium Phosphate).
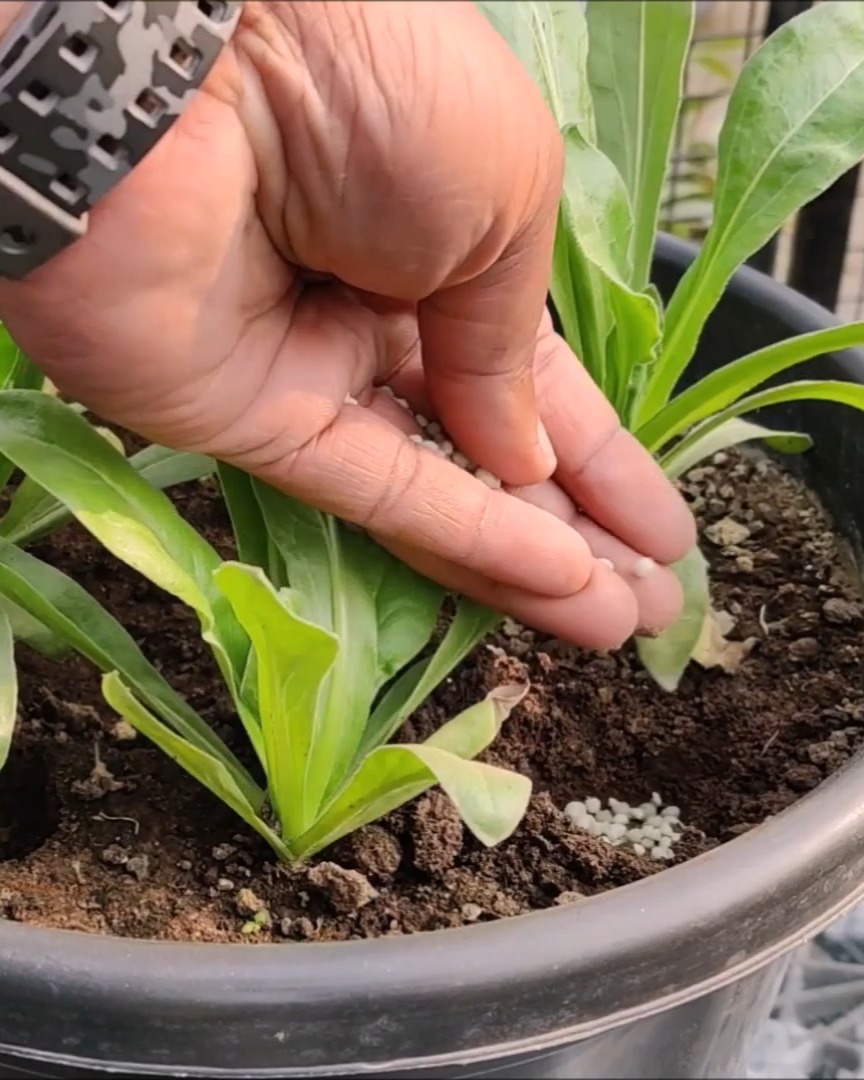
I use about 10–12 granules per plant. I make small holes away from the main stem, drop in 15–20 granules, and cover with soil. Then, I water to help nutrients reach the roots.
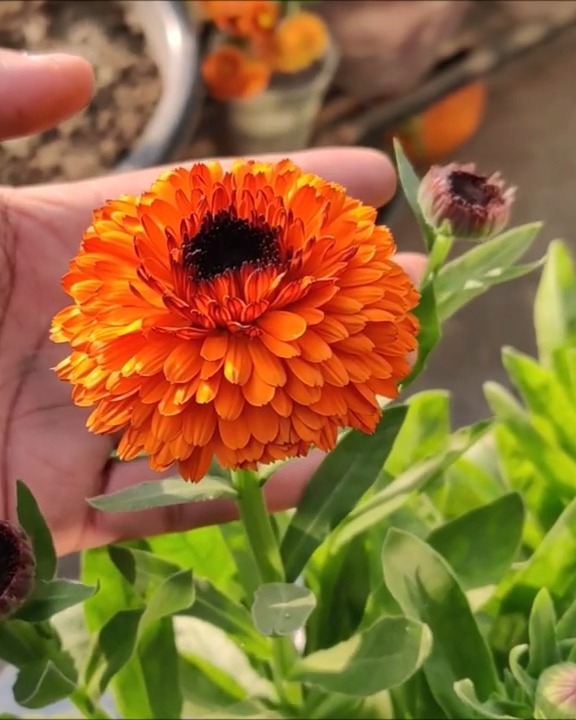
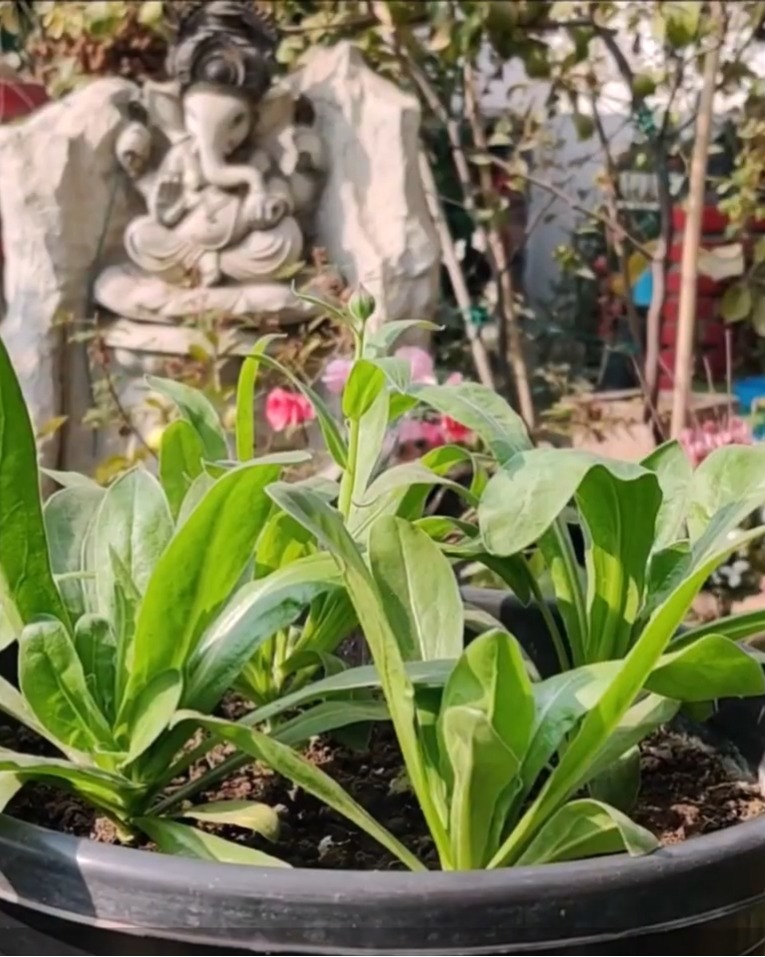
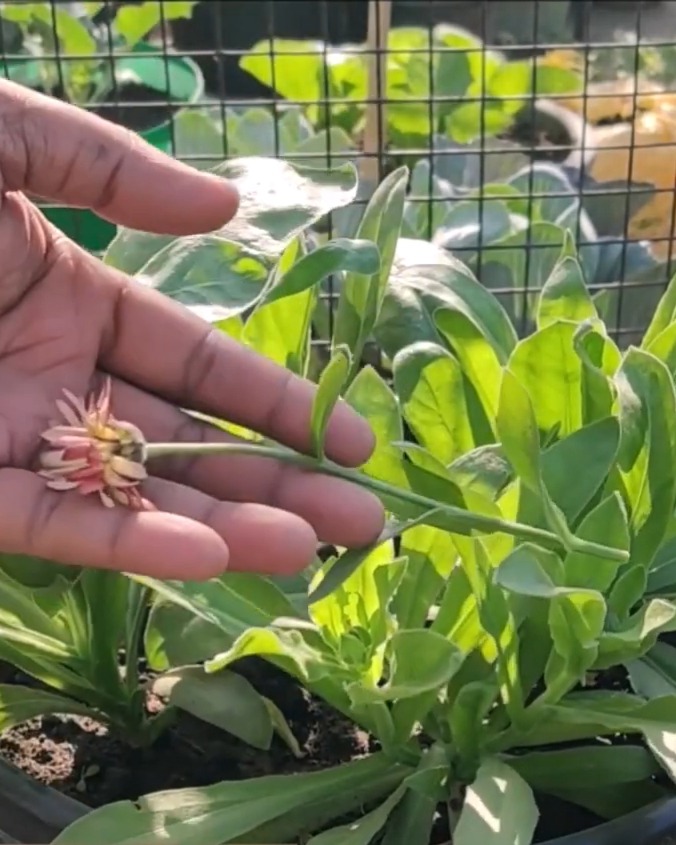
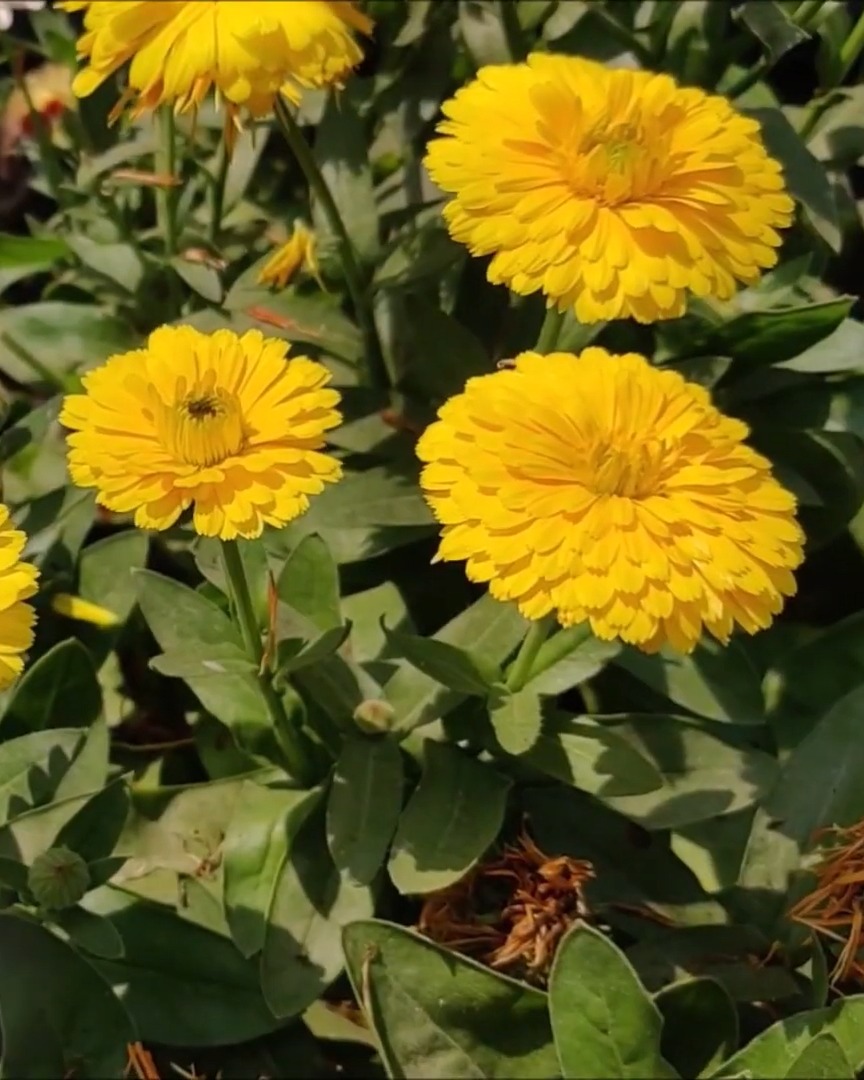
Around 45–60 days after planting, I start to see blooms.
To make plants bushier, I remove the first few buds. This “pinching” redirects energy to side shoots and keeps the plant compact and full.
Calendula loves full sun but can tolerate up to 25% shade. I avoid planting them in full shade, or they won’t thrive.
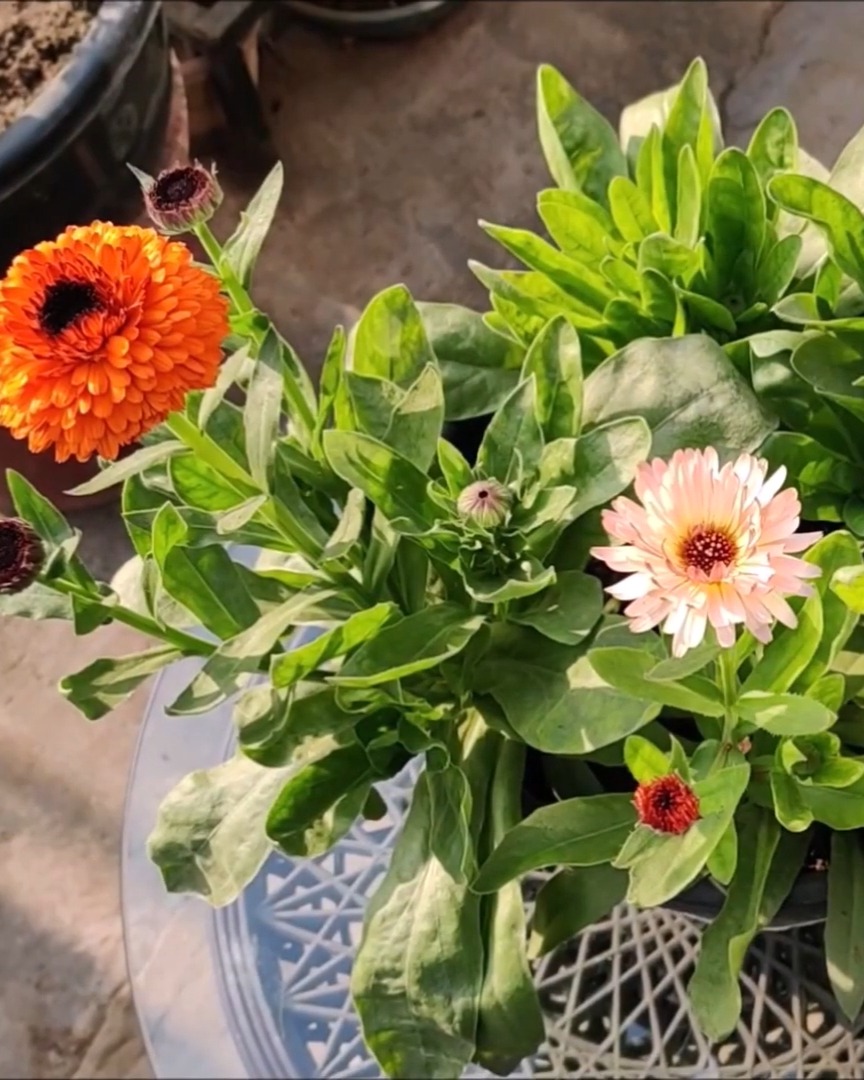
Day 72:
Day 80:
How to Prevent Common Calendula Problems and Boost Blooms
Day 84:
Day 88:
There are a few tricks I’ve learned to keep calendula blooming longer.
First, drainage is key. Root rot can kill your plants, so I always use pots with holes and well-drained soil.
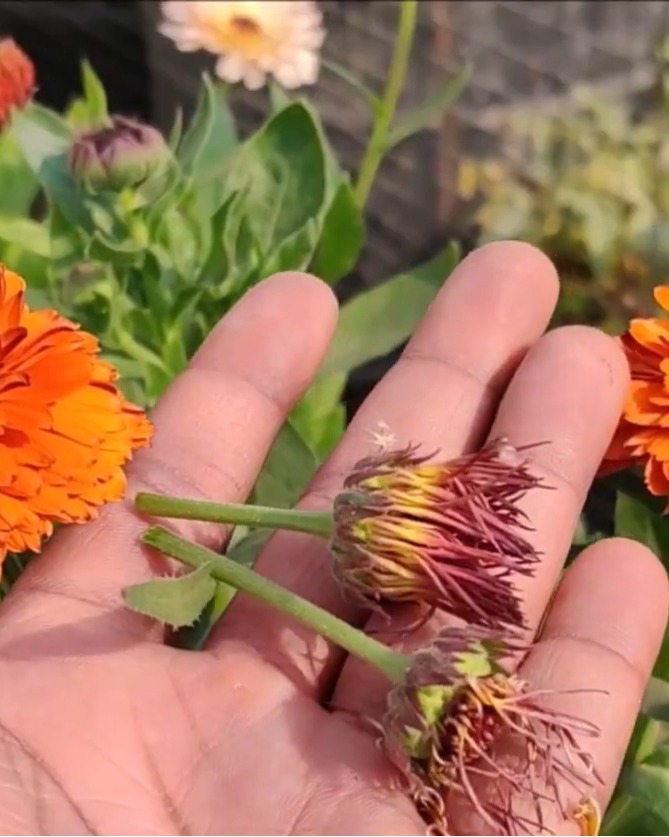
Next, I deadhead the spent flowers. This keeps the plant producing more blooms instead of going to seed.
Day 100:

I water at the roots and try not to wet the leaves or stems to avoid fungal problems.
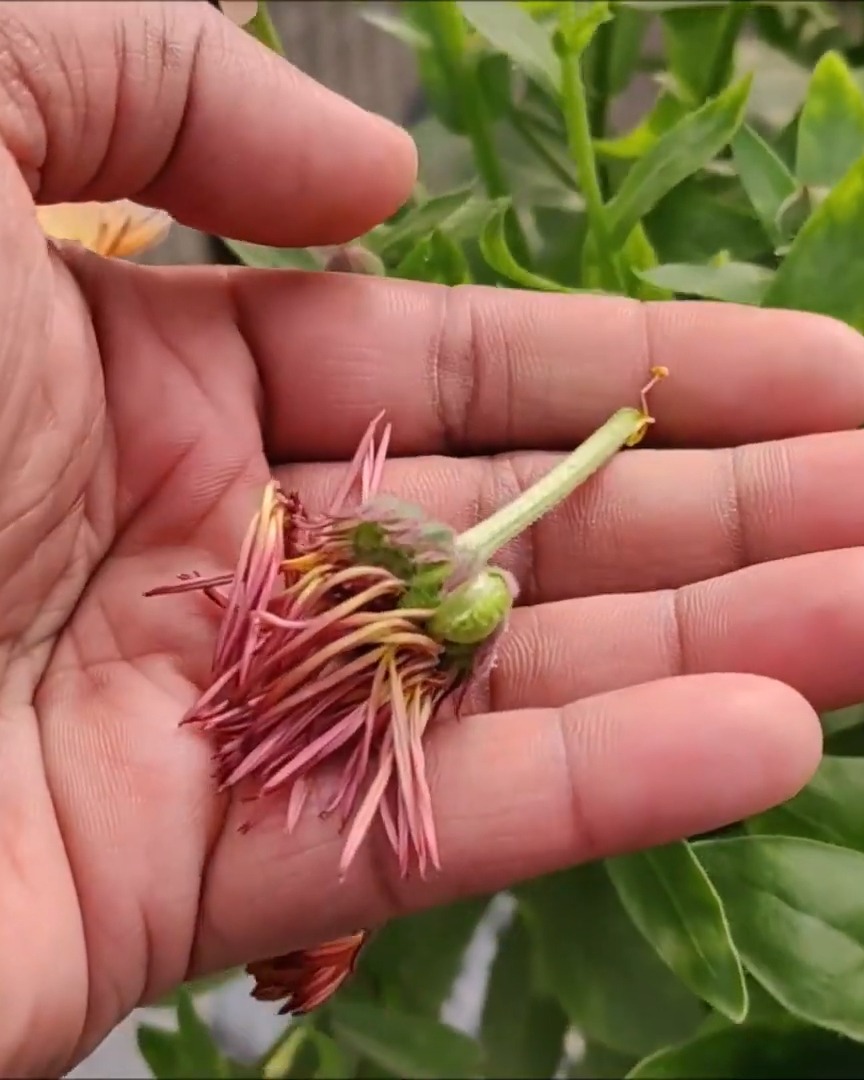
Once flowers fade and lose petals, I snip them off. If you let the plant go to seed too early, it stops blooming.
How to Harvest and Save Calendula Seeds for Next Season
Day 120:
Day 160: When the blooming season winds down, it’s time to save seeds!
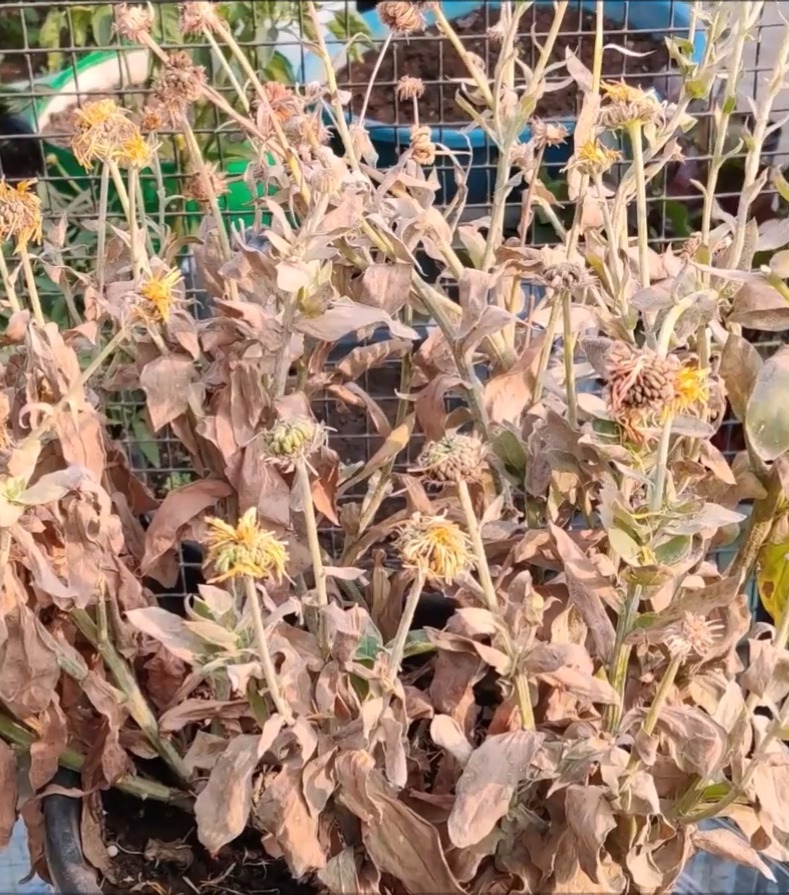
I leave a few flowers on the plant so they can turn into seed heads. As they dry, they turn brown and crunchy. When I touch them, the seeds just fall into my hand!
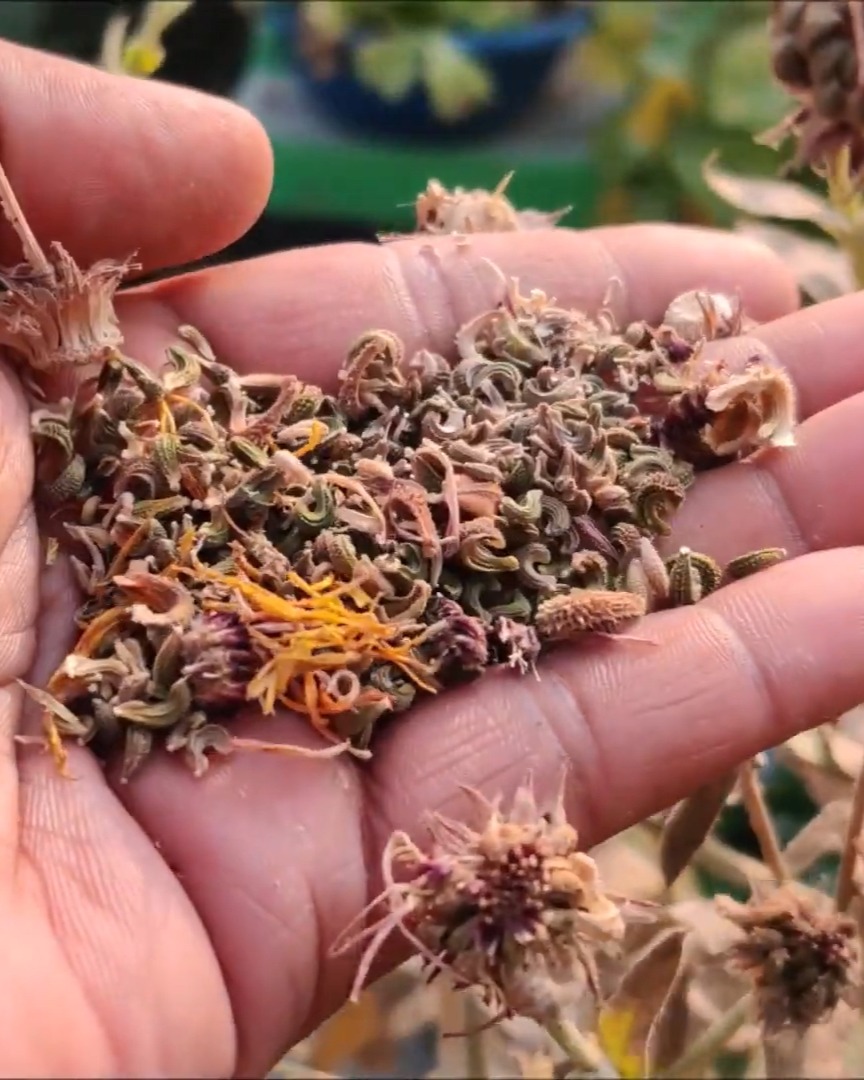
I store them in a cool, dry place for next season. It’s so easy—and it means I never have to buy calendula seeds again!
The Bottom Line
Growing calendula from seed in containers is one of the easiest and most rewarding gardening projects I do every year. From sowing to blooming, it’s a low effort with high rewards! Try it out and see how much joy a few bright flowers can bring to your garden.